In this day and age it seems that less people are learning the art of sewing, especially children or young adults, because sewing is often overlooked despite its usefulness for everyday patchwork.
I was really happy to see these 450 patterns for some serious inspiration. I know sewing is something that helped my little ones learn how to refine their motor skills.
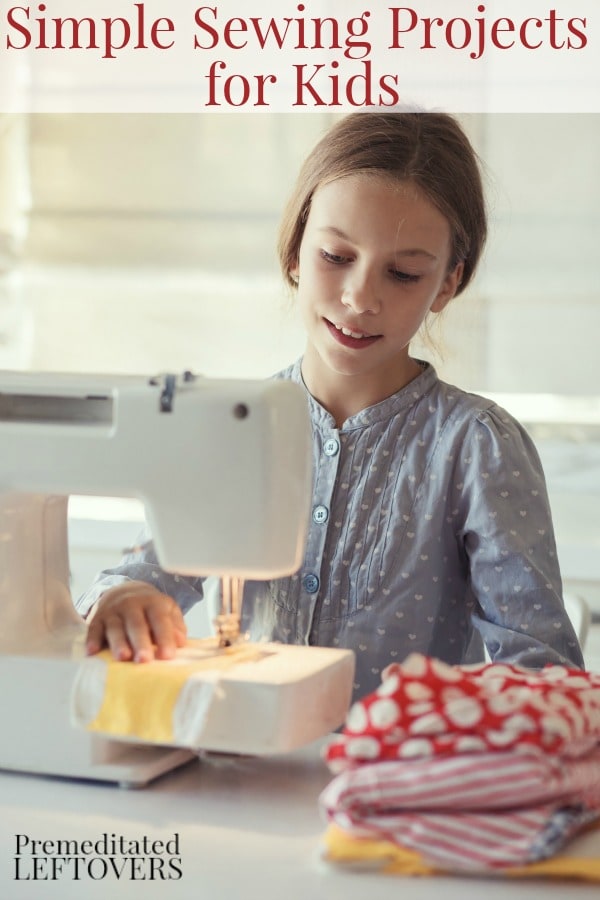
While everyone knows that sewing is often imagined in a dull light, most don’t realize that many people are sewing for crafty and fun things. Children, young adults, and anyone that loves artsy designs, should see the value of learning to sew properly.
There are so many enticing projects that can be done that are engaging for youngsters and challenging for learning minds. Of course, before you start making plans to begin this new, exciting hobby, you must learn the basics. My mom and grandma taught me most of what I know but I also took some adult sewing and craft courses to learn more.
Let’s look at equipment basics. The first step to learning the basics of sewing is to understand the essential supplies you will need to have.
Basic Sewing Supplies
A sewing box or some other type of storage for keeping your sewing kit organized and safely tucked away for easy grabs.
Sewing Machine – Most of the time you can find a hand-me-down if you ask around. Sewers like to upgrade their machines every now and then. If you need to buy one, you can review my buyers guide for selecting the best sewing machine for beginners.
Needles – There are different sizes of needles depending on the thread you will be using. Since this is more of an advanced knowledge, we will not be elaborating, but feel free to do your research.
Pins – Many people use pins that have colored, plastic tops for easier spotting on the floor if they are dropped, but many recommend stainless steel or glass pins so that an iron will not melt any plastic if you need to iron over the pins.
Pin Cushion – to keep all pins in an organized spot. There is nothing worse than a misplaced pin!
Sewing Scissors – These are not ordinary scissors and should only be used with your sewing kit. These are better suited to cutting fabric than normal scissors.
Tape Measure – A soft tape measure that can be used for body measurements or other things. My mom always told me to measure twice and cut once!
Ruler Grid – A see-through grid ruler makes it much easier to measure and provides a very good straight edge.
Thimbles – to keep your fingers safe. This is a item that is important to have around for beginners.
Safety Pins – They are indispensable for beginners and make it safer if you have little ones around the house.
Thread – And last, but not least, all purpose thread of the basic colors, such as black, white, brown, navy, and any other color that appears frequently in your personal household or wardrobe.
Simple Sewing Projects
Once you have those basic supplies, pick up anything else that you may want to use for fun, crafty projects, such as fun, colorful buttons or whatever grabs your fancy.
How to Sew Coasters
A simple and yet fun project for beginners is making coasters out of old cloth scraps. I got the idea from this youtube video, but I have simplified it for you here.
This can be done with scraps of gingham.
- Cut gingham into 3 1/2-inch squares
- Solid cotton cut into 3 1/2-inch squares
- Iron-on vinyl
- Sew a gingham (with a 1/2 inch allowance) onto a solid cotton square
- Pressing the vinyl onto the gingham (following the instructions that vinyl comes with)
- Then trim all the way around by 1/4 inch
- Finished!
How to Sew Scarves
Another project would be making easy, reversible scarves. You will need lightweight wool, or wool-blend fabric, and lightweight cotton fabric.
- Lay the fabric on a cutting mat to cut them to your desired length using a ruler.
- Place the right sides together, cotton sides on top, and place pins on both ends.
- Machine-stitch all four seams, leaving 1/2 inch opening in the middle for one short end.
- Clip the corners at a 45-degree angle, being careful not to cut the stitching, to ensure they are sharp when you turn the fabric right side out.
- Once they have been turned right side out, gently press with an iron until the seams are crisp.
- Slip-stitch the open end closed.
- Done!
There are many more projects that can be done, such as framing your own hand-made, beautifully designed, quilt squares, or making your own scented sachets. Never underestimate the wonders of sewing, but never feel overwhelmed with it either.
Although learning to sew takes time and effort, it is worth the artsy feel and happiness that accompanies your feelings of accomplishment. Start your sewing hobby today and get crafty.
Laura Brooks blogs at www.sewingmakesmehappy.com and helps spread the word about sewing. Sewing has been a positive influence on Laura’s life and she wants the same for others. Follow along with her as she blogs about the massive benefits of sewing, including sewing psychology.

Leave a Reply