Ice-cream in a bag is a staple at summer camps and Vacation Bible Schools. It is an easy and fun treat, but one you have to abstain from if you are dairy-intolerant. I decided to try making a dairy-free version using dairy-free milk, so my son could participate in this fun activity this summer.
Jump to RecipeI expected to make an adequate substitute for my son. What I didn’t expect was to fall in love with the results, but I did! I absolutely love the rich vanilla flavor. In trying to make a dairy-free treat for my son, I created a reduced-calorie treat that I can enjoy in place of ice cream. If you use Silk Vanilla Soymilk, each 1/2 cup serving has 96 calories and 3 grams of protein. If you use Silk Original Soymilk, each 1/2 cup serving has 101 calories and 4 grams of protein.
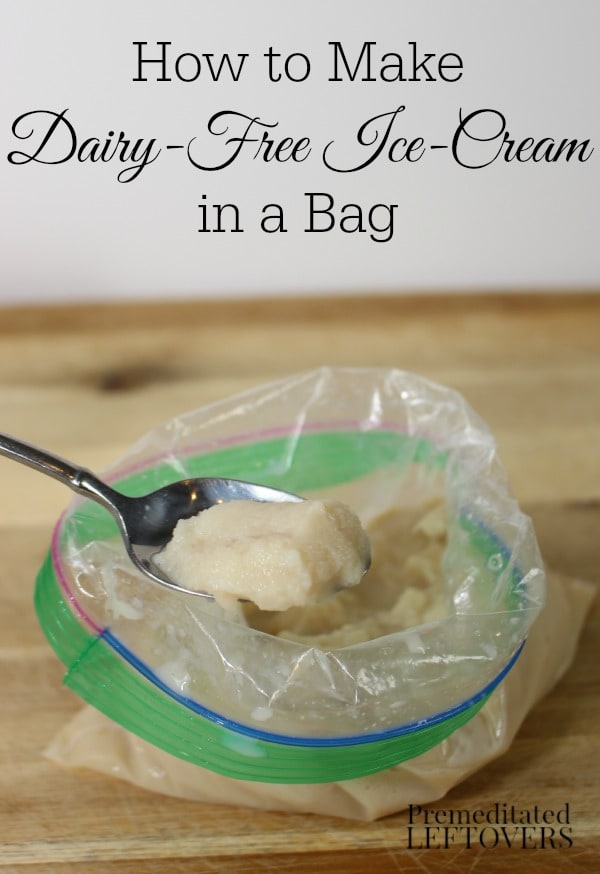
How to Make Dairy-Free Ice-Cream in a Bag
This is a quick and easy recipe for dairy-free ice-cream. It makes 2 servings. You can cut the ingredients in half if you want to make a single serving.
I like to use soymilk when we are in a school or camp environment since some kids have nut allergies. However, this recipe will also work with Almondmilk, Coconut milk, and Cashew milk.
Dairy-Free Ice-Cream Recipe
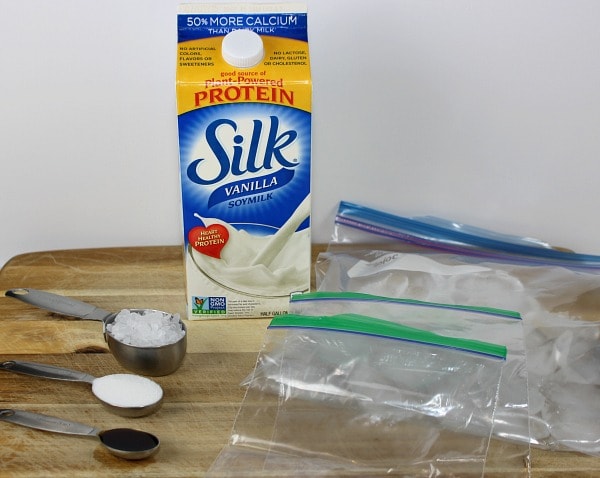
Ingredients:
- 1 cup Vanilla Soymilk, Almondmilk, Coconut milk, or Cashew milk
- 2 tablespoons sugar
- 1 teaspoon vanilla
Items Needed:
- 1 seal-able gallon bag
- 2 seal-able sandwich bags
- 4 cups of ice
- 1/3 cup ice-cream salt
- A large glass (optional)
Directions:
- Place one of the sandwich bags in the glass and fold the top over the edge of the glass.
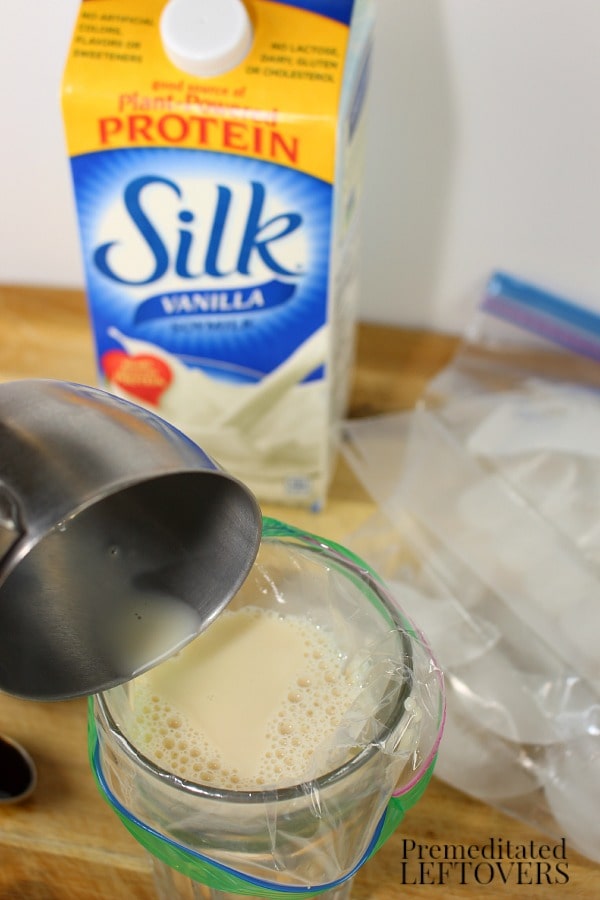
2. Pour the milk into the bag. Add the sugar and vanilla.
3. Remove as much of the air as possible and seal the bag.
4. Place the bag of the ice-cream mixture inside the other sandwich bag. Remove as much of the air as possible and seal that bag.
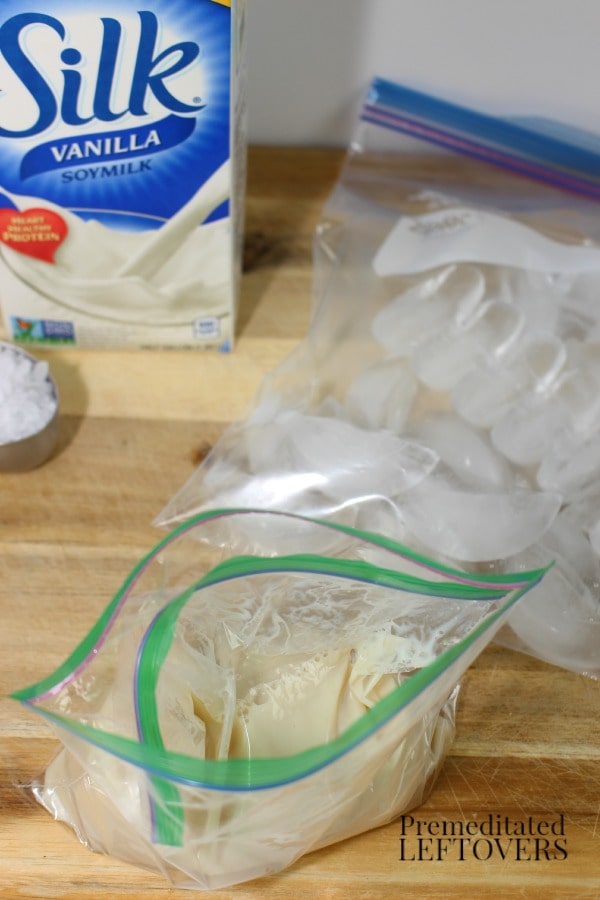
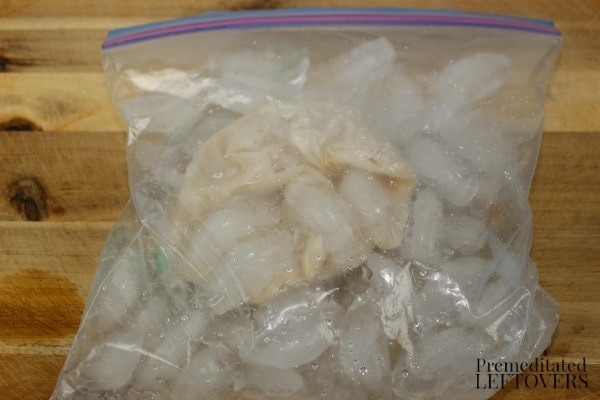
5. Place the ice and rock salt inside the gallon bag. Place the double-bagged ice-cream mixture in the gallon size bag and seal it shut.
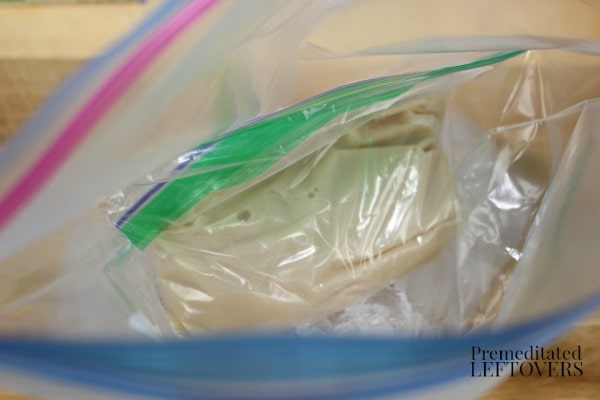
6. Shake the bag for 8 – 10 minutes or until the ice-cream mixture has solidified.
You can eat the ice-cream directly from the bag. It will have the consistency of soft-serve ice-cream.
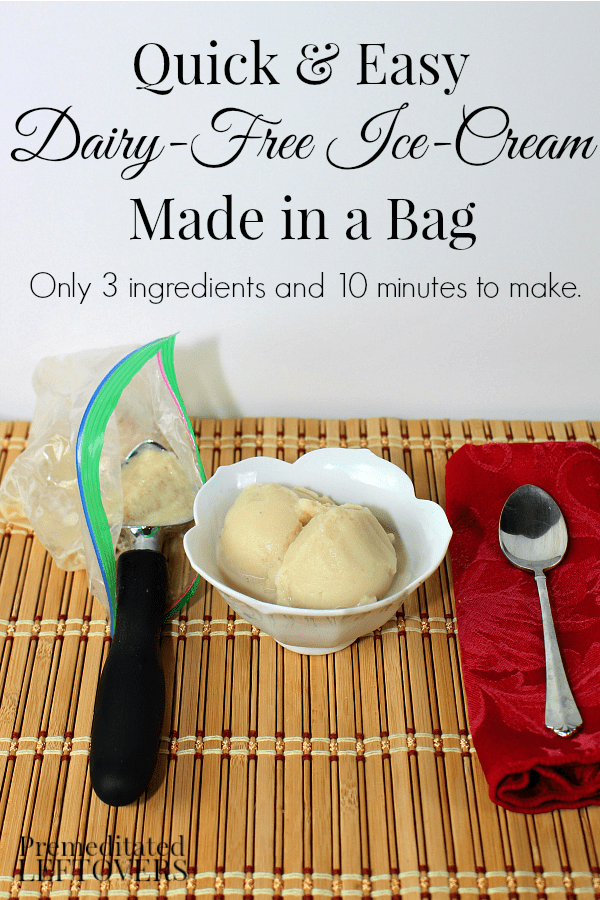
If you wish, you can also place the ice-cream in the freezer for 30 minutes to 2 hours and allow it to firm up even more. Then you can scoop it into a bowl or cone.
Printable Recipe for Dairy-Free Ice-Cream in a Bag

How to Make Dairy-Free Ice-Cream in a Bag
Ingredients
- 1 cup dairy-free milk
- 2 tablespoons sugar
- 1 teaspoon vanilla
Also needed:
- 2 sandwich bags
- 1 gallon bag
- 4 cups of ice
- 1/3 cup ice-cream salt
Instructions
- Place one of the sandwich bags in the glass and fold the top over the edge of the glass.
- pour the milk into the bag. Add the sugar and vanilla.
- Remove as much of the air as possible and seal the bag.
- Place the bag of the ice-cream mixture inside the other sandwich bag. Remove as much of the air as possible and seal that bag.
- Place the ice and rock salt inside the gallon bag. Place the double-bagged ice-cream mixture in the gallon size bag and seal it shut.
- Shake the bag for 8 - 10 minutes or until the ice-cream mixture has solidified.
- You can eat the ice-cream directly from the bag. It will be more like soft-serve ice-cream. Or you can place the ice-cream in the freezer for 30 minutes - 2 hours and allow it to firm up even more and scoop it into a bowl or cone.

More Dairy-Free Frozen Treats:
Mixed Berry and “Cream” Popsicles
Have you made dairy-free ice-cream before? How did you make it?


Peggy says
Would this work with an electric ice cream maker? TIA
Kels says
Wow thank you so much for this recipe! Just made it and it came out perfect. Reminds of my dad’s homemade ice cream in the summertime. Can’t wait to make more this summer for friends and family!
Melissa says
Can this be made with oat milk? I want to do this in my class but I have a student who is allergic to dairy and tree nuts so milk and almond/cashew milk is out. His mom says that they use oat milk at home.
Alea Milham says
I have used Vanilla Soy Milk and it worked well. I think it will work with Oat Milk, but I have not tried it yet.
Jenna says
I just used oat milk and it worked great! Just felt like it needed to be shaken a bit extra
Jonas says
Amazing better than it is in the store..
Emma says
I made this today if I could I would give this 100 stars, this is better then buying it at the store. Thank you for this amazing recipe😊
Ivy says
Can I use regular salt instead of ice cream salt?
Sasha says
yeah you can use sea salt or table salt in place of rock salt
Judith Higgins says
We have allergies to soy, dairy, all nuts, and coconut. Would it work for rice milk?
Tania says
We have the same allergies. I’m going to try it with oat milk…hope it works!!
Nicole Carson says
Thank you for this! I wanted to do this experiment in my class but I have a girl with a dairy allergy and I was worried that it wouldn’t work with milk alternatives, but I’m glad to have a recipe!
Kerry says
What is the texture of the icecream? Grew up with homemade icecream from the icecream maker. It always had a grainy texture with little chunks of waxy cream. Appreciate your help.
Kerry
Mimi says
Want to try but arthritis won’t allow me to shake bag for 10 minutes. Is that mandatory for it to work or can you just put bags in freezer?
Jonathan Johnson says
The mixing allows air to mix in to the ice cream. Otherwise, it’ll taste more like ice cream that’s been melted and refroze.
Easter S. says
Hello Min. I have RA . Try putting the bags into a box and put everything over a dowel or wooden spoon and rock it back and forth. Or invitations young friend to have ice cream and let them have fun shaking it up 😊
New to This! says
It needs to be mixed while freezing, but was thinking that placing the mixture in a small metal bowl that is then placed in a larger bowl that is filled with ice and salt—so the metal bowl has ice all around its perimeter—and then using a hand mixer on the lowest speed for 5-7 minutes might work, and would surely be easier for you with your arthritis. Those light, wand mixers that need only one hand might work best.
Hope it works!
Danielle says
How much fun is that! Making ice cream is so much fun. Thanks for sharing at Idea Box!
Brandi Clevinger says
I’ve seen the ice cream in a bag, but didn’t think of making it dairy free. Our whole family is dairy intolerant, so this would be a treat for all of us!
Thanks for sharing your recipe!
sherree holtz says
My grandkids are all allergic to dairy and soy. We currently drink almond and coconut milk. Will this recipe work well with these types of milk. If so, which is best? Unsweetened? Original?
Alea Milham says
Yes it will work with almondmilk and coconutmilk. You can use any variety of Silk almondmilk or Silk coconutmilk, but we especially enjoy it made with Silk Vanilla Almondmilk.
Kristine Hart says
Saw this on Wake Up Wednesday Linky. Can’t wait to try!