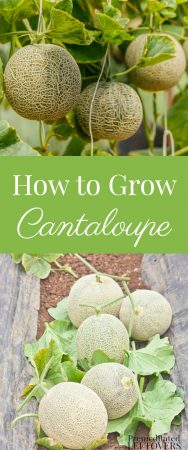
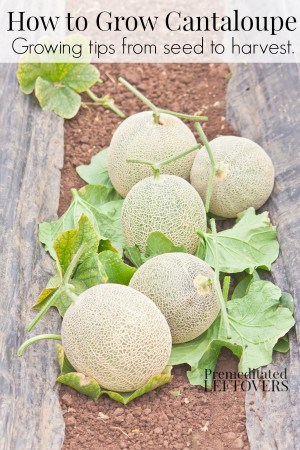
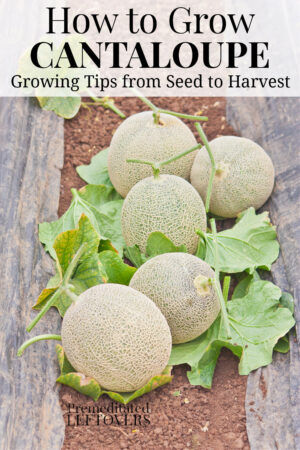
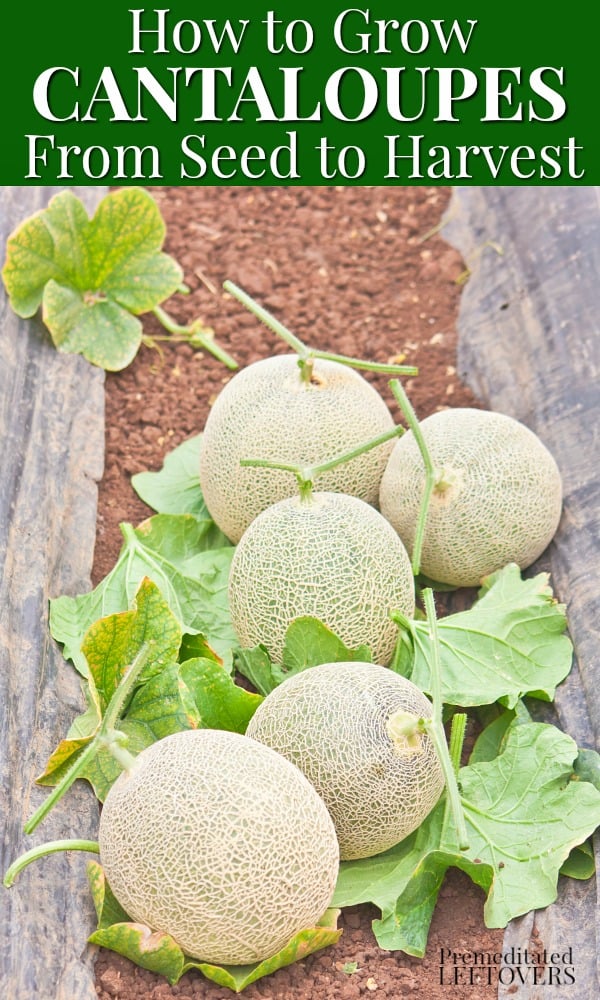
Follow these tips on how to grow cantaloupe to start cantaloupe from seed or seedling and care for them until harvest.
Do you love the sweet taste of cantaloupe? If so, why not try growing it yourself? Having fresh cantaloupe at your fingertips is a great way to enjoy the summer and a great way to save some money as well. If you are considering growing cantaloupe this year, take a look below at these tips for how to grow cantaloupe yourself. You might be surprised at how easy it really is!
How to Grow Cantaloupe
How to plant cantaloupe seeds:
If you wish to begin your seeds indoors and get a jump on the growing season, simply plant the cantaloupe seeds in seed starters. You want to do this about 3 weeks before the final frost of the season. Use nutrient-rich soil and make sure the seeds have at least 6 hours of sun per day.
Should you wish to plant the seeds directly outdoors, be sure the threat of frost has passed since cantaloupe loves warm soil. You can use the hill method where a hill of soil is created and 5-6 seeds are dropped in, or you can plant as you would most other seeds. Whichever way you choose, your seeds should be planted one 12-18 inches apart so there is plenty of room to stretch.
As with other melon varieties, you want really rich soil and full sun. Cantaloupe will thrive off of the nutrients, and the warm soil and sun will help them mature quicker. Once your seedlings start to appear, you will want to thin out the plants. Remove the weaker and smaller plants in the group to allow the larger ones to stretch and thrive.
How to plant cantaloupe seedlings:
If you wish to plant cantaloupe seedlings instead of seeds, you may notice quicker results. You should still use all of the suggestions above when planting, including nutrient-rich soil, full sun, and proper spacing between plants. Don’t plant your seedlings before outdoor temperatures have reached a consistent 70 degrees or higher.
After a few weeks, you may wish to stake your plants to help offer them support and keep them from sitting in damp soil. Stakes can also help you see weeds better amongst the vines and remove them as needed. This is also the ideal time to use a plant or garden food on your cantaloupe, however, they will do fine without the feeding if you wish to skip this step.
How to care for cantaloupe seedlings:
The wonderful thing about cantaloupe is they don’t attract many pests. You may just need to keep a light netting over them if you see animals starting to pick at them. As far as bugs, however, there usually isn’t a need for a pesticide.
Continue to give your cantaloupe seedlings 1-2 inches of water per week, applied at the base and not over the top of the plant. If water is allowed to accumulate on the greenery, rot can occur. Drip irrigation is a wonderful option for cantaloupe and can help them safely get the water they need.
Be vigilant about weeds during the early growth of the cantaloupe. You don’t want weeds to get out of control as they will get mixed up with the vines of the plant. Be sure you pull them as you see them so you can stay on top of their growth and they don’t interfere with your plants.
How to harvest your cantaloupe:
When you notice the bulb appear, you can wrap it in a pantyhose to protect it and place it on a piece of tin foil to help keep it warm. This will help it mature quickly and taste great! After about two weeks the bulb will be full size and can be picked. You will notice a sweet smell and soft feel when the cantaloupe is ready to be picked. Cut it from the stem and move it to a cool place for storage.
Cantaloupe is great for fruit salads and appetizers, so why not try growing your own? Give these tips a try and you are sure to enjoy a successful crop.
More Tips for Growing Fruits
Gardening Tips for Growing Raspberries
Gardening Tips for Growing Gooseberries
These tips on growing cantaloupes in your garden were originally published on March 18, 2015. They were updated on January 15, 2020.



Lorrie Lewis says
Last year I had lots of flowers followed by tiny “melons” which then all fell off the vines. Unsure of the source of this problem/how to avoid again. Suggestions please?
Jeff says
Can you prevent white powdery mildew on melons? Wiped out my whole crop.
V says
Powdery mildew got mine too! And took out 1/2 my zucchini plants. Will growing from seed prevent that?
Carol68 says
1. I did not plant cantaloupe but it is growing crazy in my garden (probably from our compost) Anyway, 2. Should you reduce the amount of flowers on a long stem and if so do you pinch off the flowers at the end or anywhere? I will be picking soon. I have 4 big ones now.
Denise Weidler says
Our problem is the Vines grow great, and the fruit is growing, but when they are softball size the Vines start to dry up. What is our problem?
JonQPublixs says
I did not have ants till the cantaloupes matured. They tunneled underground to eat the sweet insides of the ripened cantaloupes. Did the coffee can treatment and worked like a charm, but you have to watch the wind will literally blow the fruit onto the ground.
Wade says
While in college at Mississippi State, I had the opportunity to work quite a bit with muskmelons, and there are lots of simple ways to noticeably increase their sweetness.
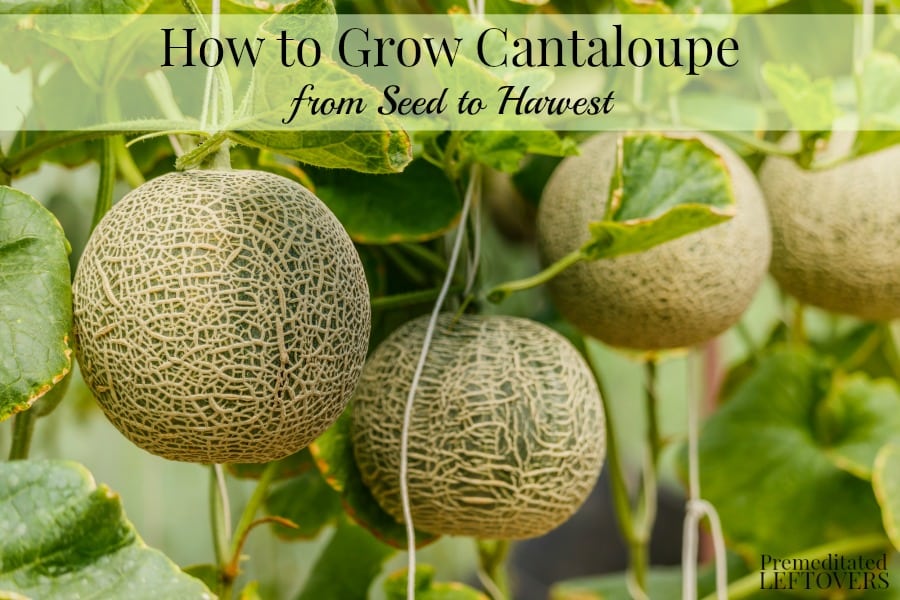
To start, you want your soil pH to be between 6.0-6.5. Adding boron to your soil is an absolute game-changer for most areas, as boron helps promote the transfer of sugars throughout your vines, and helps ensure your blooms will actually turn into melons. Also, never prune your muskmelon vines, as the sugar production occurs only in the leaves– the more leaves you have, the sweeter your melons will be. Another tip to increase the sugar transfer to the fruit is that once your melons become about the size of a baseball, cut back on watering. You want your leaves to be slightly wilted during the heat of the day, but recovering in the late evening and night. The more water you have in your vines, the more diluted your sugar content. Only allowing one melon to grow at a time will increase the sweetness as well. I also don’t recommend a lot of squeezing to check for ripeness as muskmelons bruise easily, thus making future checks of the melon misleading. The best way to judge them is by sight and smell. If you can smell the melons before you approach them, that’s usually a sure sign they’re ripe, however, I judge them by looks. In the top photo of the article, if you notice the middle melon has the sandy-colored rind with the distinctively green flesh underneath. That melon is not yet ready to eat. You will want to flesh to be orange, or at least turning orange. If you touch your melon and it breaks free of the vine, you’ve waited too long. If the stem is cracked right above the melon, but still reasonably attached, that melon is ready. I apologize for the lengthy comment, but hopefully it helps you taste the muskmelon you’ve ever eaten. Good luck.
Tonya says
👍🏻
Christine says
Another pest, if you can it that, is the muskrat. We worked all day and didn’t know where our c antelopes were going. A neighbour snapped a pic of the muskrat rolling it down the lawn to his lair, wherever that might be. It was so cute, we couldn’t fault the little guys!
Wade says
Placing a plastic milk crate over growing melons is a great way to protect them from most animals that seek them out. Hope this helps
Gina says
I have a problem with cucumber beetles carrying diseases to my cantaloupe plants. They begin wilting before the cantaloupes ripen. Mildew can also be a problem.
Wade says
Please take a look at my replies to other problems above. I hope these help.
Eric says
Another pest I have had destroy my cantaloupes is cabbage worm. It eats the leaves, very quickly. Any ideas to combat this pest?
Valerie Chapman says
I read you can put the baby cantaloupes in a dollar store “nylon hose stocking.”
This is an organic option.
Wade says
Try placing your melons on a coffee can turned upside down with a generous ring of petroleum jelly midways up the can and a couple of inches up the stem from the melon. I’ve never had a cabbage worm problem, but this method has been great for me against other pests. Good luck.
Katie says
Last year pill bugs (roly polies) destroyed my cantaloupes before they ripened enough to pick them … any suggestions for how to keep that from happening again?
Bekah says
I put a tiny dish of beer by my seedlings. The potatoe bugs love beer but can’t swim. Nonetheless, it got rid of the pesky bugs. Make sure to change the beer every day though, to continue to attract the bugs.
Wade says
To help protect against rot and mold from my muskmelons resting on the ground, I began using metal coffee cans turned upside down to place my melons on. The reflective bottom helps the same as the foil mentioned above, but if your weather gets too hot, a cloth between the can and melon is plenty enough buffer. It was later that I discovered a generous, inch wide ring of petroleum jelly around the can midways up and a couple of inches up the stem above the melon will serve as a barrier against non-jumping and non-flying bugs such as roly polies. Hopes this helps.
Doreen says
Please excuse me for the correction but cantaloupe do have a pest. It is a little striped bug that loves to go inside the flowers and can destroy the plant as it can cause a disease. I planted my first last year and it did become a problem.
Wade says
The only way that I’ve discovered to truly cull your problem is by DAILY vigilance. You should immediately remove, by hand, any bugs you see, as soon as you see them. If you notice any damage to the plant caused by the disease they spread, you should also immediately remove the damaged part of the plant a couple of inches above the damage itself. You’ll want to do so with the sharpest knife you have, making sure the wash the blade before you use it on anything else in the garden.
Akma Jailani says
Hi Katie
I want to ask you,how to ensure the seed we use to plant is the good one?as i plant cherry from the seed until now I dont see any progress.(now is about 1 month and more)
Thank you.
Doreen says
One way to make sure a seed is viable is to presprout it. I wet a paper towel and wrap the seeds, being sure they are not close together. I then put the paper towel in a zip bag (not closing it) and in a few days they will sprout. You may then plant them in starter dirt until they grow out of the dirt and then into the garden. Try soaking the cherry seed for about 24 hours before putting them in the towel.
DS Ramsey says
You can score the cherry oit with a clean knife too to open outer hull