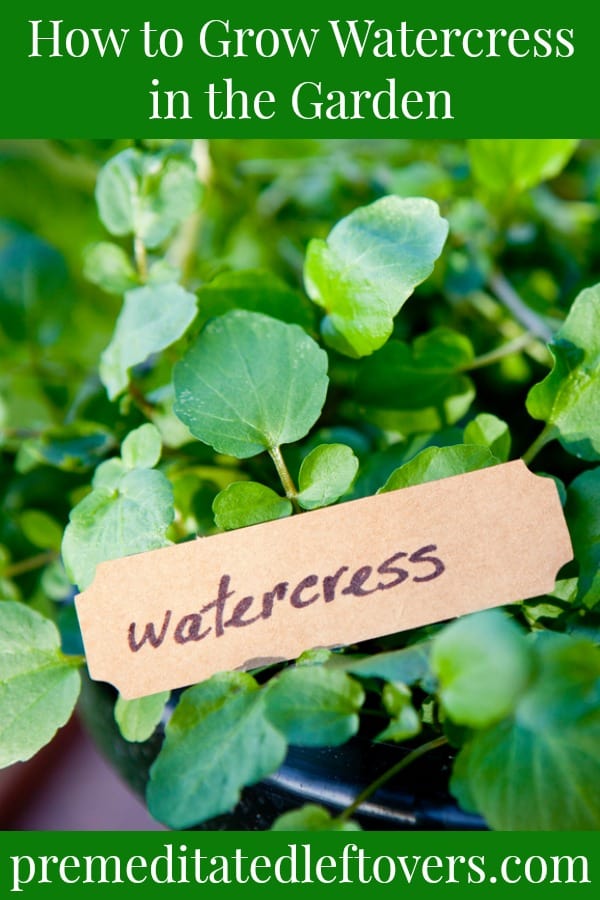
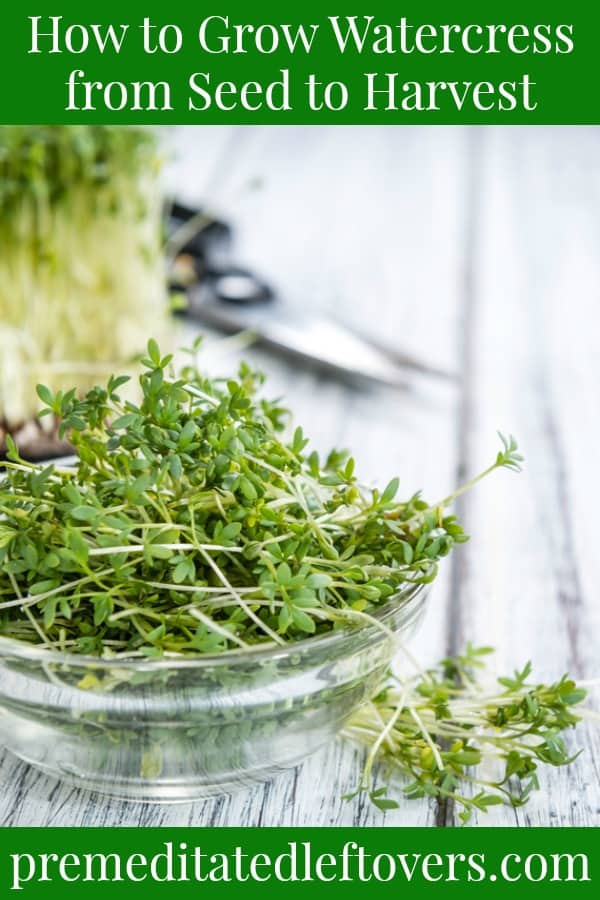
This guide on how to grow watercress includes everything you need to know about growing watercress in the garden.
Watercress was a staple in most depression era gardens. Watercress also worked its way into dainty tea sandwiches, as women loved the fresh flavor and distinct crunch the leafy green offered. I say it is time for watercress to make a comeback! If you have considered growing watercress, there are a few things you should know. Look below at some helpful tips for growing watercress, and see how easy it can be to grow this once popular plant!
How to Grow Watercress
First, let’s talk about starting your watercress indoors. In a nutshell, it isn’t advised. Because of the scattering process, you will use when planting your watercress seeds, and due to the fact that you need very moist soil, it can be hard to create the appropriate indoor growing conditions. But don’t fret. Even if you have a short growing season in your region, you can still enjoy success when planting your watercress directly into the garden. Direct garden planting is what we will cover below.
How to plant watercress seeds:
Begin by choosing a garden space that is in a full sun space. All threat of frost should have past. The area should get at least 6 hours of sun per day and contain loose soil. It is smart to add compost into the soil and turn it well before planting. This way you will have soft, high-nutrient soil ready for those tiny watercress seeds!
When planting watercress seeds, you will simply scatter the tiny seeds across the prepared area. You can lightly cover them and keep the soil moist (but not swamped) until the seeds start to sprout. Be ready, because this happens fast! You will see signs of life in just 5-6 days!
How to plant watercress seedlings:
Once your seeds start to sprout, you can start thinning them out. When spacing, the plants should be a good 8 inches apart.
If you are planting watercress seedlings directly into the ground, you will use the same method as mentioned above: full sun, soil with an organic compost ad in, and moist soil. You can then space the seedlings 8 inches apart in rows or clusters.
How to care for watercress seedlings:
Watercress seedlings never want to have dry roots. They do enjoy regular waterings; in fact, you can give them more than most garden plants. 3 inches a week applied at the base and not the foliage is ideal.
Watercress may start to turn white, brown, or yellow if it is experiencing a nutrient deficiency. Giving it a liquid plant food can help with these issues. Feel free to give your plants a dose of food right after planting and again a few weeks later.
Snails LOVE watercress. Plan on placing snail traps around the plants (a shallow dish with beer works) or use a food safe pest repellent. Pick the snails off by hand when you see them. It may not feel pleasant, but they can ravage an entire plant in no time!
As your watercress grows, pruning the ends of the foliage can help the plant become more bushier instead of spindly. The desired height of the watercress plant is about 4 inches.
How to grow watercress in containers:
If you are limited on space you can in fact plant watercress in containers. You should place a flat bed or planting box in a sunny area and use the same soil method as mentioned above. Sprinkle the seeds across the planting box and thin out once the seedlings start. It may be smart to keep a thin tray of water under the planter, so it can soak in additional water as needed.
When to harvest watercress:
As the weather turns cool, your watercress will be ready to harvest. If planting in the summer, your early fall months are the perfect time. DO NOT wait until the plant blossoms as it will be too late to harvest and the plant will taste bitter.
Simply snip the leaves from the plant, rinse well, and store in a cool place. The watercress foliage can be used in salads, on sandwiches, in sauces, soup, and more!
Let’s bring the watercress plant back. Consider these tips for growing watercress and add it to your gardening arsenal!


Leave a Reply