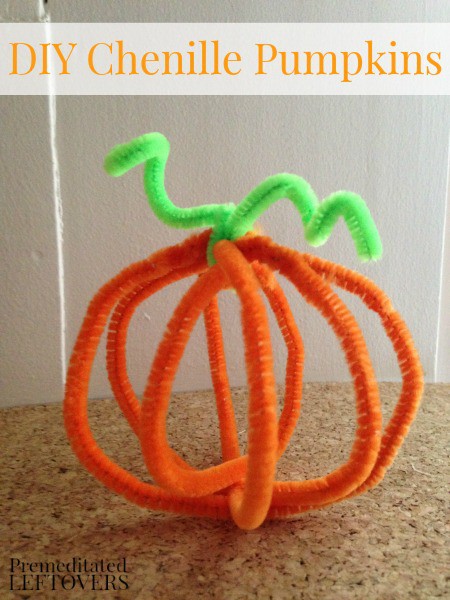
With a couple of pipe cleaners, you can quickly create your own patch of colorful chenille pumpkins. This is a great way to decorate your home or just enjoy some craft time with kids, all for just a few bucks. Take a look below at how you can craft your own chenille pumpkins, perfect for getting you into the spirit of the fall season.
DIY Chenille Pumpkins
Supplies Needed:
Orange pipe cleaners
Green pipe cleaners
Scissors
That’s it! We found a package of pipe cleaners at our local craft store for just $1. When is the last time you were able to create a cool craft for just $1?
Directions:
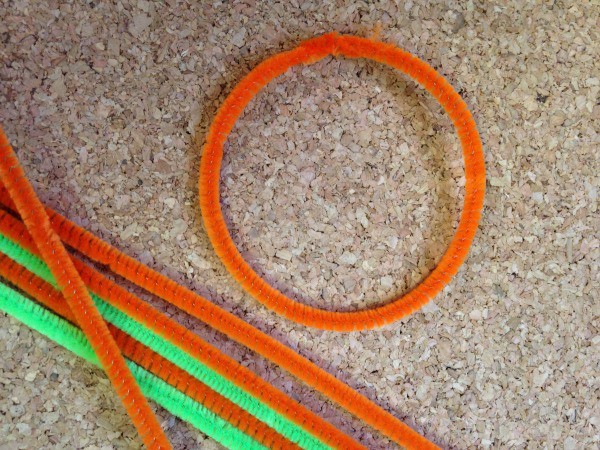
1. Begin by creating loops with your orange pipe cleaners. Bend them into a circle, and twist the ends to secure the loop closed.
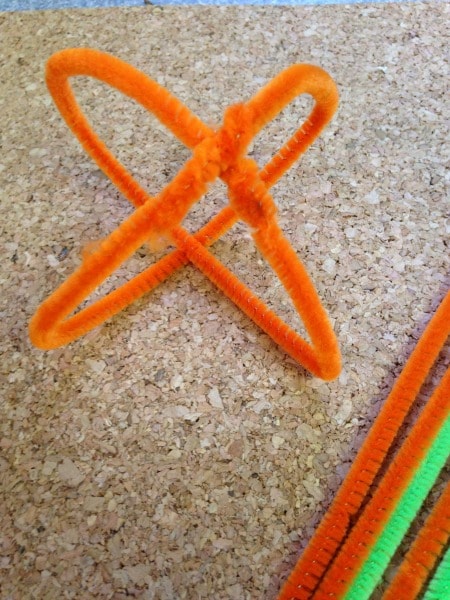
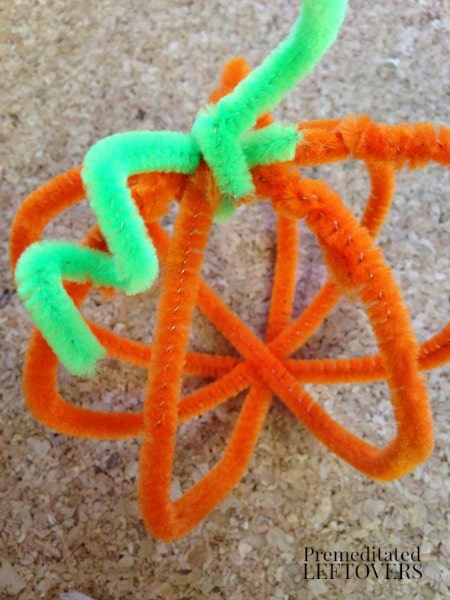
2. Take two looks and cross them into each other. See the picture for a great visual on how to do this.
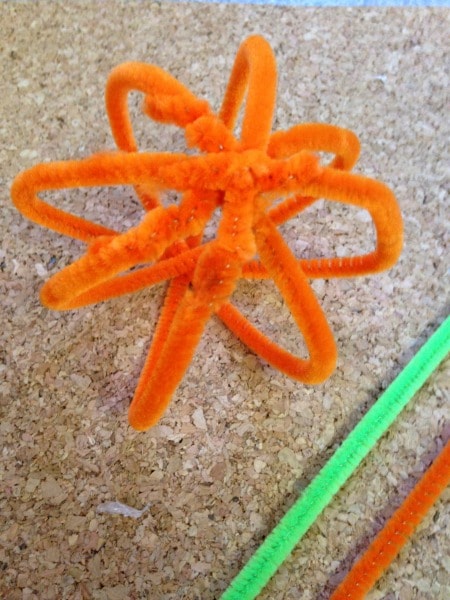
3. Take a third loop and repeat the process. You will take a total of five pipe cleaners and insert them into each other until a sphere is formed. Bend the pipe cleaners as needed to make the sphere nice and even.
4. Cut a few small lengths of green pipe cleaner. Twist it around the top of the sphere. Make it spiral by wrapping it around your finger or a pencil. This will now look like the stem and vine.
Your chenille pumpkin is now complete. Feel free to try these in a variety of colors for a whole pumpkin patch of fall fun! When you are done, set them out as fun décor.
$1 is all you need to craft these frugal and fun chenille pumpkins. Give them a try using this step by step tutorial and see how easy they can be!

Leave a Reply