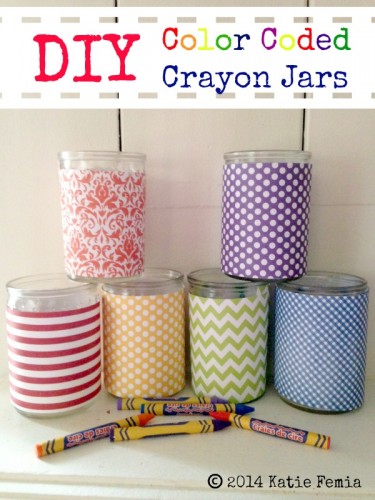
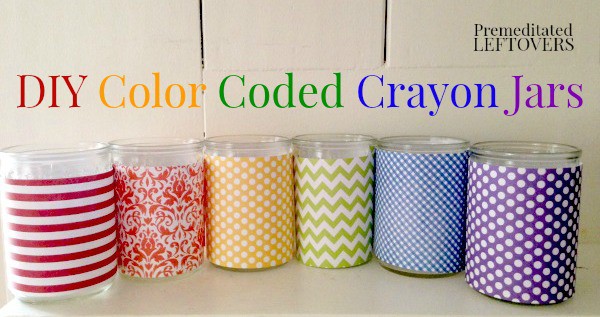
Kids LOVE to color. A box of crayons and some paper can provide hours of entertainment and are a great way to keep little minds occupied. When your kids color, keep their crayons organized and encourage classification skills with these easy DIY color coded crayon jars. These jars are a cinch to make and they only cost us around $4 to whip up. Take a look below at how you can make your own!
How to Make Color Coded Crayon Jars
Supplies Needed:
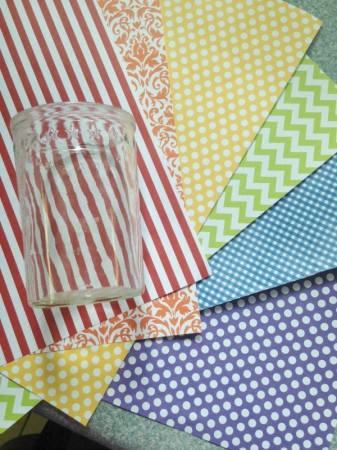
- Glass jars (we found jelly jars at our local thrift store for pennies each)
- Scrapbook paper in each color (red, orange, yellow, green, blue, purple)
- Scissors
- Glue
- Crayons
You can grab scrapbook paper at your local craft store for as little as .25 cents per piece. We picked a variety of fun patterns to add some real interest!
Directions:
1. Begin by cutting the paper into 3 inch strips (or to fit the size of your jars) as straight as possible.
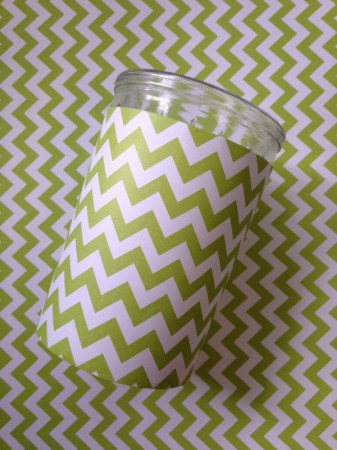
2. Wrap the paper strips around the jars pulling tightly as you do.
3. Secure the ends of the strips with glue and press them to the jar until secure.
4. Remove any excess by simply trimming it away with scissors.
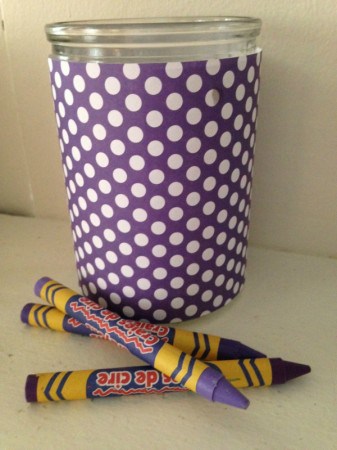
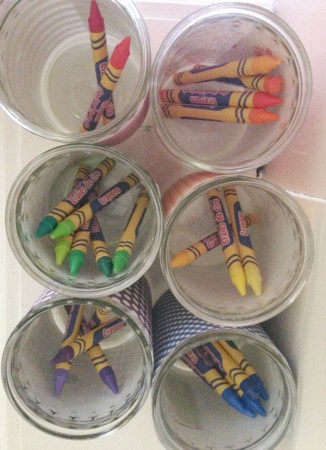
5. Now comes the fun part! Start sorting your crayons. Classifying colors and sorting them into their jar is a great way for kids to learn colors while also utilizing fine motor skills!
To use your color coded crayon jars, simply place them at your coloring area and allow for children to grab them as needed. When they are done, it is as easy as returning them to the designated jar.
Give these simple color coded crayon jars a try. Not only are they purposeful, but they look great too! They are sure to brighten up your art or play spaced while helping you stay organized at the same time.

Leave a Reply