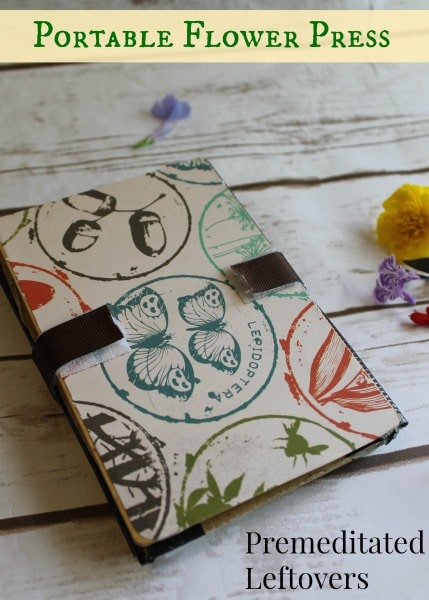
It seems these days everything is so go, go, go and centers around technology and flashing lights. I am on a mission to introduce my children to the simple things in life, to slow down and watch a caterpillar crawl along a branch, to catch a fish and throw it back, to gather wildflowers and lay on my back and look at clouds. So many things seem to have gone by the wayside like catching tadpoles and fireflies- I want to recapture that simplicity from my childhood. One way I am tackling this is by teaching them to craft things by hand instead of always picking it up ready made at the store, and getting outside for nature walks. We carry a backpack with us and in it is binoculars, a nature study guide, bug catching gear and our nature journals that we made here. Interesting flowers and leaves find their way to the bottom of the bag, crushed and hard to identify by the end of the day. We needed a way to gather and carry our nature treasures without lugging a 5lb flower press around. I came up with this mini version of a flower press, the perfect size to toss in your bag for gathering. Chipboard and even small wood pieces can be found at any hobby and craft store to create your coves.
How to Make a Portable Flower Press
Supplies needed:
- a small square of thin plywood, or chipboard-4×6 is a great size
- duct or electrical tape
- plain white paper
- corrugated cardboard
- 1″ sticky back velcro
- 1″ ribbon
- scrapbook paper
- spray adhesive
Directions:
Gather supplies.
Measure your wood/chipboard and cut 2 pieces of scrapbook paper to the same size. Apply adhesive spray to wood and paper, position paper on each piece and press down firmly, removing all air bubbles.
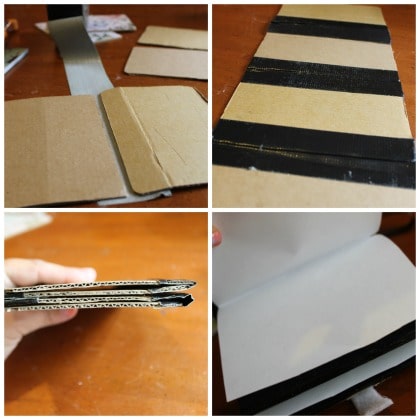
Cut cardboard pieces to size, you can use as many as you want but 5-7 keep it a nice small size.
Cut sheets of white paper, (like copy paper) one for every sheet of cardboard, to the same length but twice the width, fold in half. These will be a temporary part of your book and can be taken out and replaced when you remove your specimens.
Tape cardboard pieces by cutting a piece of duct tape to fit length wise, lay the cardboard so it covers up a little more than 1/3 of the tape width, add another piece of cardboard on the opposite side leaving a space in the middle. Repeat on the other side-this will create a hinge for the inside of your folding book. Continue until all cardboard pieces are joined. Fold cardboard pages back and forth to close up. Spray outside pages with adhesive and place the wood cover pieces on top, press down firm for 30 seconds and allow to dry. Place white folded paper between each accordion fold, front and back.
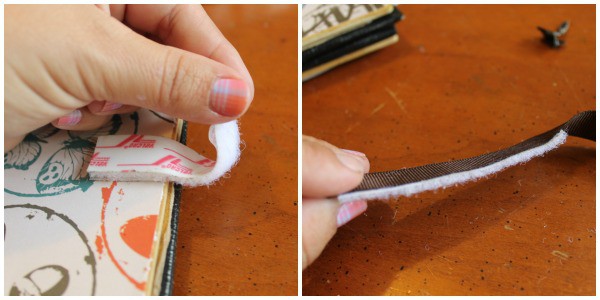
To make your closure that will also serve to put pressure on your book cut a piece of sticky back Velcro the thickness of your book plus 1″ for each side. Remove paper from one side and press it into book top and underside. repeat on opposite side of book with another length of Velcro. Remove tape from the top piece and press ribbon into adhesive, trim ribbon to length.
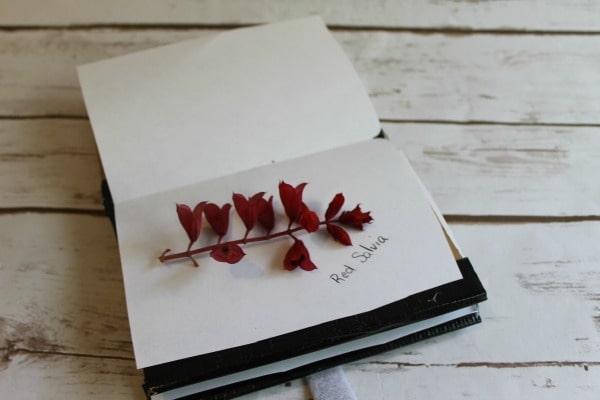
Your book is ready to fill with flowers, leaves, and grass specimens. Be sure to carry along a pencil to record information such as where you gathered it, neighboring plants, or anything else you want to remember.The Velcro no only holds your book closed but serves to put some pressure on the book to press your flowers. When closing draw the Velcro as taut as you can.


Jessica says
Thank you for this project idea! Do you have any recommendations for chipboard sources? I am planning a project for our homeschool co-op, and I am having trouble finding boards that are actually made out of wood. Or is there a thickness of cardboard that would work?
Thanks!
Fire Pixie says
I saw one of these a few years ago in a forestry center and thought it would be great to make one with my daughter. I fight wildland fires for a living and make a point at each fire I am at to pick different foliage and press them in my notebook I carry in my pack with me so that when I come home I can make bookmarks for her from all of the places I have been. It is a way to bring her along on my journey as I write her letters every night, so she knows where the foliage came from and what I was doing when I found them. I am excited to make one of these with her so we can both start sharing our summer botanical finds.
Tara Jefferis says
Hi Jody, thank you so much for these instructions, I pinned them via Every Bed of Roses. My hubby and I tackled the project this morning, excited to see how the flowers come out. Have a great day. Tara.
Jean | DelightfulRepast.com says
Jody, that looks great! I once had to improvise. We were in England when I picked a buttercup in a field and wanted to save it, so I dug out my London A to Zed book, put the flower in the middle of it, then sat on it for the next leg of our journey! Left it in there until some time after we got home and found the flower in beautiful condition. I still have it decades later. Still, I would like to do this project and have it handy.
Jody says
Jean I have found a good heavy book to be a an excellent press! But the kids and I had as much fun making it as we do using it.