• Home
  • About
    • Privacy Policy
  • Blog
  • Prep-Ahead Meals Cookbooks
  • Recipes
  • Lifestyle
  • Gardening
  • Kid’s Activities
  • Gluten-Free Recipes
  • Budgeting Tips
↑

Premeditated Leftovers™

Prep-Ahead Meals, Cooking Tips, and Frugal Living

  • Cookbooks
    • Prep-Ahead Breakfasts and Lunches
    • Prep-Ahead Meals From Scratch
  • Recipe Index
  • Home
  • Blog
  • Recipes
  • Gluten-Free Recipes
  • Lifestyle
  • Garden
  • DIY
  • Kids
  • Budget

You are here: Home / Recipes and Cooking Tips / Bunny Fruit Juice Gummy Recipe

Bunny Fruit Juice Gummy Recipe

March 6, 2019 by Alea Milham Leave a Comment

This post may contain affiliate links. Read our disclosure policy here.
1941 shares
  • Share
  • Tweet

This homemade gummy recipe is easy to make and only uses 3 ingredients.

Jump to Recipe

Easy bunny fruit juice gummy recipe

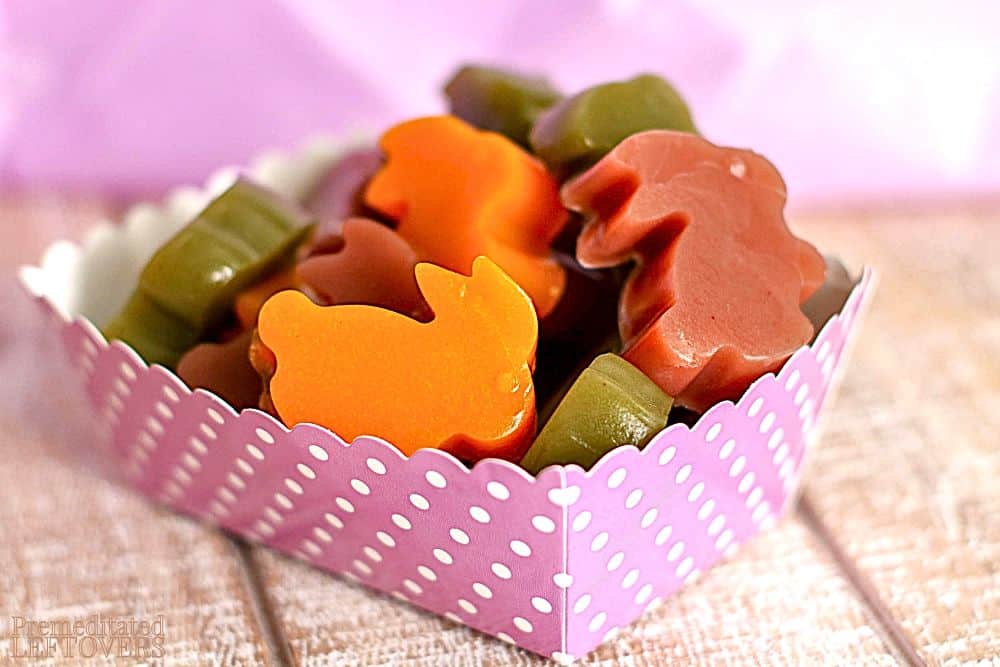
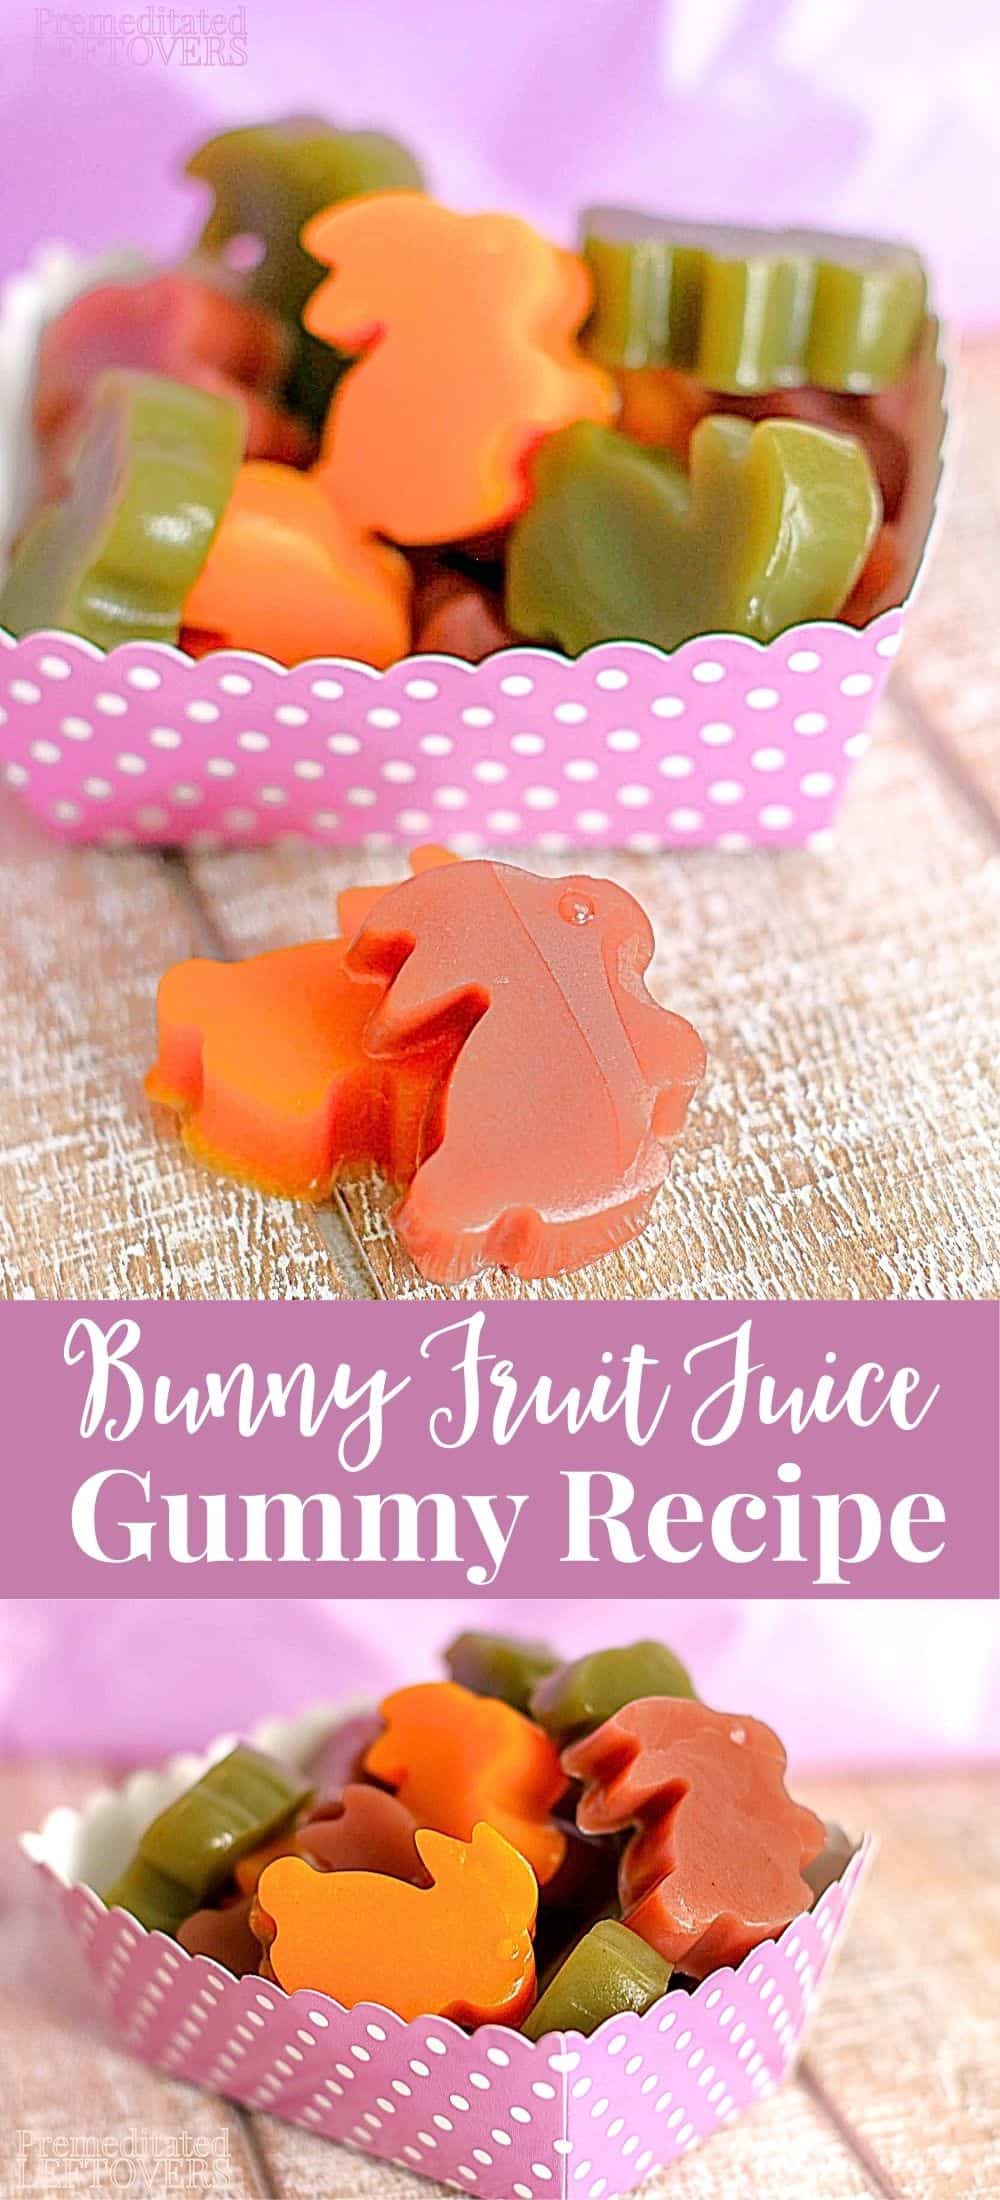
Instead of a gummy bear recipe, this is a homemade gummy bunny recipe using real fruit juice, gelatin, and honey. These make a healthy fruit gummy for Easter. However, if you don’t want to make bunny gummies, feel free to use this recipe to make healthy gummy bears or whatever shape of gummy candy that you like.

How to Make Gummies

To get the deep color on the gummies without using artificial colors, we used Naked Red Machine, Naked Mighty Mango, Naked Blue Machine, and Naked Green Machine. While you can use regular juice, I like that the Naked juices are packed with real fruit, fiber, and Omega 3s.

We added a little honey to this gummy candy recipe to create sweet fruit gummies without refined sugar.

Unflavored beef gelatin powder is used to thicken up the juice and produce the gummy texture that kids love.

Bunny Fruit Juice Gummy Recipe

Each batch makes approximately 18 gummies. We made 4 batches; one batch of each of the naked juice flavors mentioned above.

Ingredients:

  • 1 cup all natural fruit juice
  • 3 tablespoons beef gelatin powder
  • 1 tablespoon honey

Supplies:

I used a Pink Bunny Mini Silicone Mold By Celebrate It™ to get this bunny shape. Celebrate It™ is an active brand carried at Michael’s.  But right now, you can only find this Pink Bunny mold on Ebay. We have 3 molds which allows us to make all 18 bunnies at one time.

But you can use any type of silicone gummy bear molds that you wish.

Directions:

  1. In a medium saucepan, heat 1 cup of juice over medium heat.
  2. Stir in the gelatin and the honey. Continue to stir as the mixture thickens and then thins to an even consistency.
  3. Spoon approximately 1 tablespoon of the juice mixture into each silicone well.
  4. Refrigerate the fruit juice gummies for 2 hours before removing them from the silicone mold and serving.

Homemade juice bunny gummies in bowl.

Printable Recipe for Bunny Fruit Juice Gummies

Easy bunny fruit juice gummy recipe
Print Download PDF Start Cook Mode

Bunny Fruit Juice Gummy Recipe

Create delightful Bunny Fruit Juice gummies using just 3 ingredients. A healthy treat for all occasions that kids will love.
Course Dessert
Cuisine American
Keyword Bunny Fruit Juice Gummy Recipe
Prep Time 5 minutes minutes
Cook Time 5 minutes minutes
Cooling time 2 hours hours
Total Time 10 minutes minutes
Author Alea

Ingredients

Ingredients:

  • 1 cup all natural fruit juice
  • 3 tablespoons beef gelatin powder
  • 1 tablespoon honey

Instructions

Instructions

  • In a medium saucepan, heat 1 cup of juice over medium heat.
  • Stir in the gelatin and the honey. Continue to stir as the mixture thickens and then thins to an even consistency.
  • Spoon approximately 1 tablespoon of the juice mixture into each silicone well.
  • Refrigerate the fruit juice gummies for 2 hours before removing them from the silicone mold and serving.


More Healthy Snack Recipes

Chocolate Dipped Clementine Slices

Peanut Butter Banana Chips

Crispy Kale Chips

Chocolate Raspberry Bark

Would you like to save this article?

We'll email this post to you, so you can come back to it later!

1941 shares
  • Share
  • Tweet

About Alea Milham

Alea Milham is the owner of Premeditated Leftovers and the author of Prep-Ahead Meals from Scatch. She shares her tips for saving money and time while reducing waste in her home. Her favorite hobby, gardening, is a frugal source of organic produce for her recipes. She believes it is possible to live fully and eat well while spending less.

Leave a Reply Cancel reply

Your email address will not be published. Required fields are marked *

Recipe Rating


Search

Recent Articles:

A slice of barbecue chicken pizza, ready to eat.

Barbecue Chicken Pizza

Homemade Sour Cream

homemade honey baked ham recipe

Honey Baked Ham

BROWSE:

  • Blog
  • Cookbooks
  • Recipe Index

ABOUT:

  • About
  • Contact
  • Privacy Policy
  • Disclosure

Welcome. I'm Alea!

On Premeditated Leftovers I share simple recipes made with whole foods, practical shopping tips, time saving techniques, and meal planning strategies. I also share tips for minimizing food waste, so more of the food that is purchased ends up on the table.

While volunteering as a budget counselor, I realized that food is the element of most people’s budgets where they have the greatest control. I set out to develop low-cost recipes from scratch to prove it’s possible to create delicious meals on a limited budget. Eating well while spending less is about more than just creating recipes using inexpensive ingredients; it’s about creatively combining ingredients so you don’t feel deprived and are inspired to stick to your budget.

Copyright ©2026, Premeditated Leftovers™. All Rights Reserved.
Design by Pixel Me Designs

Bunny Fruit Juice Gummy Recipe

Bunny Fruit Juice Gummy Recipe

Ingredients

Ingredients:
  • 1 cup all natural fruit juice
  • 3 tablespoons beef gelatin powder
  • 1 tablespoon honey
1
In a medium saucepan, heat 1 cup of juice over medium heat.
2
Stir in the gelatin and the honey. Continue to stir as the mixture thickens and then thins to an even consistency.
3
Spoon approximately 1 tablespoon of the juice mixture into each silicone well.
4
Refrigerate the fruit juice gummies for 2 hours before removing them from the silicone mold and serving.

Hope you enjoyed cooking this recipe!

Please rate this recipe to help others find it.

step 1 of 4

Share anywhere