I love starting my seedlings inside in the spring. I always start my coo-weather crops in late February even though the plants cannot be put outside until early May. I start my warm weather crops in late March, but they can’t be planted outside in my region until after Father’s Day. Since my seedlings will be growing inside for a couple months they have an opportunity to become quite established before I harden them off and transplant them to my garden. For that reason, I often use yogurt cups, so there is plenty of room for the roots to develop.
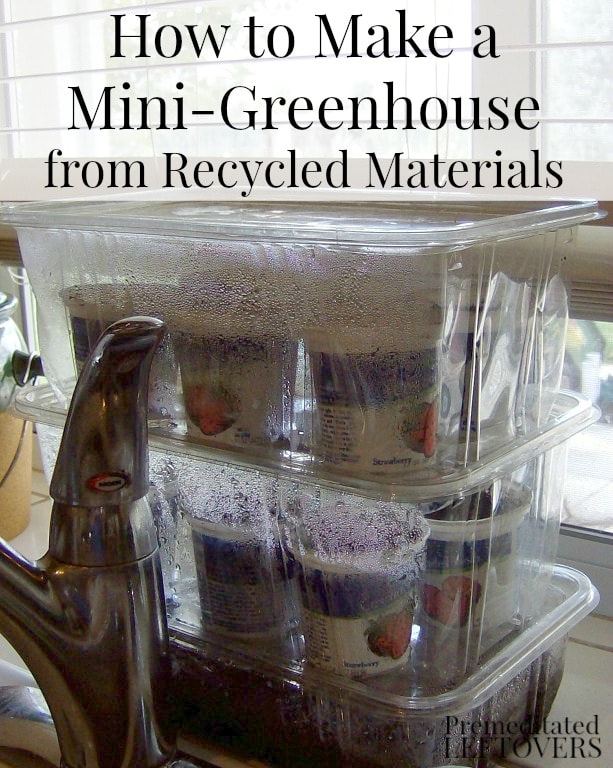
How to Make a Mini-Greenhouse
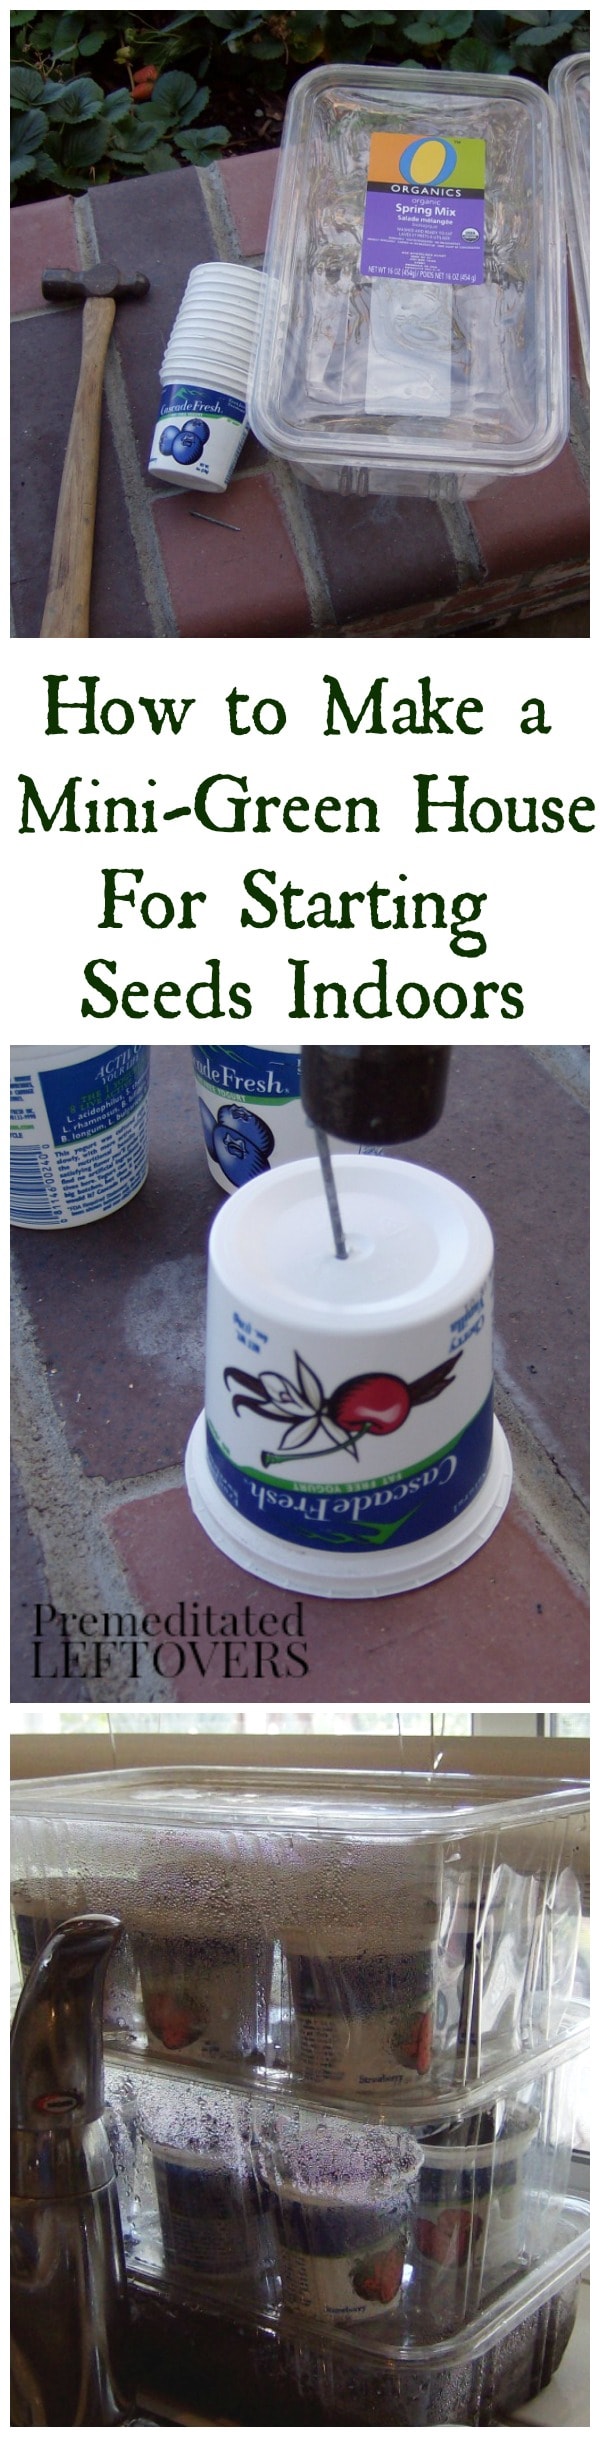
Items needed for this project:

10 oz. empty salad container, washed by hand (these are often made of cornstarch and will melt in the dishwasher).
6 empty yogurt cups per salad container, washed (these are rugged enough to be put in the dishwasher when you have extra room).
hammer and 1 nail
Directions:

With the hammer and nail, make two holes in the bottom of each yogurt cup. Do not worry if you create a crack in the process; it will still work.
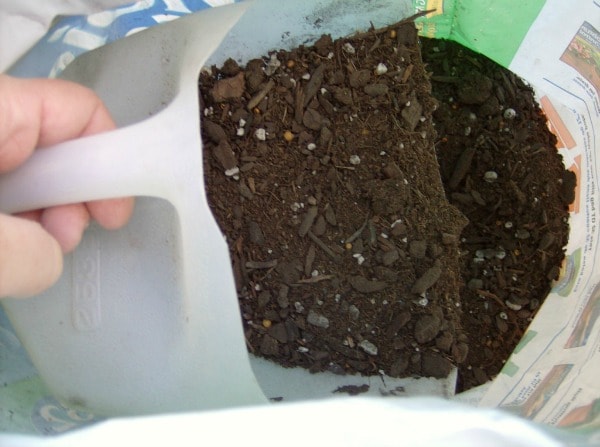
Scoop dirt into the yogurt cups. If you can’t find a shovel, you can create a scoop from a milk jug.
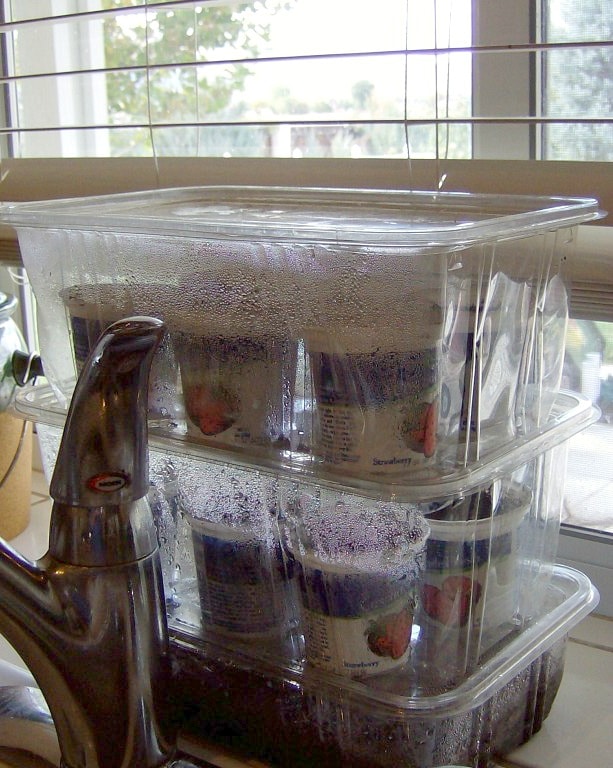
Add seeds, water, and put the lids on until the seedlings have emerged:

Then care for the seedlings according to the package directions.
I did not put the lettuce seeds in yogurt cups. I put dirt directly into the salad container and then sowed the seeds directly in the dirt. The lettuces will be put out earlier than the other plants, so they don’t need as much room for root development.
Have you found ways to repurpose and reuse items in your garden?
More Vegetable Gardening Tips:
How to Start Square Foot Gardening
How to Start Seeds in Egg Shells

Elizabeth says
Do you need to poke ventilation or air holes in the salad container? Or just the yogurt cups? Are the holes in yogurt cups necessary?
BJ Jackson says
I discovered that used K-cups are the perfect size for the little Netted Coir pellets. Just clean them out and rinse out. Pop in a pellet that has been soaked and plant your seeds.
Alea Milham says
Great idea! Thanks for sharing it with us.
June says
Your ideas are excellent. I would recommend some extra lighting as the seedlings are are somewhat spindly. Enough light will mean stronger more resilient plants.
Anita Anderson says
After 6 years of trial-and-error container gardening, my container garden has finally reached the point where it supplies 80% of my daily vegetable needs. I learned how to make my own compost, and reuse a large amount of any plastic container or bottle I initially used.
I now have a container kitchen herb garden, a container medicinal herb garden (for teas, DIY cosmetics, oils and pultices), and a vegetable garden with all the veggies I love to eat.
I also LOVE all the other websites of fellow gardeners – incl. yours – because I always get new ideas from them.
I think that any avid gardener will agree: gardening is contagious, a lot of work, but also a lot of fun–in short: a labor of love.
fedz says
simply love the idea
jennifer says
LOVE THIS IDEA!!!!! thanks~!
Alison says
I wish that I saved some of those containers! NUTS!!!! I have the dirt and seeds but no containers. I think that I need to start searching for containers quick.
Julia @ juliecache says
Thanks for linking up! We also use small containers from the bakery. Happy gardening!
Maggie says
Another avid gardener here, I do seed starting under lights for some things (eggplant) but more and more do the winter sowing in milk jugs. I’m looking at heading out to the garage when I log off to get the indoor set up going. You should have a great garden!
Anne @ Quick and Easy Cheap and Healthy says
Oh my goodness, thank you so much for this! I am determined to be successful in my gardening this year, and this will be such a huge help.
April @ The 21st Century Housewife says
This is such a terrific idea – and a great way to get started on your garden. It’s nice to find a way to repurpose these containers, as there is nowhere I can recycle them locally – and it’s perfect timing to get started on my garden. Thank you for sharing this!
Judy@Savoring Today says
Brilliant! I have thrown away more of those containers than I could count. This is a perfect use for them, thanks for the idea and inspiration!
Tricia @ Hodgepodge says
Wonderful!! Sounds like the cure for spring fever as well. Thanks Alea!
Annie Kate says
I’ve never used those salad boxes, but it sounds like a great idea. Perhaps I’ll get my friends to save me some of them.
Here’s what we’ve done the last few years, using other recycled containers.
http://anniekateshomeschoolreviews.com/2011/04/frugal-seed-starting-homeschool-style/
Carol J. Alexander says
I had a salad container like this set out for this very purpose and while I was napping my teenage son took out the trash, saw the container, and decided it needed to go. 🙁
monique says
I reuse flower pots all the time. I was given some 5 and 7 gallon containers from a nice man who owns a nursery. Today I was freecycled some kitty litter containers to make a worm compost bin. I’m so excited!
Vicky says
Such a great idea! I’l be starting my herbs in a couple of weeks!
Candace says
I saved my little salad containers recently because I thought they would make great little greenhouses. I haven't tried it yet but I'm excited to see that they do work for that! Thanks!
Anonymous says
Obtain and pick some good things from you and it helps me to solve a problem, thanks.
– Henry
mitchdcba says
My dad has decided to grow a little small back yard vegetable garden. But, I do worry, he had a fall a few months back and cracked a rib, he is slowly getting better.
backyard greenhouse
LV says
I have tried this, but never seemed to work out. I just wait until I can plant in the yard. I do enjoy being out in the yard when it is warm.
Stine in Ontario says
Yes, I have grown seeds in mini greenhouses like yours…and they really work! Excellent post!
Cathy says
Brilliant use of those salad container. Now I wish I had saved more.