Worms may be slimy and creepy, but the truth is they are a gardener’s best friend. Worms can help aerate your soil and make it nutrient rich, which ultimately makes for a more productive garden. Starting your own worm garden is easy, and it isn’t nearly as creepy or slimy as you may think. Here are some helpful tips for how to start a worm garden of your own!
How to Start a Worm Garden
1. Establish your space.
You can use a space as small as a bucket or as large as a plastic storage tote. Just use a size that works for you and your needs. It is helpful to use a container you can cover so that the worms get the shade they love as well as stay contained to the space.
2. Prepare the environment.
Worms love a dark environment that is moist and easy to navigate. Prepare the environment of your worm garden with newspaper that has been finely shredded. Black and white paper works best and seems to be preferred over colored or super glossy paper. Once it is shredded, layer it into the space and then mist it with a water bottle or hose. You want the paper to be nice and moist but not sopping wet.
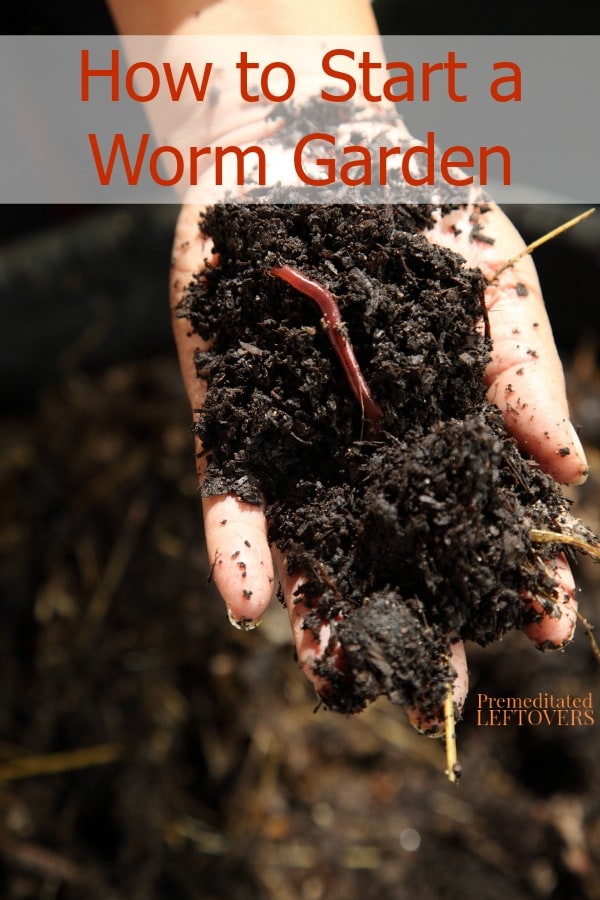
3. Add your worms.
You can now add your worms. Red worms work great and can be found at most bait shops. You can use worms and night crawlers found outdoors but they don’t seem to be as aggressive of eaters. Instead, opt for red worms if you can and get better results.
4. Add some food.
You can now add the food scraps to the worm garden. You can use any food scraps as long as they aren’t meat or dairy. Some ideal food scraps would be fruit and vegetable peels, egg shells, and bread scraps. You want to feed the worms daily if possible, since they have huge appetites.
5. Be patient.
Keep the worm farm dark and damp, and continue to add food scraps daily. Gently turn the contents to air them out and mix them. Then, be patient! It may take a few weeks for the worms to start composting the scraps and turning them into rich vermicompost. You will know it is ready when it resembles dark coffee grounds.
When you are ready to remove and use the vermicompost, just dig right in! Just be sure to keep the worms in the container as you want them to get right back to work. With the proper care, your worm garden should function and perform for you all season long.
Gather your supplies and see how easy it can be to build your own worm garden. It is a great way to ensure success in your garden thanks to the help of your creepy, crawly friends!
More Composting Tips
How to Get Started with Composting
7 Frugal DIY Compost Bin Projects

Traci says
Hello. Can the worm garden survive the winter weather? I live in Philadelphia, PA. Thanks for the information; easy to follow and concise.
Brenda says
I live near Harrisburg, PA. When I had red worms in my composter I would winter them over in my unheated garage in a large bin with lots of compost. I’d feed them scraps over the cold months. They make some of their own heat, so did fine in there. I would donate my extra red wigglers to Messiah College for their vermiculture needs and finally decided not to keep any for myself. But now I’m thinking of getting a few again.
Carole Reid says
Should I put the worm container in the shade as opposed to in the sun? I live in SC and it gets really hot. Is it too late to start a worm garden in the fall?
Alea Milham says
I would place the worm container in a shady or part-sun location. No, it is not too late to start a worm garden.