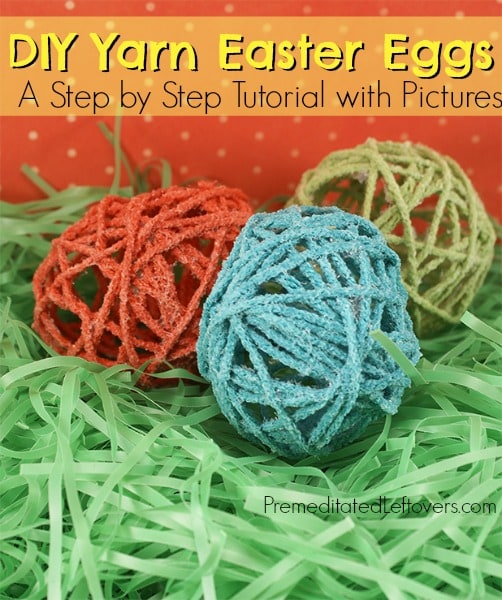
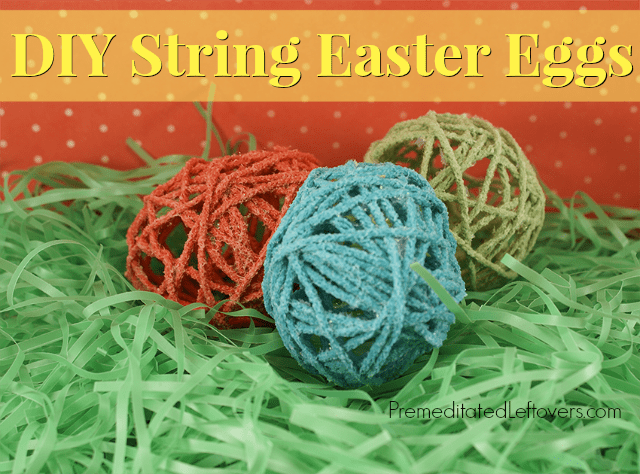
My friend David is sharing a tutorial for DIY Yarn Easter Eggs:
These DIY Yarn Easter Eggs are a fun and easy Easter craft to do with kids. The hardest part is waiting for the eggs to dry!
You can use the string Easter eggs to decorate for Easter. Place them in a basket and use them as a centerpiece on your table or hang them by a string and hang them from a Easter tree. You can also put a little treat inside the yarn Easter egg and add it to your child’s Easter basket.
DIY Yarn Easter Eggs
Materials Needed:
1 – 12″ Balloon (more if you want to make multiple colored Eggs!)
Yarn Colors of your choice (I prefer using pastel and spring colored ones)
1 Bottle of White School glue (It dries clear. Using washable glue is fine, but you can not use glue sticks for the this project)
1 Pair of scissors
1 Small paint brush
1 Pair of tweezers
Extra String to hang your Easter eggs to allow the glue to thoroughly dry.
Directions:
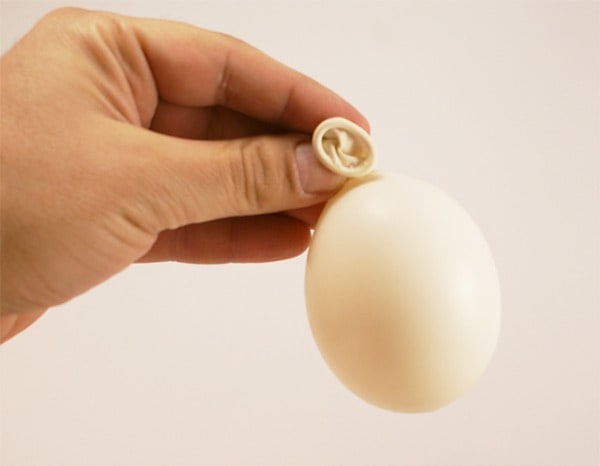
1. This is going to be the hardest part! By nature, you want to blow the balloon up completely. DON’T! You’re really going to use a single puff of air into the balloon. It’s just enough to expand the balloon into a natural formation of an egg. Remember, you don’t want to blow the balloon up too much…unless you want bigger egg designs!
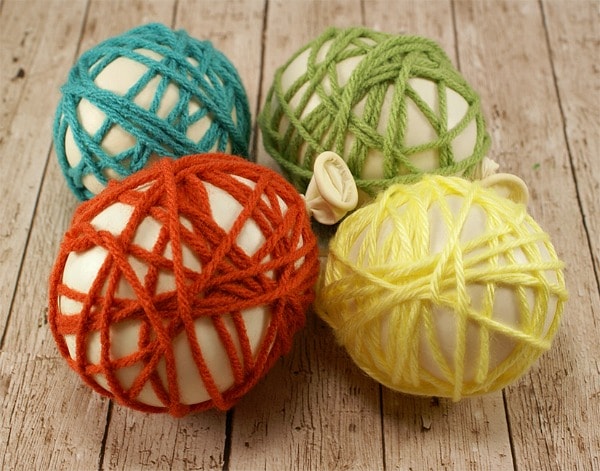
2. Wrap the yarn in many different directions around the balloon “egg”. To keep the strings in place, simply tuck under the yarn being wrapped around the balloon. The tension will keep it in place.
3. Pour Glue on one section of the your yarn balloon egg at a time. Use the paint brush to facilitate the glue spreading process. I use a paint brush because it helps to get the glue into all of the nooks and crannies created by the yarn over lap. You really want to saturate the yarn with glue. This will ensure that when the yarn dries, it will be super sturdy.
4. Tie a string at the end of the balloons and allow to air dry. This can take upwards of 8 hours, depending on how cold or warm it is in your home.
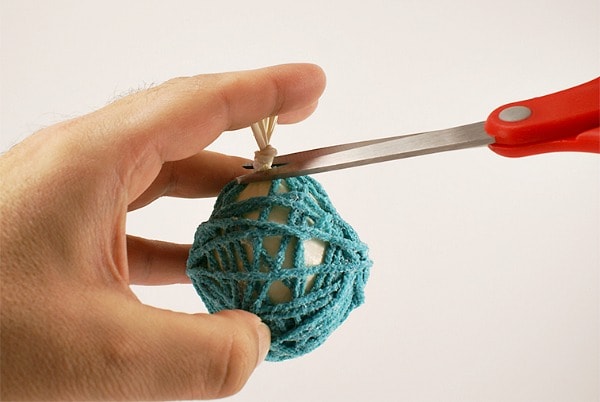
5. Once the balloons are completely dried, cut the end of the balloon off (where you tied the knot). Once this is done, use scissors or the end of the paint brush to help in pushing the deflated balloon off the inside of the eggs. I used a pair of tweezers to help pull out the balloon from the egg.
And you’re done! To have extra fun with this project, you can always squeeze in some candies or other decorations into the middle of the egg. Remember the egg that you made isn’t fragile and you won’t break it! So don’t worry about prying open the spaces of the egg to put in some fun treats.
You can also add some glitter to the outside of the Easter eggs to make them sparkle. I despise cleaning up glitter off the floors and tables, so I’m a glitter free home 🙂
More DIY Easter Ideas:
How to Naturally Dye Easter Eggs
David is a Blogger, Knitter, Social Media Manager, Puppy lover, Hug Giver, Heart Healer, Family Loving, God loving, Couponing maniac kinda guy. You can find him sharing recipes, deals, and DIY projects at Food ‘n Service and you can connect with him on Facebook or Pinterest.

Donna Reidland says
These are very cute!
Lauren says
Your Easter eggs are cute! Thanks for sharing them on Craft Frenzy Friday on Mom Home Guide!
Erlene says
I remember doing this with the kids when they were little. This is a fun craft and easy for kids to do.
Jessica says
What a cute, easy idea!