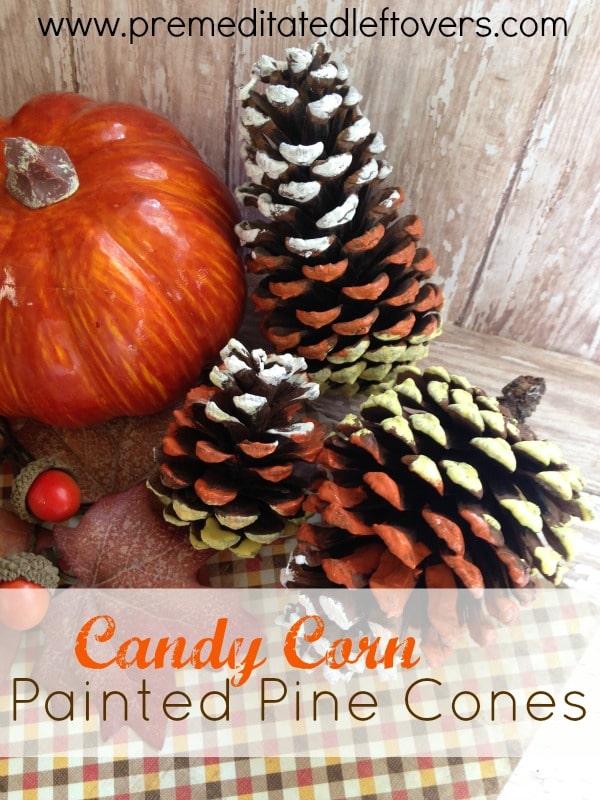
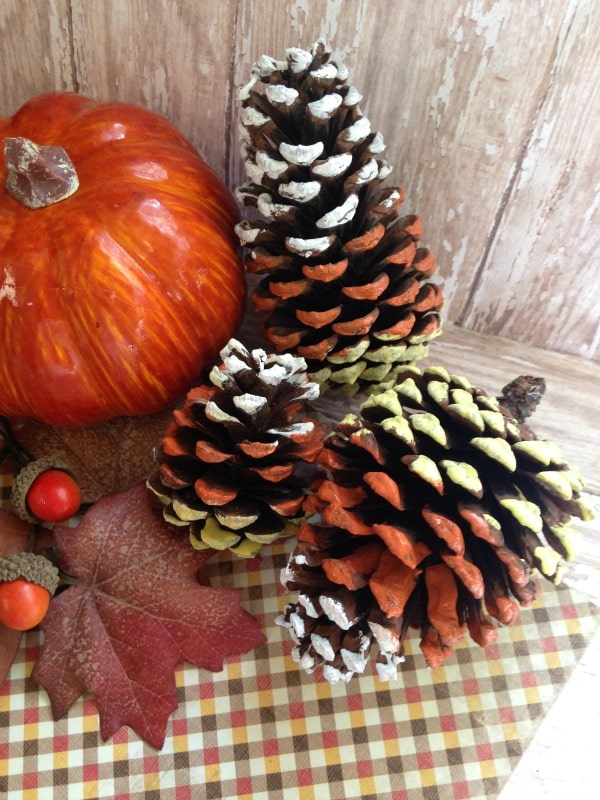
Fall is the time for all things candy corn! Even if you don’t care to eat candy corns, it is still fun to do some fall crafting in the colors and styles of them. Take a look at these easy to make Hand Painted Candy Corn Pine Cones, perfect for using as bowl fillers or centerpieces. Making your own is easy, just give these simple steps a try!
Hand Painted Candy Corn Pine Cones
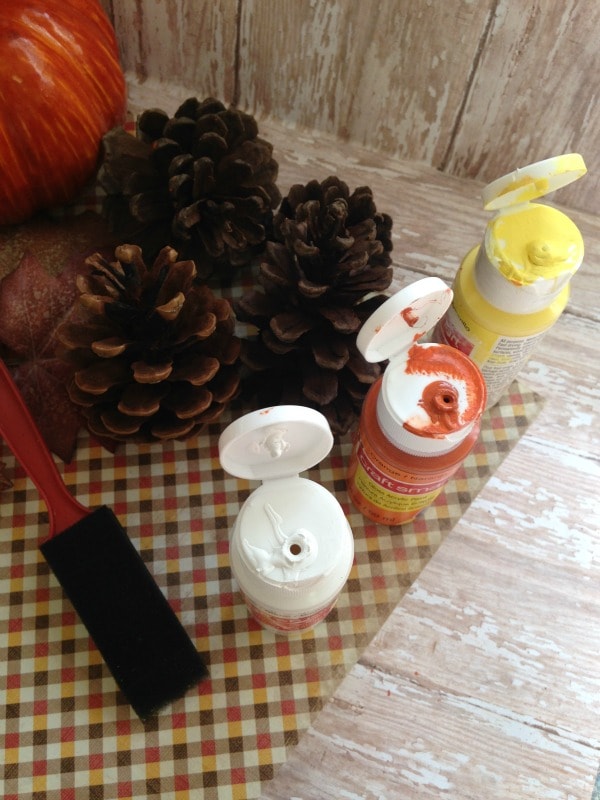
First, let’s take a look at what you will need.
Materials:
- Orange, white, and yellow craft paint
- Paint brush
- Pine cones
Make sure you have a protected work space to paint in as this job can get messy. Newspaper works great! Now let’s get started.
Directions:
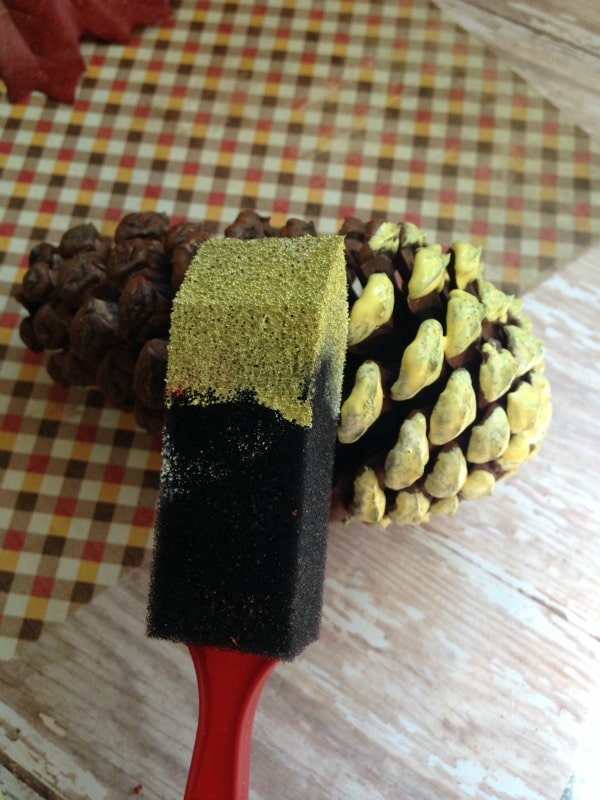
- Begin by applying the yellow paint onto the pine cones. Apply two coats, dabbing the cones until they have the coverage you want. If you want a more rustic or vintage look, you can apply a thinner coat so plenty of the pine cone shows through the paint. Allow to dry.
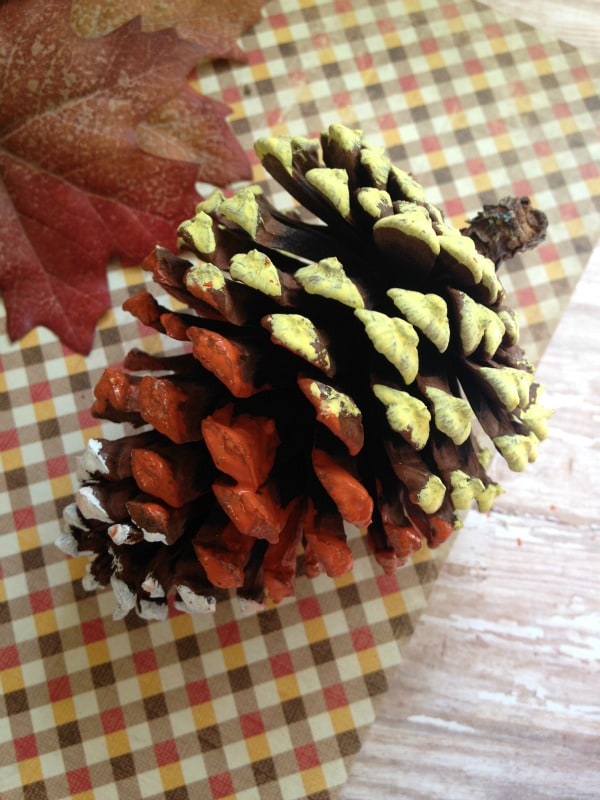
- You are going to follow up with the orange paint next. Apply it next to the yellow dabbing carefully, applying until it is the coverage you wish. Allow time to dry.
- You want to finish off with the white paint. It will go on the top tip of the pine cone. Apply two coats or until it is the coverage you wish.
Make sure you allow for plenty of time for your paint to dry before trying to display these pine cones. Once dry they can go in a clear vase, a bowl, be used on wreaths, or even as place card holders. There really are a ton of uses for them! When the season is over, wrap them in paper or in a plastic bag and they will be good again for next year.
So even if you don’t like the taste of candy corn, you can’t say that this candy corn painted pine cone craft isn’t pretty sweet! Give it a try this fall season!
Want to see another cool candy corn inspired craft? Head over to The Homespun Hydrangea where this candy corn bottle craft is waiting for you.
More Frugal Fall Crafts
DIY Scrap Wood Pumpkin Patch Basket

Leave a Reply