
Travel games and activities are a great way to maintain your sanity while waiting at a restaurant, traveling in the car, or sitting at the Dr.’s Office. They also make a thoughtful and personalized gift for birthdays and Christmas. If you have a little animal lover on your hands, this box will bring them hours of fun (and it is pretty fun for you to make as well). Add a farm themed toob to your box for play and it’s ready to gift. For less than $20, I was able to pick up all the supplies to create a personalized box to reflect a special little one’s interest. Keep an eye open for more themes to come.
DIY Farm Travel Box Tutorial
Supplies Needed:
- Unfinished wooden box with handle
- Spray paint
- Farm themed scrapbook paper/sticker
- Felt, sticky back
- Farm toob
- Pony beads
- Hot glue gun/hot glue
- Spray adhesive
Directions:
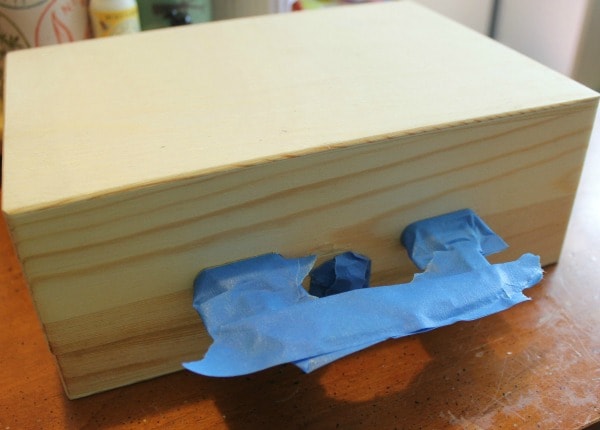
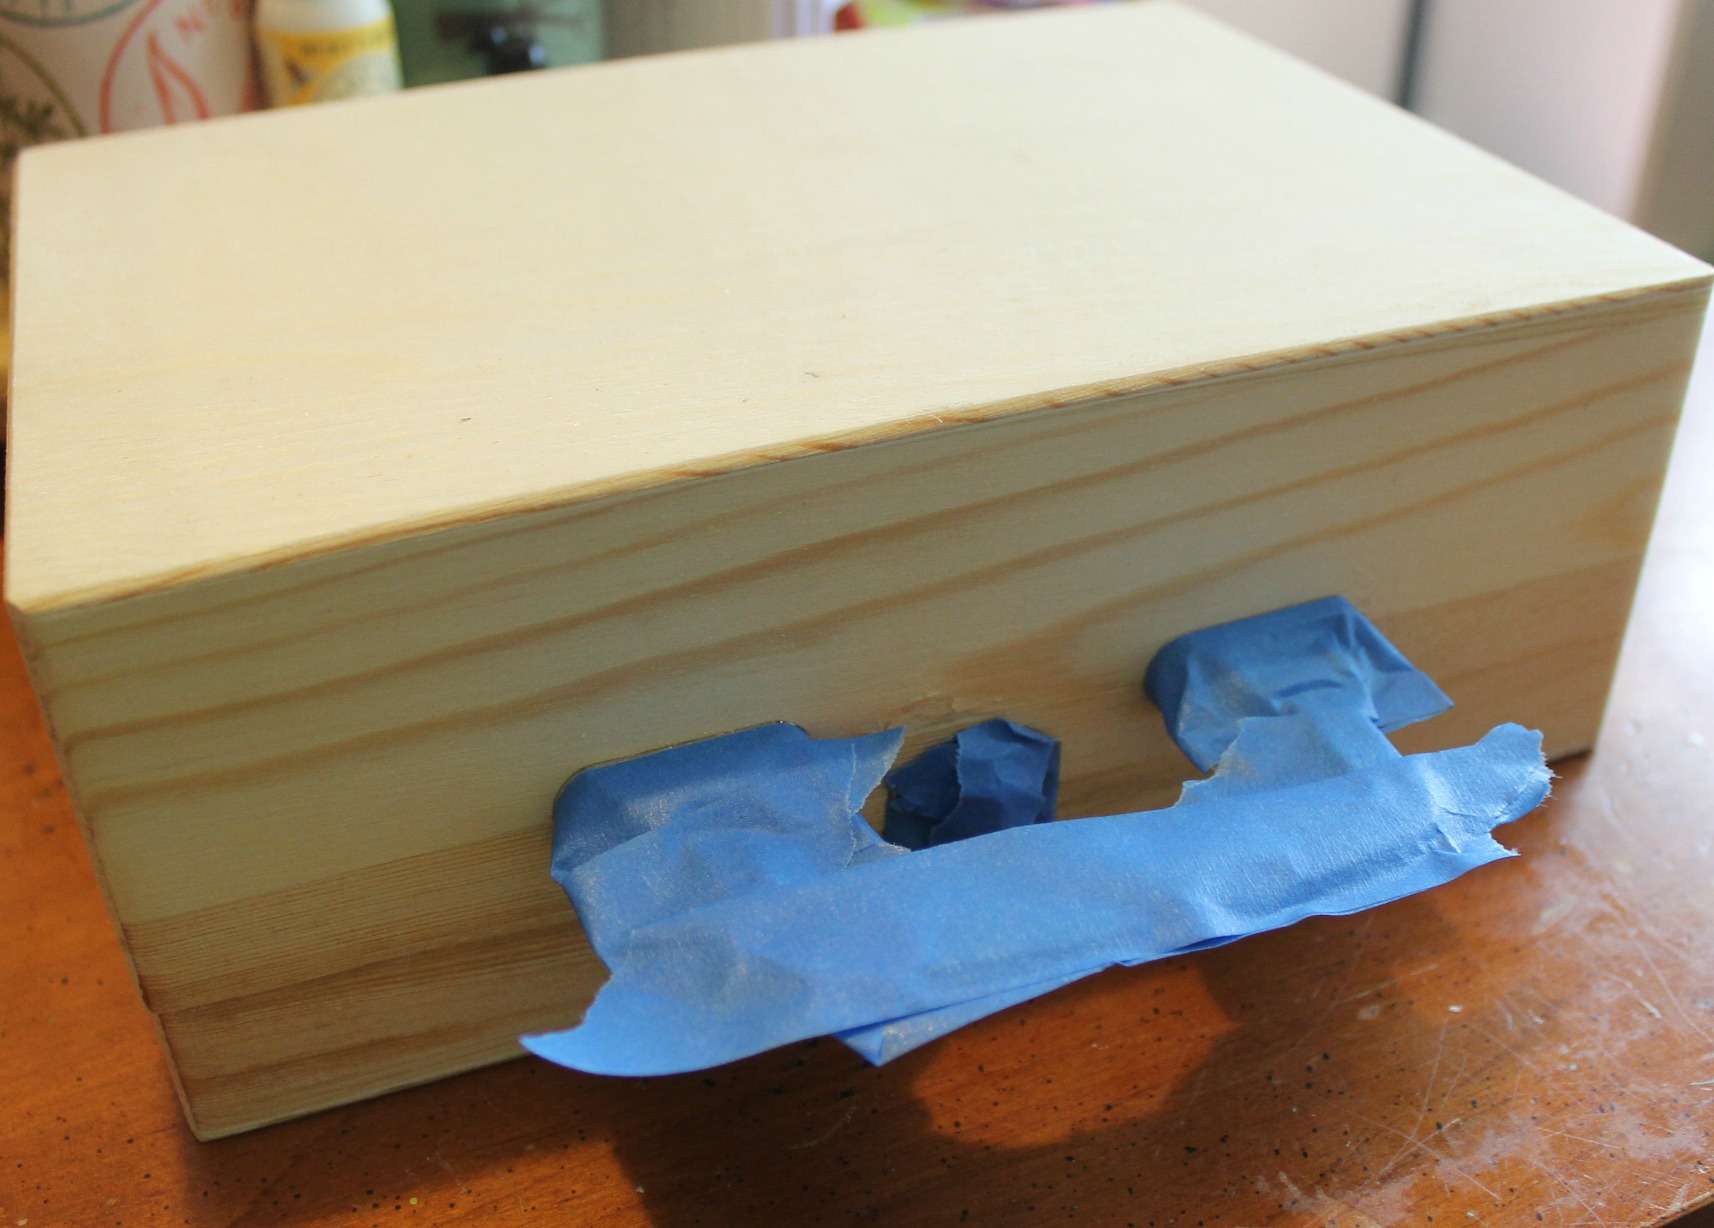
Tape off hardware and spray paint the box your desired color, letting it dry between each coat, preferably overnight for the final coat. I chose white to compliment the white and red gingham paper I was putting on front and back.
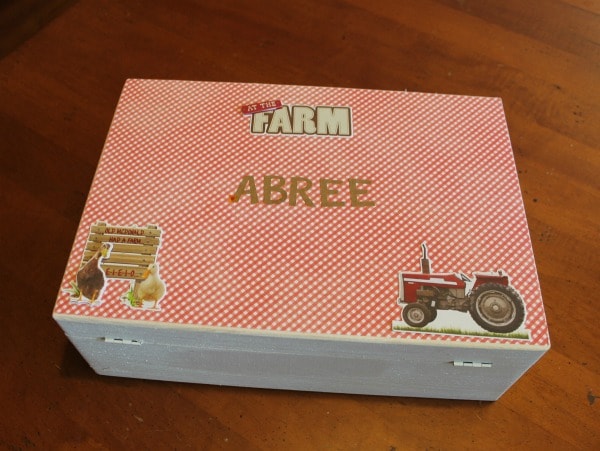
Measure the box top and cut paper twice for front and back. Spray well with adhesive and smooth the paper onto the box, paying close attention to the edges to make sure they lie flat.

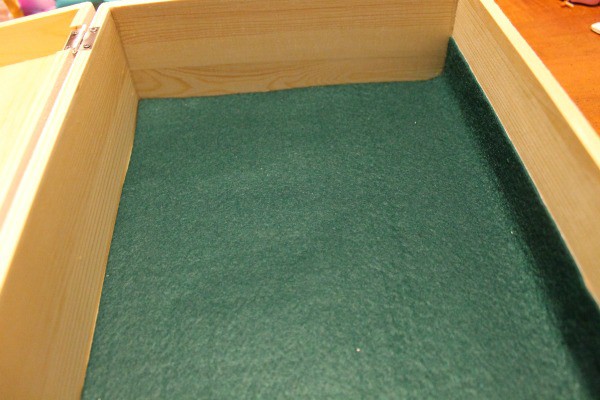
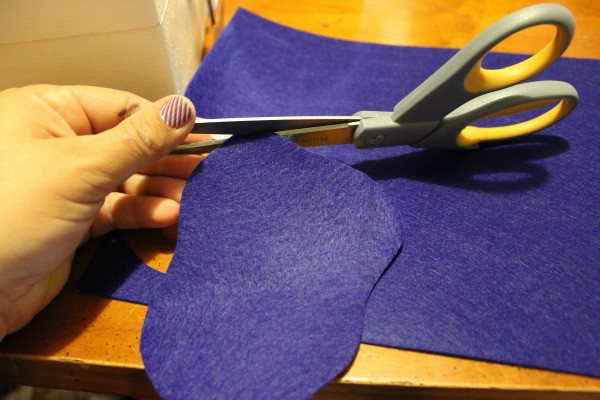
Open the box, measure the inside and cut felt to size, leaving the adhesive backing on until you are ready to place it inside. I chose to do green for grass on each side. Remove the backing and start on one end and smooth felt as you work to opposite end. I used sticky back felt to save a step and make it easier but you could use plain sheets of felt and fabric glue or spray adhesive to stick it inside the box.
For a small pond I cut an irregular oval shape and applied it directly to the green foam. Then I cut out foam in 2 different shades of grey for stones around the pond.
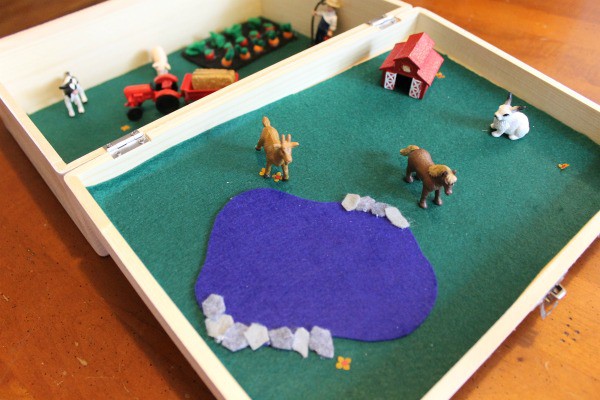
To create a little garden, I cut an oblong shape from black felt, adhered it right to grass and created vegetables using pony beads and scrap felt. I hot glued orange for carrots, with a small piece of green pipe cleaner bent in half and hot glued in the center. Red beads with a tiny scrap of green felt became tomatoes, and finally I cut very thin 1/8″ strips, rolled it at varying heights and hot glued green felt for little lettuce heads. I think the little garden is fun and makes it feel like a farm. I glued down tiny scrapbook flowers for a bit more detail.

Finally to finish up the outside of your box-personalize it and add stickers to match your theme – hobby and craft stores carry an amazing variety of stickers to fit your theme.
More DIY Gifts for Kids
DIY Construction Site Travel Box
10 DIY Christmas Gifts for Boys

Leave a Reply