
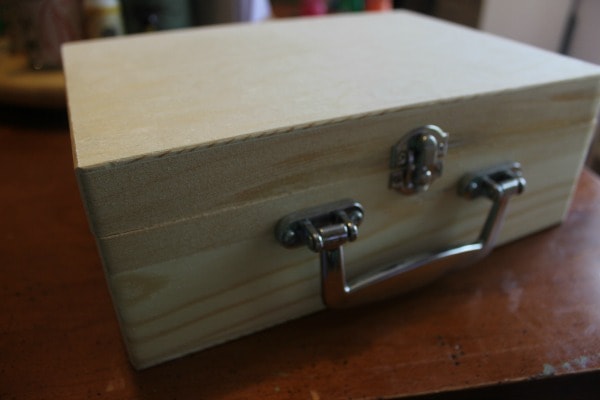
I don’t know about you, but if my kids don’t have their dinner set in front of them within 90 seconds of sitting down at a restaurant, they are bored out of their mind, and they become whiny and undesirable dinner companions. To combat this, I try to pack several items to keep them entertained, such as a favorite doll or a mini can of play dough. But my kids really love small world play, so I thought, why cant we figure out a way to take it with us? I found these fabulous unfinished wood cases at Hobby Lobby and with my 40% smart phone coupon, I only paid $4.80 for the medium size. After finishing one for each of them we thought of more themes that would be super fun to create and decided that this makes the perfect homemade birthday or even Christmas gift. They are inexpensive and easy to customize to any child’s interests. Besides being great to keep kids busy at restaurants, these make ideal travel activities in the car, waiting at doctors’ offices or other appointments.Keep an eye out as I show you several more themed cases soon.
DIY Construction Site Travel Box
Supplies:
- Unfinished wooden box
- Construction toys
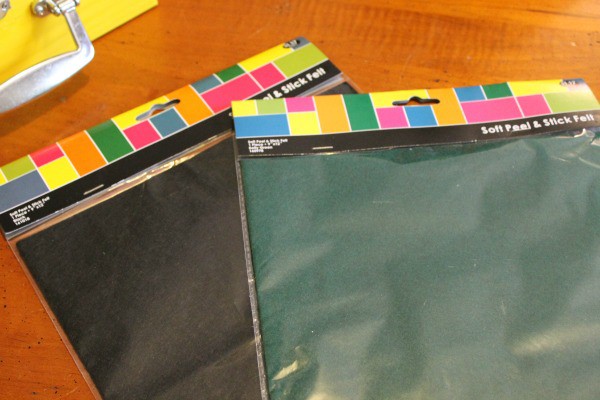
- Felt– green, black, yellow
- Spray paint
- Construction themed paper/stickers
- Spray adhesive
- Hot glue gun/glue sticks
Directions:
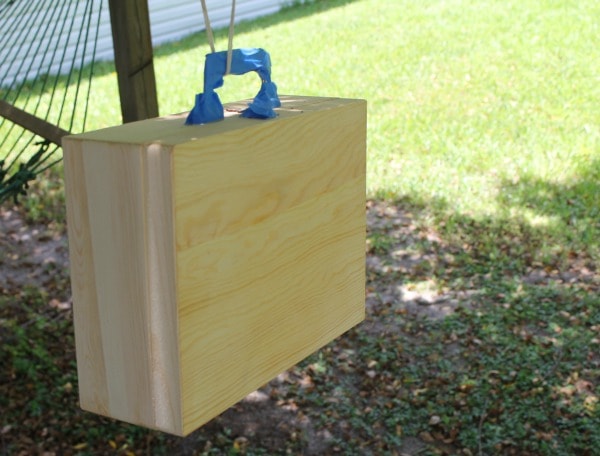
If you are going to spray paint your box, you will first need to tape off the hardware portion. Painters tape works well for this. Cover the handle and clasp well. When I spray paint, I like to hang my project in a tree. This gives me access to all sides, keeps dust from the ground off of it, and lets it air dry evenly. Spray a light coat, allow to dry for 5 minutes, and continue adding coats until you reach your desired coating. If you are going to use scrapbook paper to cover the top and bottom, you don’t need to cover them with paint, just be sure to get the edges.
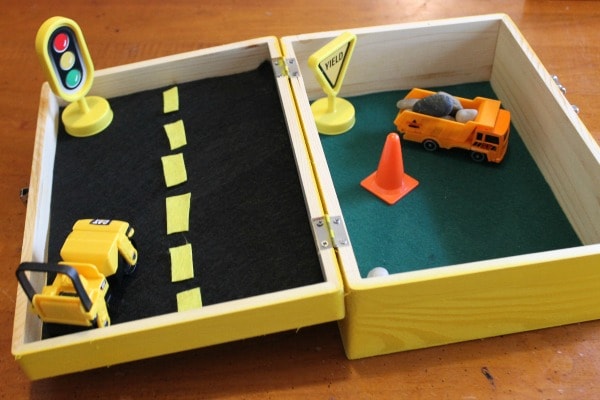
Once your box has dried for several hours (or even overnight), you can begin to build the inside. To lay the base felt, I bought sheets of felt that already have adhesive on back. Before removing adhesive backing, measure the inside of your box and cut felt. Remove the adhesive backing a couple inches at a time as you press it firmly into bottom of box. I chose green for the grass, and black for the road. Add accents of yellow for lines in the road, and secure with hot glue. If you don’t use peel & stick felt, you can adhere it using spray adhesive.
You are now ready to decorate the outside of the case. As a craft junkie I typically have a ton of stickers and scrapbook paper on hand, but if you don’t, a quick trip to Michael’s, Hobby Lobby, or Walmart will provide you with what you need for just a few dollars. I measured the top of my box, and cut scrapbook paper with twice with those dimensions (one for each side of the case). Spray the back of paper and the box with adhesive spray, line the paper up to box and press it down smoothly. Add stickers if desired to personalize.
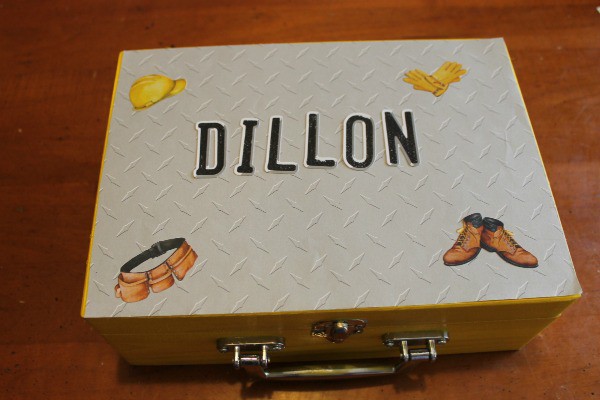
Add a few construction vehicles, and accessories to make it a complete set and it is ready to use or gift. I added a few pebbles from a bag of decorative stones from Dollar Tree to give it another aspect of play.
Other DIY Gifts for Kids
10 DIY Christmas Gifts for Boys

Leave a Reply