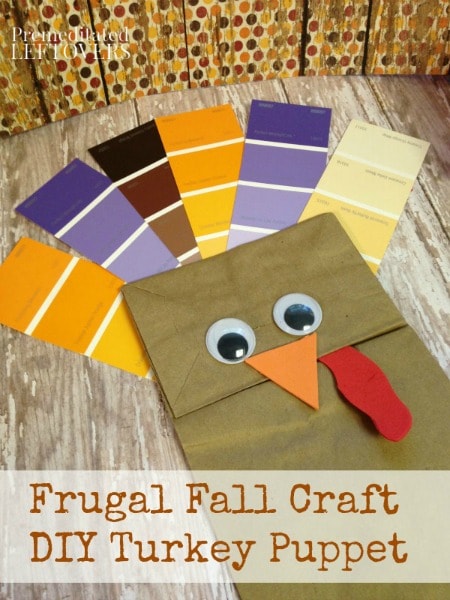
This Thanksgiving season, why not give this turkey puppet a try? This DIY turkey puppet is a fun craft for kids, and a great way to get into the spirit of the Thanksgiving season. Take a look at how we crafted our own, using some supplies that you probably already have around the home. Here is how you can get started.
DIY Paint Chip Turkey Puppet Tutorial
Supplies needed:
- Brown lunch sack
- Pair of googly eyes
- Assorted paint chip samples
- Orange and red craft foam or paper
- Scissors
- Craft glue
You can find these items at your local craft or retail store. To snag some paint chip samples, check Walmart or your local hardware store for a wide variety of colors.
Directions:
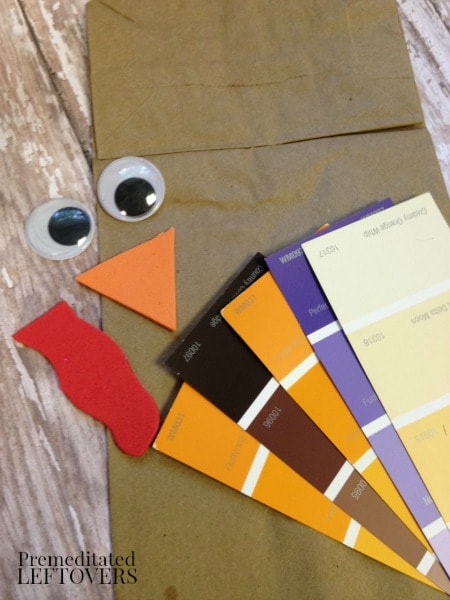
1. Begin by crafting the face of your puppet. To make your turkey face, glue on the pair of googly eyes first. Just add a dab of glue and press it to the square portion of the bag.
2. Snip a small triangle from the orange foam or paper and attach it under the eyes. This will serve as your beak.
3. Create a gobbler from a piece of red foam or paper. Cut out a misshapen oval and glue it under the beak.
4. You can now add the feathers. Your paint chips will serve as these, so just attach them to the back of the bag with glue. Press the paint chip samples until dry and secure.
Your turkey puppet is now complete. Use it for a puppet show, to act out finger plays, sing songs and more! Kids will love crafting their turkey puppet, and they will love even more bringing it to life.
Gather your supplies and give this DIY turkey puppet a try! It is such a fun, frugal and fantastic way to have fun this Thanksgiving season.


Leave a Reply