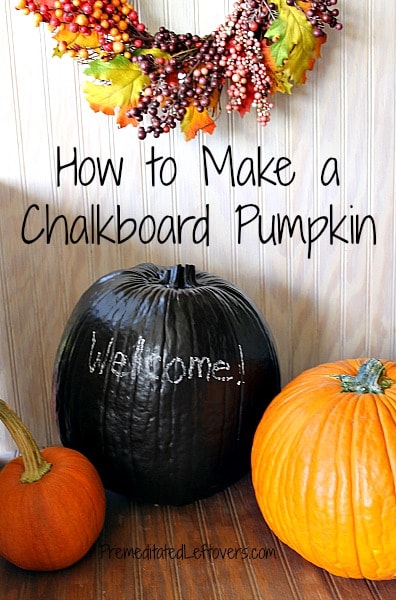
Are your kids chomping at the bit to carve pumpkins? The problem is if you carve them to early they won’t look good on Halloween, even if you use these tips for preserving carved pumpkins. Instead of putting it off until the last minute, your kids can enjoy their pumpkins now by creating chalkboard pumpkins.
Making a chalkboard pumpkin is very easy! It doesn’t require a lot of tools. All you need is a pumpkin, chalkboard paint, a paint brush and newspaper.
How to Make a Chalkboard Pumpkin
Supplies needed:
- Pumpkin
- Chalk Paint (How to make your own chalk paint)
- Paint brush
- Newspaper
Directions:
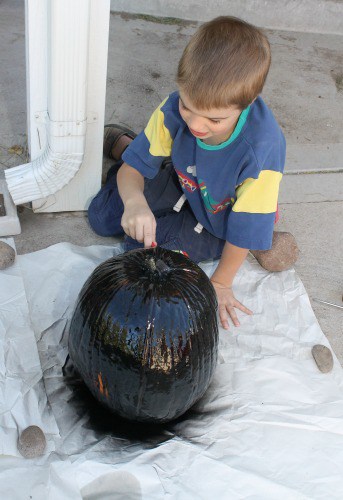
In a well ventilated area, lay down newspaper or some other type of ground covering. You may want to place rocks on it to hold it down.
Place your pumpkin on the paper and paint the areas you can reach with chalk paint.
Allow the pumpkin to dry for 1 – 2 hours. Then roll the pumpkin on its side so you can paint the areas you missed.
Allow it to dry for another 1 – 2 hours. Then touch up any areas as needed with more chalk paint.
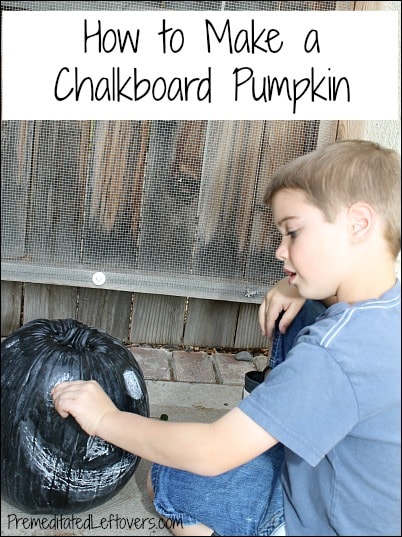
Allow to dry overnight. Then write or draw on it with chalk.
You can “erase” your pumpkin with a damp cloth.
You can still carve the chalkboard pumpkin if you wish for Halloween or you can leave it as is and let your kids continue to have fun creating new faces and writing messages on it.


Leave a Reply