Learn how to transplant Easter Lilies so you can enjoy them for years to come. This Easter season, you may find yourself the recipient of potted Easter lilies. Easter lilies are beautiful and fragrant blooms, and can really get you in the spirit. But did you know you can enjoy them long after the EasterRead More
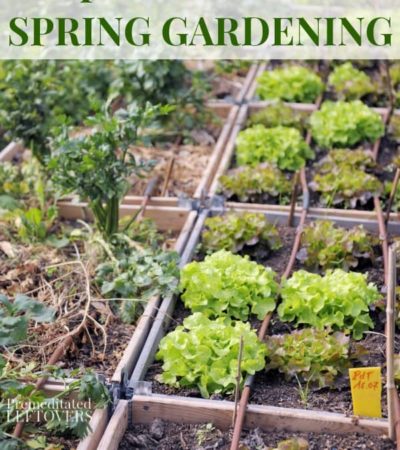
7 Tips for Successful Spring Gardening
Get your vegetable garden off to a good start with these tips for a successful spring garden. Have you been disappointed with your garden in the past? There are a number of factors that can hurt your spring garden. Use the tips below to ensure you start you get your garden off to a goodRead More

Frugal Ways to Build a Cold Frame
Do you have a short growing season? You can lengthen it with a cold frame. Here are frugal ways to build a cold frame for your garden. For many of us that live in the cooler temperature regions, we tend to think by this time of year, growing vegetables is hopeless. This is not reallyRead More

How to Keep Your Poinsettias Alive This Year
The poinsettia plant is a perennial. Yes, they really are. The indoor plant you use to decorate during the holidays is actually a flowering shrub. Use these tips on how to keep your poinsettia plant alive this year to enjoy it year-round. The signature plant of the Holiday season is beautiful red poinsettias. They startRead More
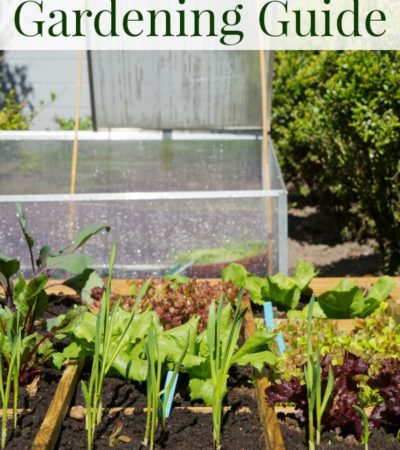
Fall Vegetable Gardening Guide
Use this Fall Vegetable Gardening Guide to extend your garden by growing vegetables in autumn. Includes a list of plants that grow well in cool weather and tips for fall gardening. Fall brings cool weather and a mild cold front that cool weather vegetables need in order to flourish. During the fall months you willRead More
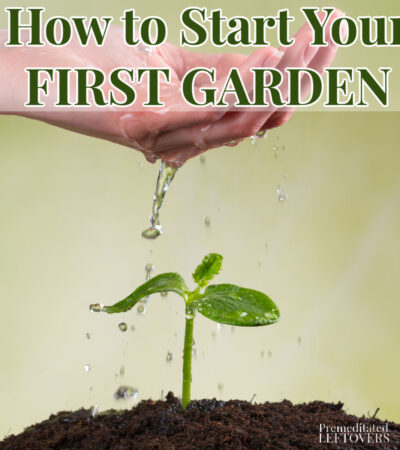
How to Start Your First Garden
Are you a first-time gardener? Use the tips on how to start your first garden to successfully grow vegetables in your backyard this summer. Ready to start your first garden? You might feel overwhelmed at first, but once you get the hang of it, you’ll be enjoying everything your new garden has toRead More
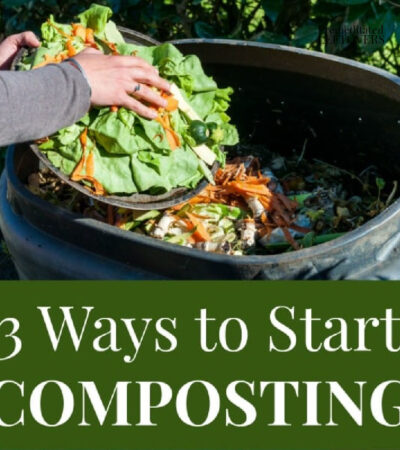
3 Ways to Start Composting
Creating compost and using it in our gardens is one of the best things you can do for the environment and for your garden. Here are 3 ways to start composting. Compost is nature’s recycling bin by taking all the vegetative and brown waste and turning it into soil that is rich in nutrients. CompostRead More
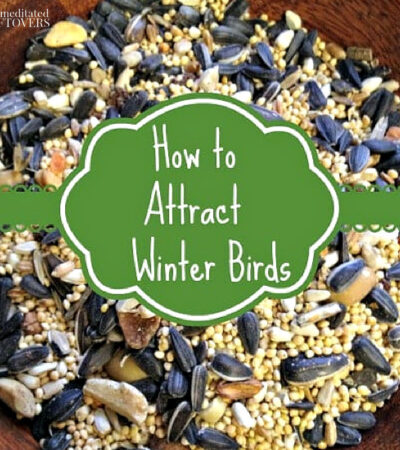
Tips for Attracting Winter Birds
Use these tips for attracting winter birds to your yard, so you can enjoy bird watching year-round. Can you believe old man winter is already on the horizon? I know you don’t want to think about it, but the truth is winter will be here before you know it. With winter comes a variety ofRead More
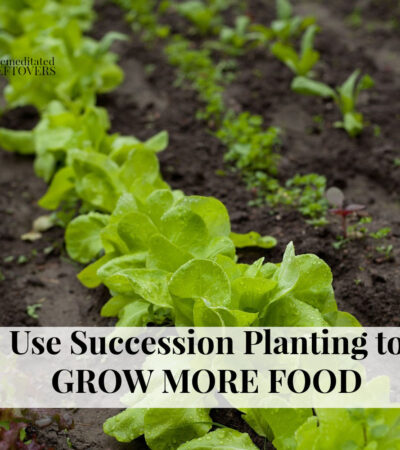
How to Use Succession Planting to Grow More Food
You can use Succession Planting to grow more food in your garden while also reducing the overwhelm of having too much of one vegetable ripen at the same time. Gardening should be easy – toss some seeds out, water them, and in a month or so, harvest the fruits of your labor. In theory, itRead More
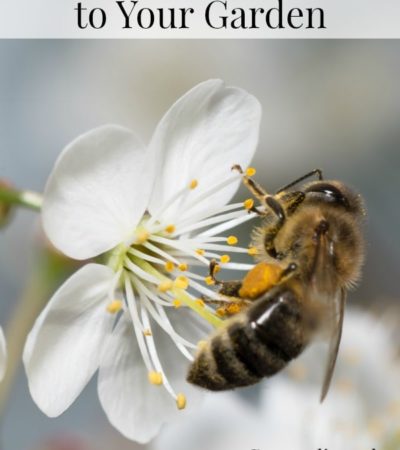
Tips for Attracting Bees to Your Garden
Here are some tips for attracting bees to your garden. Last year as I was perusing the blogosphere looking at gardens, I repeatedly read of gardeners complaining about the lack of bees in their garden. Their plants were healthy and flowering, but they were not producing fruit. I thought I would share some of theRead More
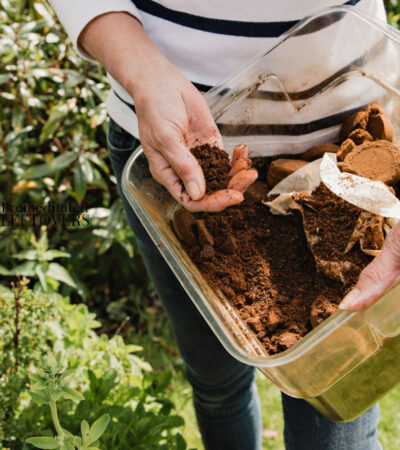
5 Ways to Use Coffee Grounds in the Garden
If you have a garden, you can use one of these ways to use coffee grounds in your garden instead of throwing them away. When you are done brewing a pot of coffee, do you typically toss those used coffee grounds in the trash? Well next time, don’t. Coffee grounds can actually be one ofRead More
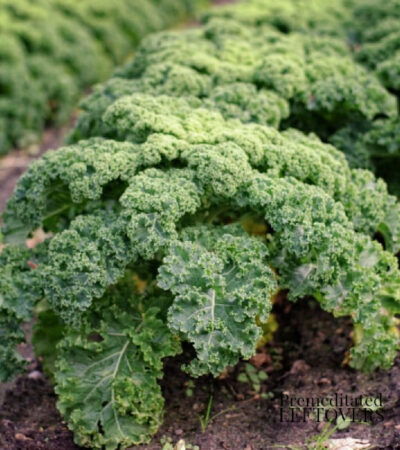
Tips for Growing Kale in Your Garden
These tips for growing kale from seed to harvest tell you everything you need to get started growing kale. Kale is the perfect garden plant for those who love their leafy greens. Excellent in salads and side dishes, kale is a plant that is rich in vitamins and minerals that your body needs. If youRead More
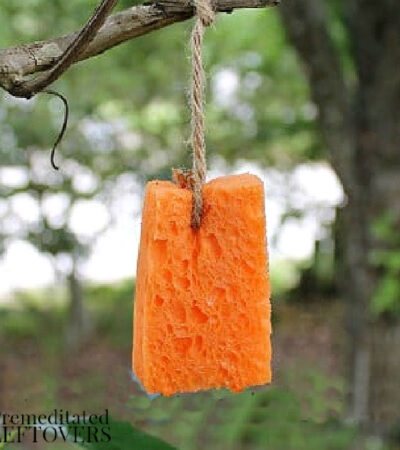
How to Make Butterfly Nectar
Use this recipe for how to make butterfly nectar to make butterfly food to place in your yard. Besides the myriad of beautifully colored and wonderfully scented flowers that you can plant throughout your garden and yard, there are a few other things you can do to draw butterflies in and keep them coming back. MakingRead More
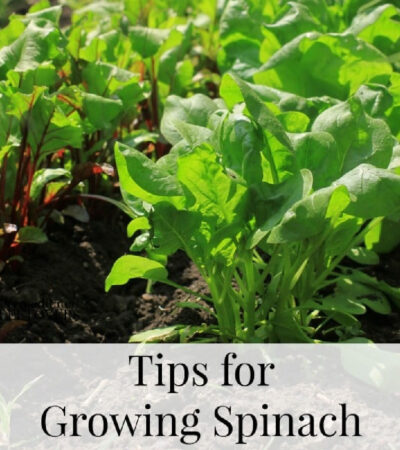
Tips for Growing Spinach in Your Garden
Love fresh spinach leaves? Use these tips for growing spinach in your garden. Popeye loved his spinach, and you should too! It is full of vitamins, minerals, and iron that your body needs. Spinach is great when used in salads, or can even be steamed and enjoyed warm. So are you a fan of spinachRead More
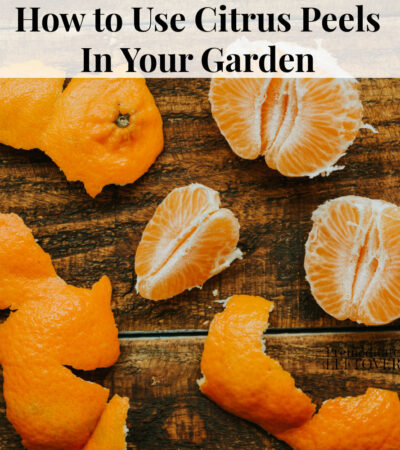
5 Ways to Use Citrus Peels in Your Garden
Don’t throw out your orange peels and lemon peels! Save them and try out one of these 5 ways to use citrus peels in your garden and yard. The spring and summer months are the perfect time to enjoy a juicy orange or some fresh-squeezed lemonade. But when you are done, don’t toss those citrusRead More
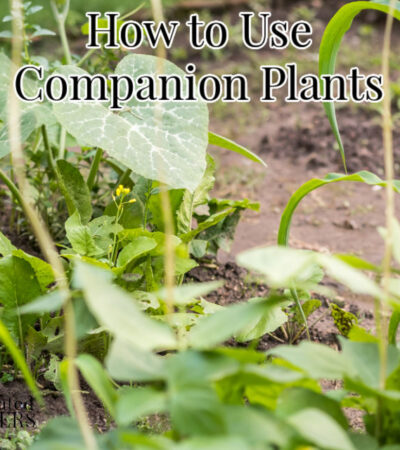
How to Use Companion Plants in Your Garden
Here’s how to use companion plants in the garden and a list of good companion planting combinations. Just like with people, plants have their best friends – you know, those other plants that they like to grow old next to. When you grow certain plant combinations together they have surprising powers to help each otherRead More
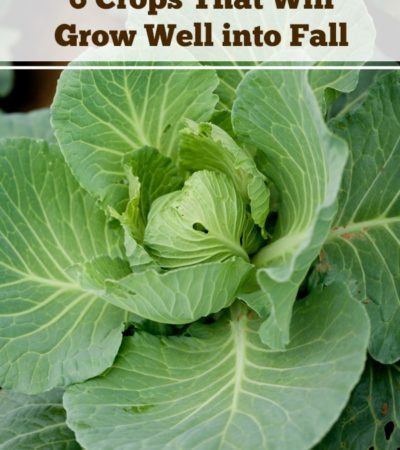
6 Crops That Will Grow Well into Fall
Here are 6 Crops That Will Grow Well into Fall. With these crops, you can enjoy fresh produce long after the summer ends and cooler temperatures set in. After cleaning out your summer garden, give these plants a try this fall! You may have enjoyed a spring garden and of course a flourishing summer garden. ButRead More
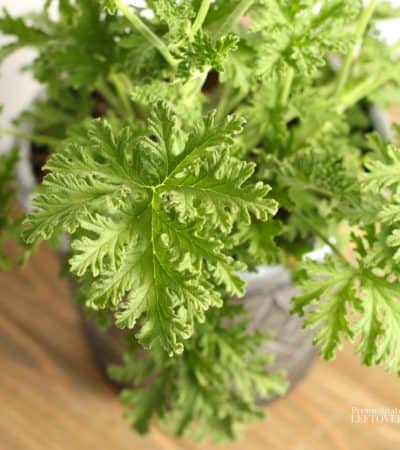
How to Grow Citronella
Want a natural way to repel mosquitos? Use these gardening tips on how to grow Citronella to add this drought-tolerant plant to your yard. Many people are familiar with the scent of citronella, as they can often catch a whiff of it coming from citronella candles and bug sprays that contain citronella oil. But beforeRead More
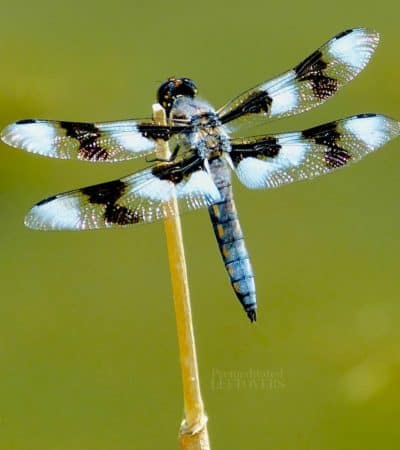
How to Attract Dragonflies to Your Yard
Do you love dragonflies? Use these tips on how to attract dragonflies to your yard. Photo Credit: Henk Bouma Photography Many people seem to think that dragonflies are just creatures you see when visiting the lake, but the truth is dragonflies will feel at home in your backyard if the conditions are right! Dragonflies aren’tRead More

Tips for Growing Raspberries
Use these tips for growing raspberries to add this perennial fruit to your garden. It seems as though everyone loves raspberries. And why shouldn’t they? Raspberries are a sweet summer treat that goes with everything. If you are curious about growing raspberries, take a peek at these tips for growing raspberries in your own garden.Read More
- 1
- 2
- 3
- …
- 21
- Next Page »
