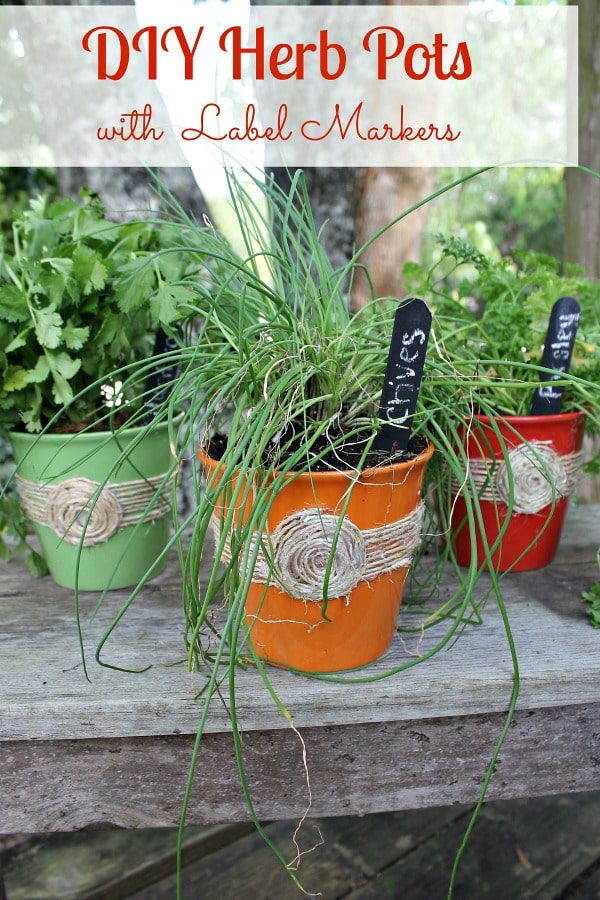
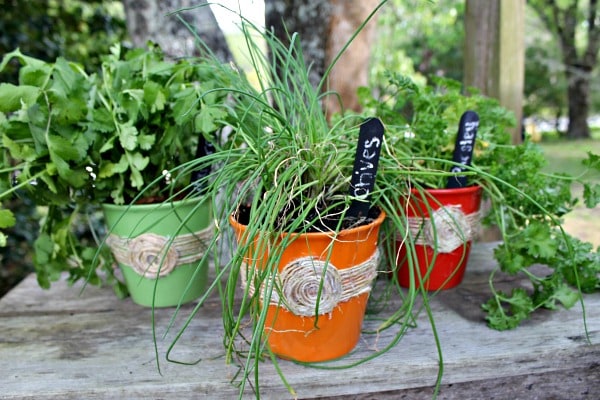
I found these adorable but plain ceramic pots at Dollar Tree while wandering around looking for a new project. I love taking something simple from Dollar Tree and turning it into something a little more custom and special. Right next to these pots I spotted a ball of sisal twine and the wheels started spinning. I have seen some pretty cute decorated pots at home goods stores but I refuse to pay full price, especially when that price is very near $30.00. This project cost only $4.00 if you count nothing but the pots but I was also able to grab a bag of pebbles to put in the bottom for drainage, craft sticks, and a small bag of soil, all at Dollar tree, bringing my entire total (minus herbs and chalkboard paint I already had on hand) to only $7.00- I think that’s pretty great for a set of 3 customized pots.
DIY Herb Pots
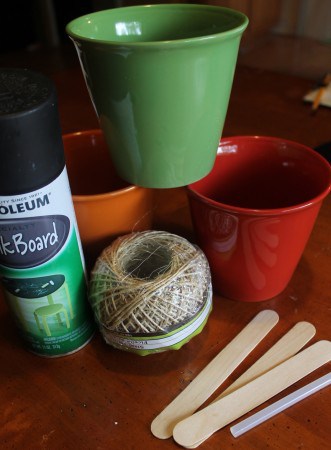
Supplies Needed
- 3 ceramic pots
- twine
- craft sticks
- chalkboard paint (how to make your own chalkboard paint)
- clear spray paint
- hot glue/glue sticks
Additional Supplies:
- pebbles, for drainage
- soil
Directions:
First decide how much of your pot you want to cover, You can cover the entire pot in twine but decided that a wide band made a nice contrast to the pretty colors.
Mark all 3 pots at the stopping and starting points so that they are all even. I used a sharpie to mark mine.
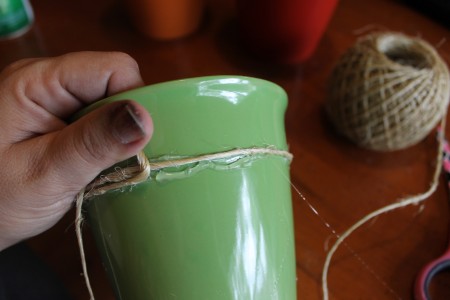
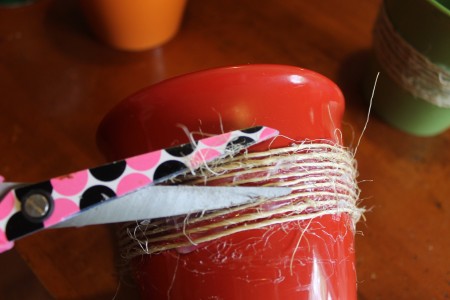
Heat glue gun, begin on the “back” of your pot by gluing down the end of your string. Continue making a line of hot glue all the way around, 1″ to 2″ at a time, pressing twine into hot glue quickly. Unravel the ball of twine as you go, dropping to the next line and so on until you have reached your desired band width.
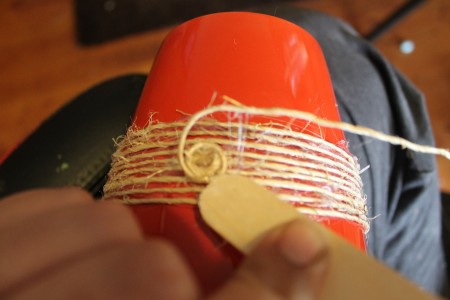
To create the rosette- on the “front” portion of your pot hot glue your string into the center, and then begin gluing in a circular pattern, Use a craft stick to press twine into glue every 1″ or so until you have circled around and made rosette as large as you like.
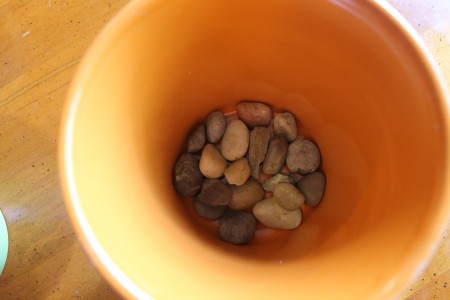
Since these pots have no drainage holes you will need to create a well at the bottom for water to drain to. You can get a bag of smooth pebbles at Dollar Tree that can be used over several projects as you only need a small amount for this one. Cover the bottom of your pot to a 1″ with pebbles.
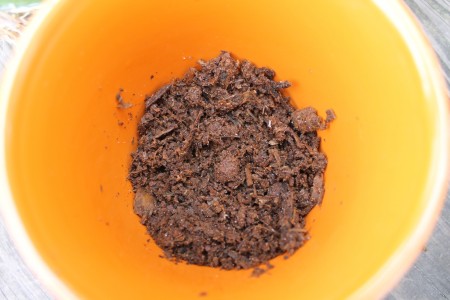
Fill with soil partially, insert plants, fill remaining space with soil.
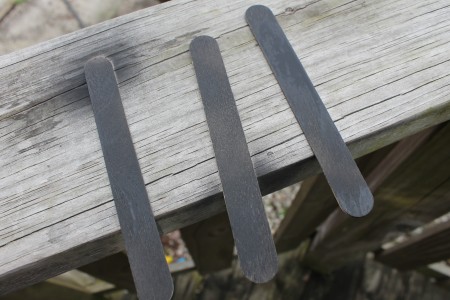
To create plant markers- Spray craft sticks with a light coat of chalkboard spray paint. Allow to dry, then cover with 1-2 more coats. Use chalk to write your plant names and spray with several coats of clear sealer to keep the chalk names in place permanently.
These DIY Herb Pot would make a lovely addition in the kitchen, on your patio, or make a lovely gift for a friend to welcome in Spring.

Joanne/WineLady Cooks says
A lovely herb garden everyone can do. Thanks so much for sharing with Foodie Friends Friday party last week. We look forward to seeing you again with another terrific post.
A FFF co-host,
Joanne/WineLady Cooks
Karren Haller says
Im getting ready for planting and saw your ideas, so clever!!!
I think your post would be enjoyed on my Friday Feature Linky party,
if you would like to share, I would love to have you stop by!!
Have a great weekend, Karren
Cheri at Fabric and Memories says
visiting from lambert lately linky…very nice! I have always liked this kind of thing, but just never cook with that many spices to bother with it! I used rain gutters one time…got a 4′ of gutter and closed both ends and planted my herbs and put it in my window sill…I had rabbits out side so they had to be grown inside! They grew…and looked so nice but just didn’t use the herbs!
Lauren says
Cool idea for diy herb pots. Thanks for the tutorial.
I shared this article on DIY best posts.
Sinea Pies says
Love these! Pinned em.
I was thinking recently that I really should start to grow some herbs at home.
If they were in THESE pots, they’d be an awesome addition to my decor.
Thanks so much for coming by and sharing them at my party. I love it when creative guests like you take time to stop by!
CD Loken says
SO CUTE!!! I need to shop the Dollar store more often! Great idea-and thank you for sharing at The Wonderful Wednesday Blog Hop!
Dee says
I love a good Dollar Store craft, and your garden pots are so cute! 🙂
Liisi says
These herb pots look very nice 🙂
Linda Nelson says
Really cute and so festive for a spring tablescape. Love the look.
Southern Scraps says
These are adorable! Thanks for sharing.