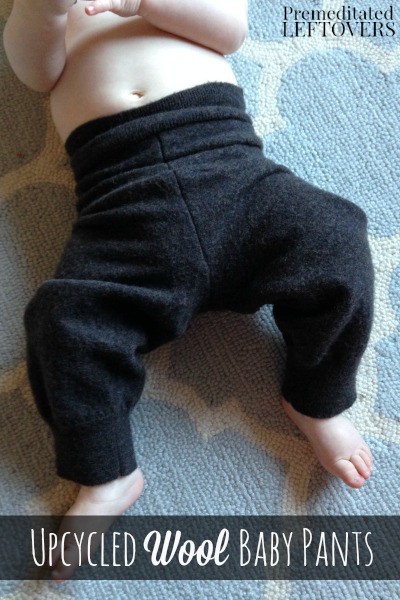
There is something incredibly satisfying about homemade baby clothes. There is something equally adorable about seeing your little one in clothes you made yourself. If you haven’t experienced this first hand, let me walk you through the easiest tutorial for Upcycled Wool Baby Pants.
For this tutorial I’m specifically using wool sweaters for a handful of reasons:
- Wool sweaters are very inexpensive and easy to find at thrift stores.
- Wool does a great job of trapping heat, but on the other hand is very breathable.
- When felted and lanolized, wool becomes waterproof.
- Wool wicks moisture away from the skin.
These qualities make wool a great fabric to use for baby pants. By recycling old sweaters you’re not only making earth conscious clothing, but you are also able to eliminate a lot of extra work. The sleeves and stretchy waistbands of the sweaters lend themselves to the perfect pair of paints with minimal altering.
The ability to make wool waterproof makes it a great option for cloth diaper covers as well. Felt the wool prior to creating these darling pants and lanolize them after. The end result is a perfect pair of water repellant longies for cloth diapers. They will also cost you a fraction of what you would spend buying them new!
How to Make Wool Baby Pants from an Old Sweater
Materials needed:
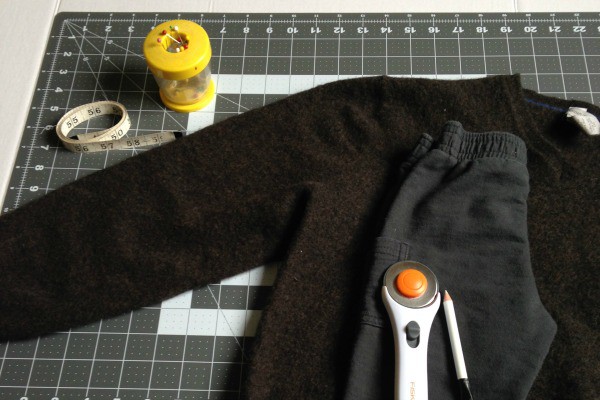
- Wool sweater
- Scissors or fabric cutter
- Measuring tape
- Pins
- Sewing machine
- A pair of store-bought pants that currently fits the intended child
- Fabric pencil
Instructions:
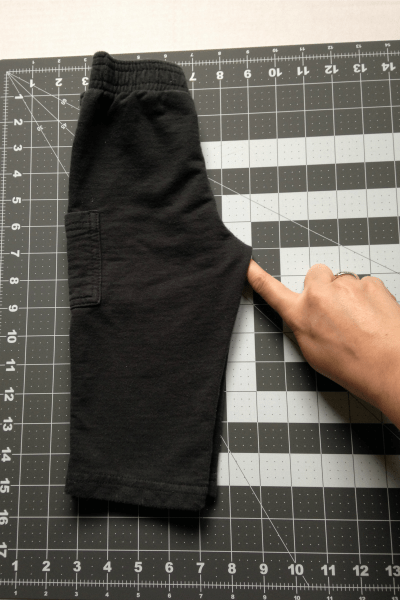
1. Fold the store bought pants in half and line up the legs and waist. Then, use your index finger to establish a true crotch seam.
2. Measure the inside of your child’s leg from the ankle to just below their crotch. This is your inseam.
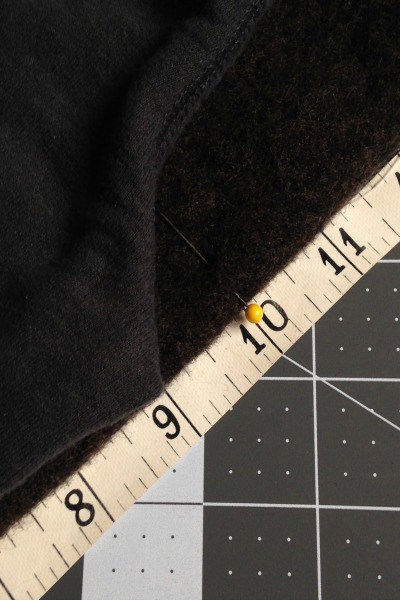
3. Lay your sweater on a flat work surface. Measure your inseam from the bottom of the sleeve cuff and add an additional inch to allow for the seam allowance. Mark this measurement with a pin. For example, my inseam was about 9 inches, so I marked 10 inches from the bottom of my sleeve up towards the armpit of the sweater.
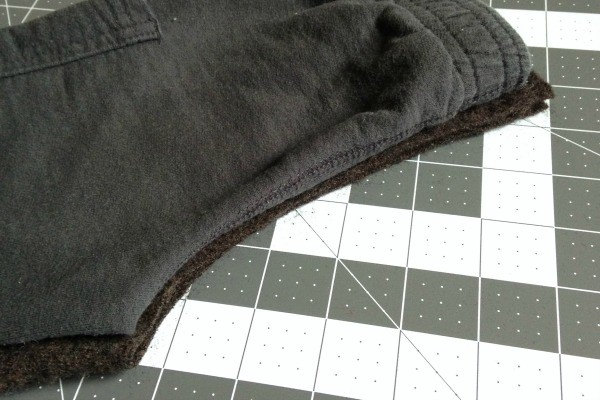
3. Lay your store-bought pants on the sweater sleeve, and align the point of the crotch seam with your marked inseam. Be sure the pant legs and arms of the sweater are lined up as well. *Your inseam and store-bought pant seam pay not necessarily be the same, and using the store-bought pants gives you an easy crotch seam template.
4. Use a fabric pencil to gently trace the crotch seam onto the sweater. This is that nice arch you created with your index finger back at the beginning. If you’d prefer, you can also lay the pants on a piece of paper and make a quick template of the crotch seam to assist in cutting.
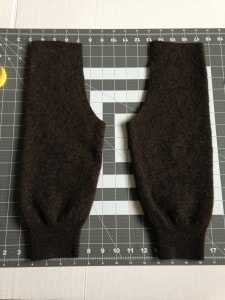
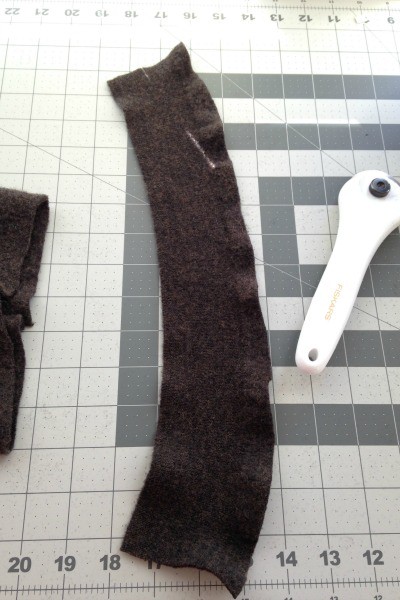
5. Cut the crotch seam and up along the waistband. This will also detach the sleeve from the sweater.
6. Repeat step 5 on the second sweater sleeve.
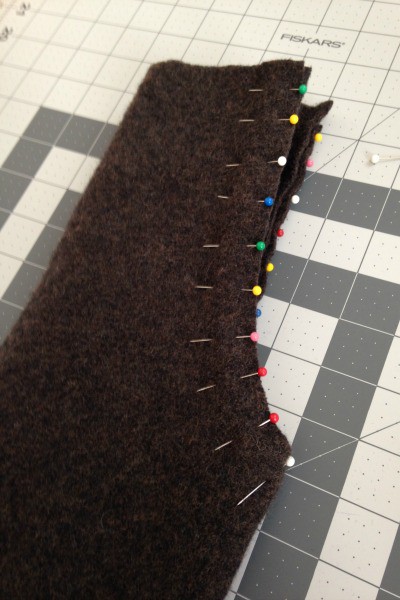
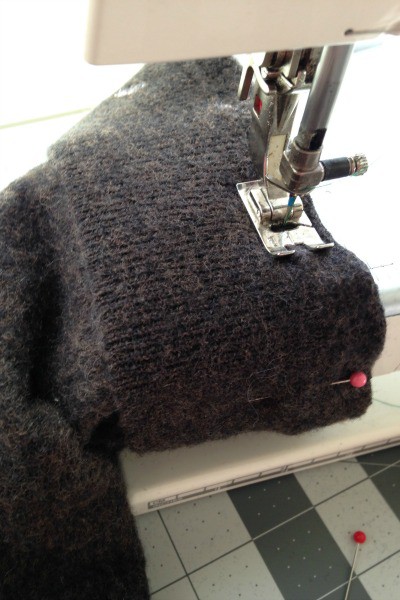
7. You will now have two pant legs. Flip one of the legs inside out, and place the other leg inside of it (this leg remains right side out and right side up). Line up the open crotch on each leg, and make sure the cuffs of the legs are lined up as well. Pin the crotch seam.
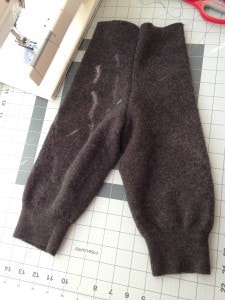
8. Sew the crotch seam closed. Pull the legs back to right side out like a regular pair of pants. You’re almost done!
9. Measure your child’s waist. Add another half inch for sewing, and then cut the stretchy waistband off the bottom of your sweater to fit this measurement. Don’t cut right at the waistband. Give yourself a half-inch or so before the stretchy cuff starts that you can use for sewing the seam.
10. Flip the waistband inside out, and sew it closed.
11. Keeping the waistband inside out and upside down, align it with the top of the pants and pin it on.
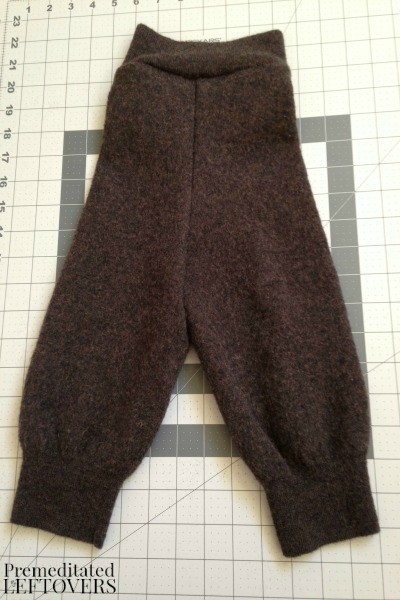
12. Sew the waistband to the pants while giving them both a gentle stretch. Once you have done this, flip the cuff upward. You’re all done!
If you would like to use these as comfy romping around pants for your little one, and don’t plan on felting or lanolizing, you’ll still need to wash them after every few wears. Give them a quick 5-minute soak in room temperature water or hand wash with a gentle detergent. Lay flat to dry to prevent shrinkage that could occur by using your dryer.
If you intent to use these pants as wool longies over your child’s cloth diapers, pay extra attention to the rise. It’s important that the area from the crotch to the waist band is long enough to completely cover your child’s fluffy diapers.

Marita Ankobiah says
Thanks for the tutorial. How did the pants hold up? Especially the waist band since it was the child’s actual waist measurement and not a couple inches less…did it become too loose over time?
Haydee says
I always put elastic in mine, I make a casing. I would think if the jumper had elastine it would probably hold up… if it were narrower.
I used cotton elastine banding/ribbing on a pair of cotton elastine boxers, I made the mistake of making the band the same width as the boxers and had to add elastic, to hold up. If I had reduced the band length to 70-75% it may have worked.