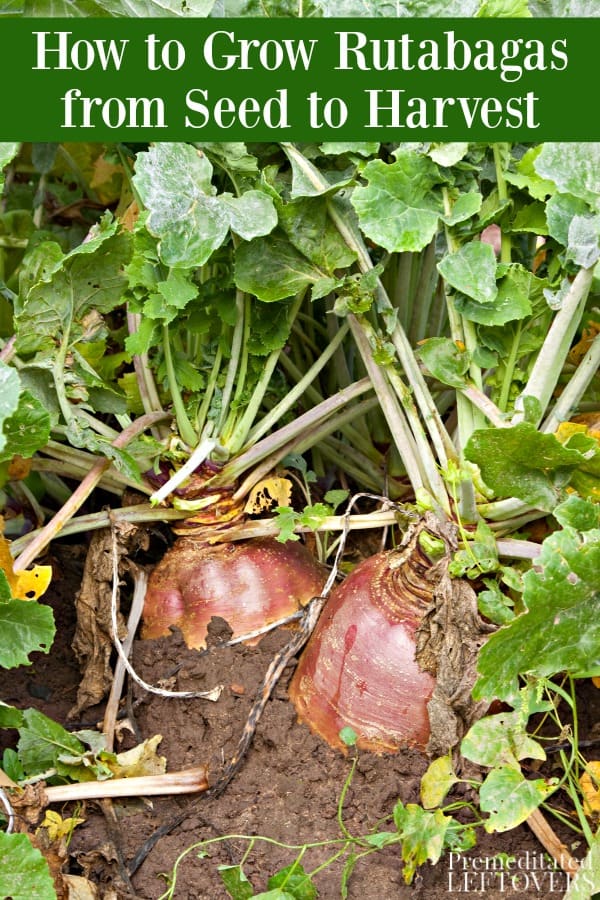
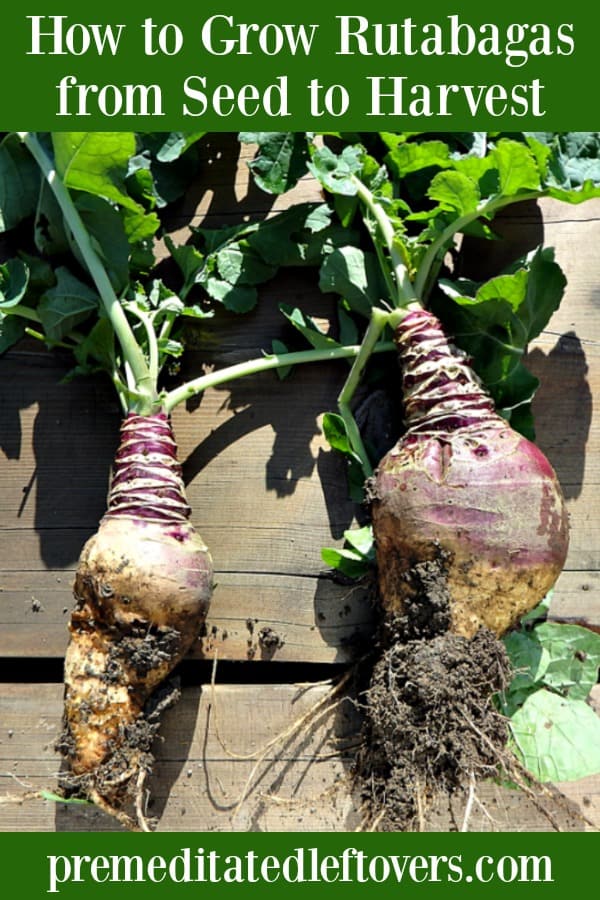
This handy guide on how to grow rutabaga will help you with everything from planting rutabaga seeds to harvesting rutabaga.

Rutabaga is the nutrient-rich root vegetable with the funny name. While most people have heard of it, it isn’t always a vegetable people think to add to their garden. If you are one of these people, you should know that there are so many reasons to grow rutabaga! They are easy to grow, healthy, and can be grown even in cooler climates. Look below at some helpful tips on how to grow rutabaga, and see why this is a vegetable you need to make some gardening space for!
How to Grow Rutabaga from Seed to Harvest
When to Plant Rutabaga Seeds
While some vegetables can be started from seed indoors, it is advised that you sow rutabaga seeds directly into the ground for best results. You can do this in the spring once the threat of frost has passed. If you live in an area that experiences year-round warmth, plant at the end of the summer so the rutabaga can mature during the cooler winter months.
Tips on Planting Rutabaga Seeds:
There are a few things you should know about the plot which you use to plant your rutabaga. You should choose a plot that has slightly acidic soil. You can get a soil test kit from your local gardening center.
Choose an area with part sun and well-drained (and slightly acidic as mentioned) soil. Create holes that are about ½ an inch deep and drop a few seeds directly into the hole. Cover loosely with soil. Keep the soil cool and moist until the seeds start to sprout. Space planting holes 2-3 inches apart.
How to Care for Rutabaga Seedlings:
Now that your rutabaga seedlings have sprouted, they need a little tender loving care. Once seedlings are 2-3 inches tall, you can thin out any poor performing plants. This will help the stronger seedlings thrive.
Rutabaga plants don’t dry out easily, so an inch or so of water a week should do the trick. If your climate is especially dry, water more since dry out can cause the rutabaga to crack. Mulch around the base of the plant can also help keep moisture in and prevent cracking.
Pests can be an issue with rutabaga plants. Beetles especially like to dine on them. Pick these critters off by hand as soon as you see them, and use an organic and food safe pest repellent to do the job when you can’t. It is a good idea to visually inspect your plants often, as some pests like moths like to lay their eggs on the leaves. Be sure to remove them as soon as you see them or the root of the plant can be severely damaged.
How to Grow Rutabaga in Containers:
Standard flower pots may not be the most ideal growing conditions for rutabagas, but raised beds and planting boxes are. Should you find yourself limited on space or land, raised beds and boxes are your next best bet.
You should plant the rutabaga seeds in these containers just as you would the ground, using the same depth measurements, well-drained soil, compost, and pest prevention tips as mentioned above.
How to Harvest Rutabaga Plants:
There is some debate over when to harvest rutabaga. Some gardeners like to wait longer and wait until the plant has experienced some frost as they feel this sweetens the plant.
Your rutabaga will be ready for harvesting anywhere from 75-100 after planting. You can harvest the foliage to eat when it is green and tender. You can harvest the root of the plant when it is about 4-5 inches in diameter. If you harvest any sooner, the rutabaga may not be as tender. You pull rutabagas from the ground just as you would a carrot or turnip, pulling gently from the stem and shaking loose any dirt and debris.
In most cases, gardeners cut the rutabaga into chunks and boil it in order to enjoy it. Rutabagas can be prepared in stews, soups, and casseroles, much like other vegetables in the root family. If you don’t want to enjoy the root right away, you can keep your rutabaga in a cool and dry place where it will stay fresh for up to two months!
Consider growing rutabaga in your own garden and see what a fun vegetable this can be! You might just find that it is one of your favorite root vegetables to grow, and eat!


Leave a Reply