• Home
  • About
    • Privacy Policy
  • Blog
  • Prep-Ahead Meals Cookbooks
  • Recipes
  • Lifestyle
  • Gardening
  • Kid’s Activities
  • Gluten-Free Recipes
  • Budgeting Tips
↑

Premeditated Leftovers™

Prep-Ahead Meals, Cooking Tips, and Frugal Living

  • Cookbooks
    • Prep-Ahead Breakfasts and Lunches
    • Prep-Ahead Meals From Scratch
  • Recipe Index
  • Home
  • Blog
  • Recipes
  • Gluten-Free Recipes
  • Lifestyle
  • Garden
  • DIY
  • Kids
  • Budget

You are here: Home / Naturally Frugal Living / DIY Picture Frame Memo Board Tutorial

DIY Picture Frame Memo Board Tutorial

December 21, 2014 by Jody Leave a Comment

This post may contain affiliate links. Read our disclosure policy here.
127 shares
  • Share
  • Tweet

Try this simple DIY Picture Frame Memo Board Tutorial to create a pretty hanging surface for loose papers, photos, and more.

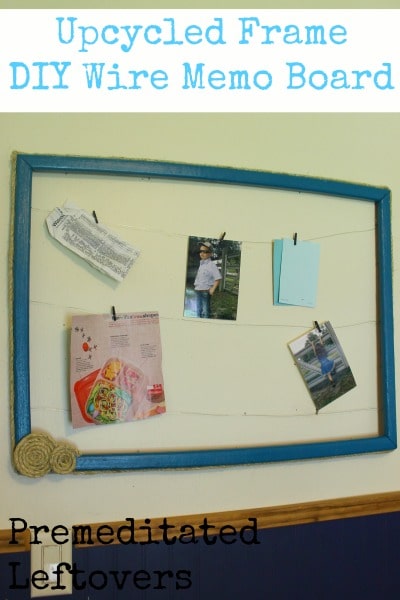
If your desk is tangle of receipts, papers, and odd items, you are probably looking for a way to tidy it up. I was too, and was in the midst of homeschooling, redecorating, and just life happening. I wanted a memo board but not a cork board and it had to be pretty. I picked up this huge frame with the picture already removed awhile ago and was not quite sure what I was going to do with it, but loving all things old and in need of an update I brought it home anyway. So, looking around for something to help contain the clutter I remembered the frame hidden in a closet. A little paint, a couple decorative additions, and it is pretty but also functional.  Try your own DIY picture frame memo board and tame your  clutter! Or maybe just use it as a creative way to display photos.

DIY Picture Frame Memo Board Tutorial

Supplies Needed:

  • Large wooden frame
  • Jewelry wire
  • Spray paint
  • Sisal rope
  • Hot glue gun/sticks
  • Sandpaper
  • Staple gun

Directions:

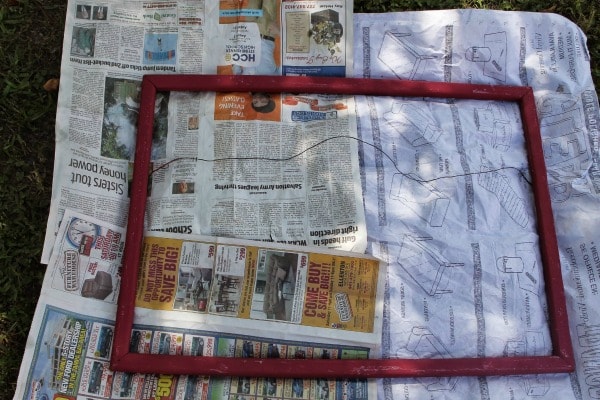
Lightly sand the wooden frame, and wipe away dust with a slightly damp cloth.

Take your frame outdoors or to a well ventilated area. Lay it on newspaper or (I do this often) hang it from a tree to paint. This gives you access to all areas of the frame and is a great way to dry it.

DIY Picture Frame Memo Board Directions

Spray one light tack coat, dry for 5 minutes.

Apply 2-3 more coats until full  coverage is reached.

DIY Picture Frame Memo Board Spray Paint

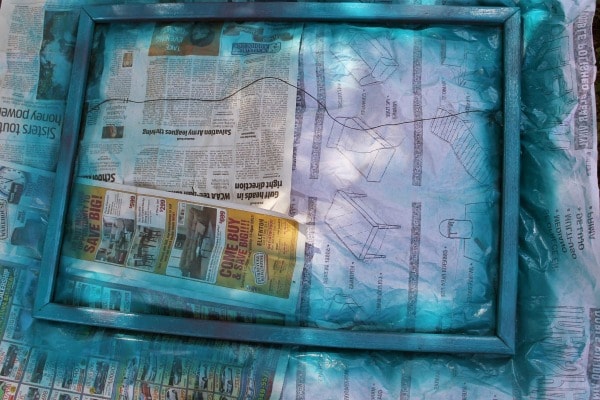
Allow final coat to dry for 4 hours before moving on to decorating.

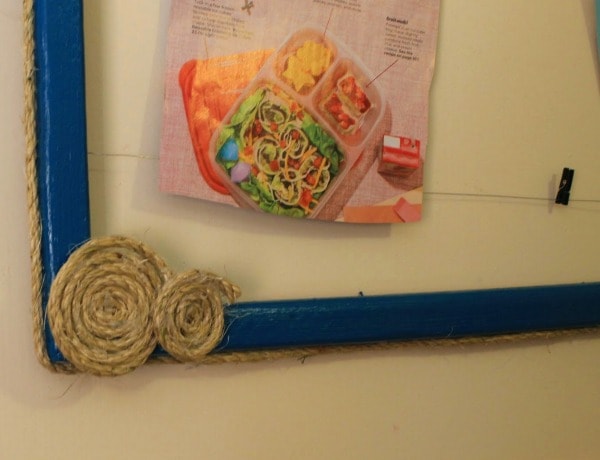
Attach rope all the way around by securing with a generous line of hot glue, a couple inches at a time so that it doesn’t set before  you have a chance to adhere the rope.

Picture Frame Memo Board with Rope Flowers

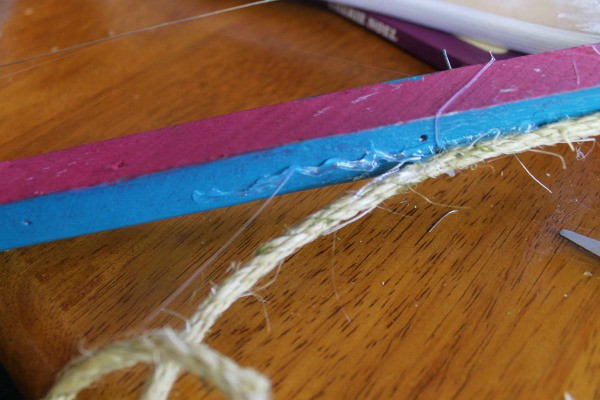
To create the “Flowers” I just rolled rope from the inside out applying hot glue every inch as I rolled then glued them to the corner of the frame.

DIY Picture Frame Memo Board with Sisal Rope Flowers

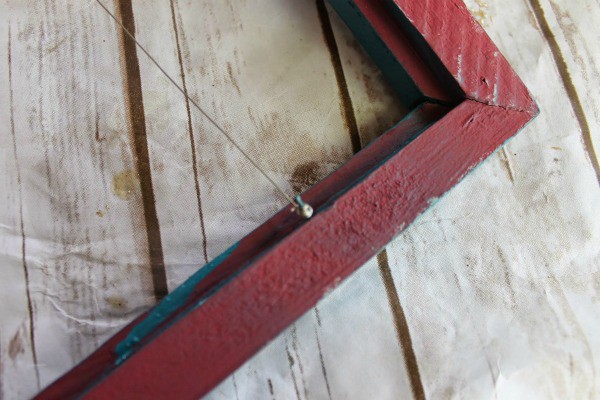
Flip frame over and decide where you want your wire running across, measure and mark on each side.

Staple it on each side with a staple gun.

DIY Picture Frame Memo Board with Wire

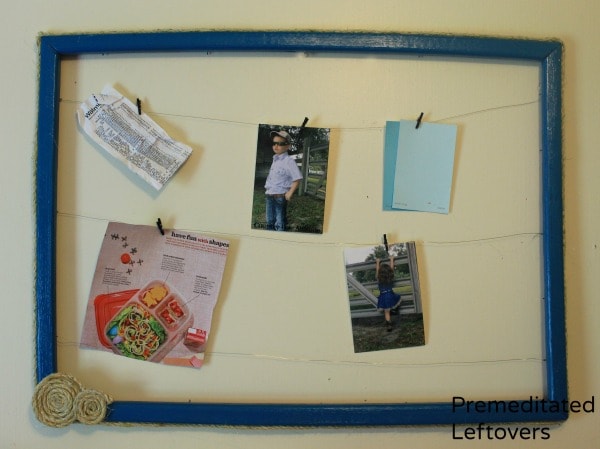
To attach items I picked up a package of mini black clothespins from  Hobby Lobby.

Most frames will come with some sort of hanger on them already, if not you can pick up a saw tooth hanger, eye hooks to screw in the top, or whatever your preferred hanger is at any home improvement or craft store.

DIY Picture Frame Memo Board Tutorial

More Frugal DIY Projects

DIY Coat Rack

DIY Mitten Holder

DIY Shoe Tray with Rocks

Would you like to save this article?

We'll email this post to you, so you can come back to it later!

127 shares
  • Share
  • Tweet

Leave a Reply Cancel reply

Your email address will not be published. Required fields are marked *

Recipe Rating


Search

Recent Articles:

Spring Cleaning Checklists Room by Room Cleaning Tips

Spring Cleaning Checklists Room by Room Cleaning Tips

Tips for Organizing Your Home for Spring Cleaning

Tips for Organizing Your Home for Spring Cleaning

Tips for Decluttering Your House for Spring Cleaning

Tips for Decluttering Your House for Spring Cleaning

BROWSE:

  • Blog
  • Cookbooks
  • Recipe Index

ABOUT:

  • About
  • Contact
  • Privacy Policy
  • Disclosure

Welcome. I'm Alea!

On Premeditated Leftovers I share simple recipes made with whole foods, practical shopping tips, time saving techniques, and meal planning strategies. I also share tips for minimizing food waste, so more of the food that is purchased ends up on the table.

While volunteering as a budget counselor, I realized that food is the element of most people’s budgets where they have the greatest control. I set out to develop low-cost recipes from scratch to prove it’s possible to create delicious meals on a limited budget. Eating well while spending less is about more than just creating recipes using inexpensive ingredients; it’s about creatively combining ingredients so you don’t feel deprived and are inspired to stick to your budget.

Copyright ©2026, Premeditated Leftovers™. All Rights Reserved.
Design by Pixel Me Designs

Share anywhere