
Our family loves to camp, and when we can’t camp a bonfire is the next best thing! Starting up a campfire can be tricky, and a good fire starter can help make the job easier. We use to buy our fire starters at a local retail store, but recently found how easy it can be to make our own. Take a look below at how to make your own pine cone fire starters, perfect for getting a blazing fire in no time!
DIY Pine Cone Fire Starters
First, let’s take a look at the supplies you will need. Chances are, you already have these items on hand.
Supplies Needed:
- Pine cones of all shapes and sizes
- Crayons
- Microwave safe bowl, disposable is best
- Tongs
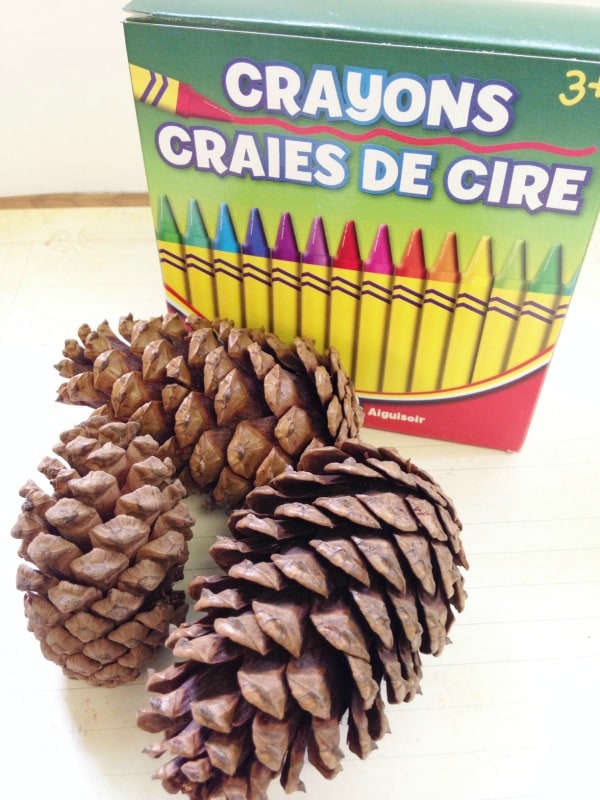
This project is a great way to use old and broken crayons you have around the house. If you don’t have any, grab a big box from the dollar store. They work just as well!
Directions:
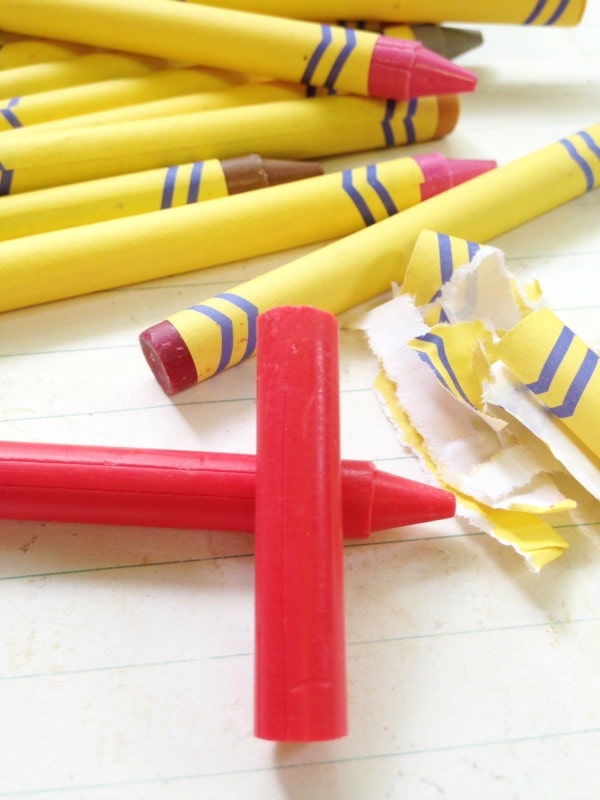
1. Begin by breaking the crayons in half. Start peeling off the wrappers so that no paper remains.
2. Drop the crayons into a microwave safe bowl. I used a plastic bowl from the dollar store so I could just pitch it when done. Otherwise, the wax can be stubborn when trying to clean. Choosing the colors of your fire starters can be tricky. It seems as though the mixture will take the color of the darkest crayon you throw in, so keep that in mind when melting your wax.
3. Heat the crayon pieces in the microwave for 1 minute or until liquified. Stir halfway through if necessary.
4. While the mixture is still hot, drop the pine cone in. Stir it around with the tongs so all sides get covered with the wax mixture.
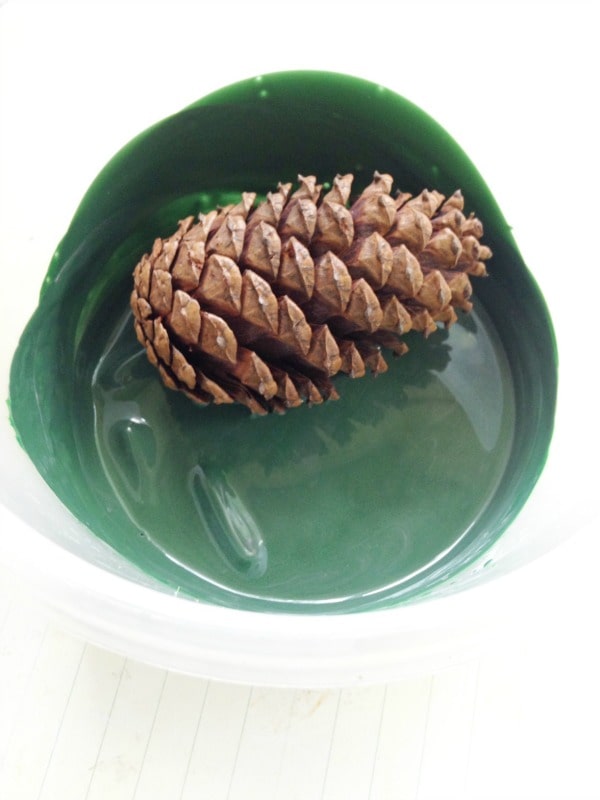
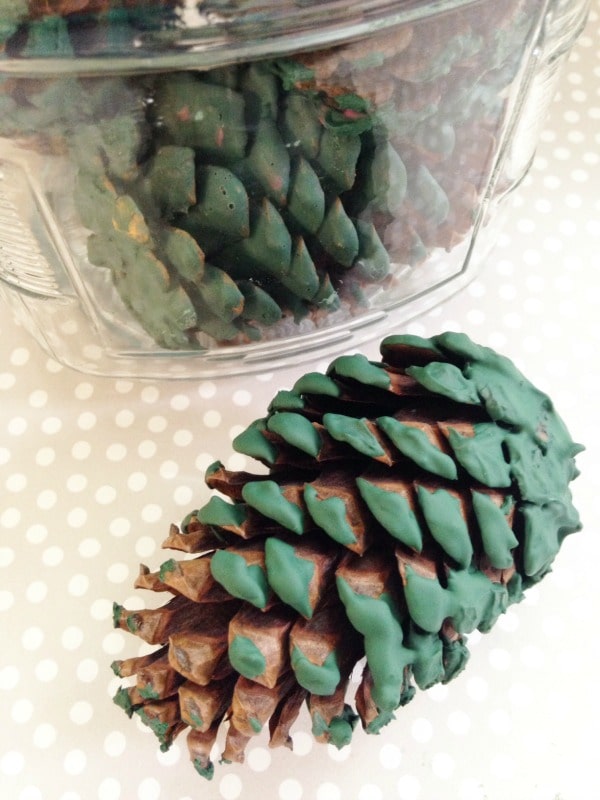
5. Remove the pine cone and set it on a paper towel or paper plate to dry. It won’t take long for the wax to harden, in fact it should harden just seconds after taking it out of the bowl.
That’s it! Your pine cone fire starters are now ready to be used. Simply toss the pine cone into the fire and the wax will quickly light. Between the wax and the dry pine cone, your fire will really get roaring. Should the fire slow down, another pine cone in the flames can help.
Gather your supplies and give these pine cone fire starters a try. They are a cheap and easy way to get your campfire going strong.
More Frugal DIY Projects
Fancy Dryer Lint Fire Starters
How to Make a Pool Noodle Candle Holder

Claudia says
Will this add yuck to a chimney? I know you said campfire but could it be used inside too.?
Suz April says
I am going to make these for a few Christmas gifts this year! I am doing an entire homemade Christmas this year and this idea is perfect! Thx for this creative idea! The grands can help me make them which is even better!
Alexis says
Found this on Busy Monday Blog Hop!
Too cool! I actually didn’t know wax was flammable lol I know it’s in candles but I guess i just figured it was there to hold the wick in place. I learned something new & just in time for our family camping trip in a couple weeks! Thanks!