
The colder temperatures are creeping in and store shelves are filling up with all sorts of options for cold weather gear. I know my kids will need mittens here soon for chilly mornings at the bus stop and hats to cover their ears. I just never know what to buy. I’ll find a cute hat for my daughter but quickly find it’s not at all functional. My son is sure to leave at least a handful of hats and gloves at school so I try not to spend too much money.
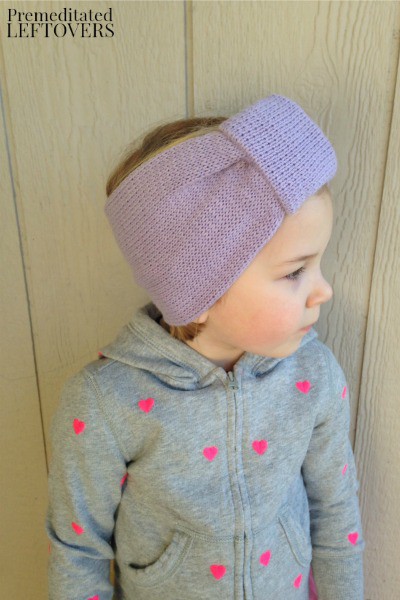
On a chilly afternoon I decided to try making a quick ear warmer for my daughter. I am by no means a master seamstress. A few years back I taught myself how to sew a few different stitches by hand and figured I could get by sewing something simple. I just needed something that would keep my daughter’s ears from being exposed to the cold. I’ve seen a lot of cute knitted ear warmers in the stores that bunched in the front so that’s what I set out to recreate.
This Upcycled Sweater Ear Warmer is a great DIY project for anyone with the most basic hand sewing skills. I’m pretty sure there was nothing “by the book” about how I did this, so rest assured it’s a pretty easy project to tackle. I used an old sweater that had a sad little hole in the neck and turned it into a cute little ear warmer just like those I’ve seen in the stores. If you don’t happen have anything at home, check out thrift stores for pretty sweaters or vintage duds at low cost.
DIY Sweater Ear Warmer
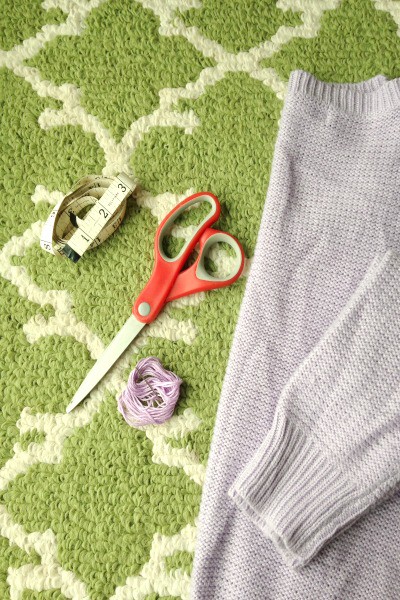
Materials needed:
- 1 Sweater
- 1 Embroidery or tapestry needle
- 1 Skein of embroidery floss
- Scissors
- Measuring tape
While a basic needle and thread would probably work just fine for this project, I chose to use an embroidery needle and floss because they are thicker and larger. I felt this would work better with the thicker threads in the knitted sweater I was using.
Instructions:
- Begin by getting a good head measurement. Do this by wrapping your measuring tape just above the hairline at the forehead diagonally down towards the nape of the neck.
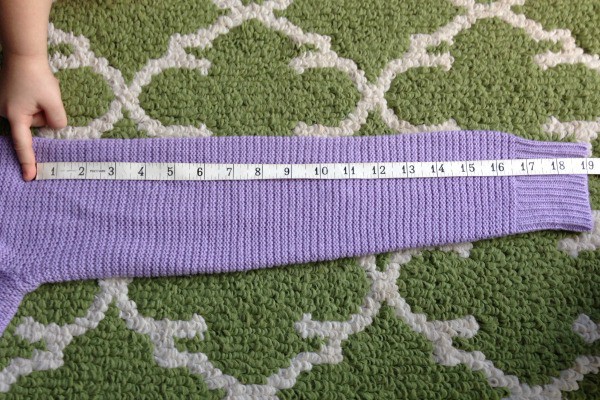
- Lay one arm of your sweater flat and use your head measurement to cut the length of your ear warmer.
- Lay your fabric facedown and gather the ends. One end of your sleeve will probably be wider. Be sure to bunch the ends together so the width of the fabric aligns evenly on both sides.
- Stitch the ends together. Don’t worry about how the seam looks at this point, you will be covering it in just a few more steps!
- Cut another 3 to 4 inch segment from the remaining sleeve. Keep it folded as it is to maintain its tube shape.
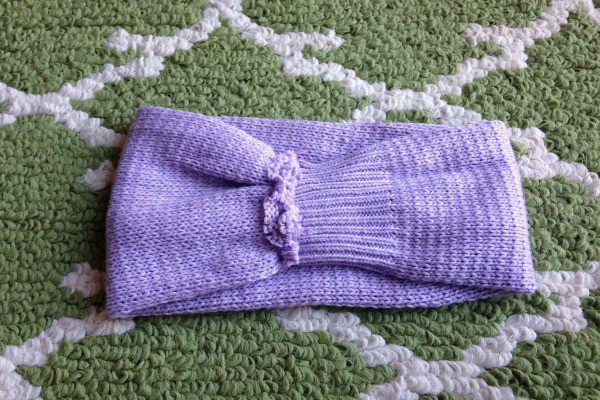
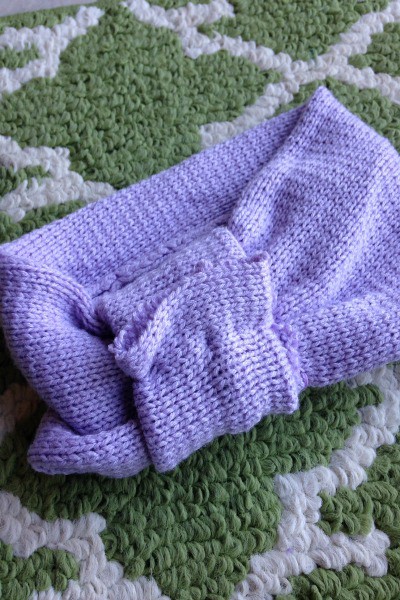
- Wrap the smaller piece around the seam you previously made on the ear warmer. Sew the two open ends closed.
- Flip the smaller piece your just sewed inward and rotate it towards the inside of the ear warmer to hide your stitching.
I left the rest of this DIY Sweater Ear Warmer plain, mostly because my little gal was excited to put it on and head outside. Add a little more detail by sewing on buttons, fabric flowers, or a sweet little ribbon.
Here are more Ways to Upcycle Old Sweaters. You can make more cold-weather gear with these 15 Free Crochet Patterns for Kids Hats, Scarves, and Mittens.

Leave a Reply