• Home
  • About
    • Privacy Policy
  • Blog
  • Prep-Ahead Meals Cookbooks
  • Recipes
  • Lifestyle
  • Gardening
  • Kid’s Activities
  • Gluten-Free Recipes
  • Budgeting Tips
↑

Premeditated Leftovers™

Prep-Ahead Meals, Cooking Tips, and Frugal Living

  • Cookbooks
    • Prep-Ahead Breakfasts and Lunches
    • Prep-Ahead Meals From Scratch
  • Recipe Index
  • Home
  • Blog
  • Recipes
  • Gluten-Free Recipes
  • Lifestyle
  • Garden
  • DIY
  • Kids
  • Budget

You are here: Home / Naturally Frugal Living / Easy DIY Herb Drying Rack

Easy DIY Herb Drying Rack

August 9, 2014 by Katie Femia Leave a Comment

This post may contain affiliate links. Read our disclosure policy here.
323 shares
  • Share
  • Tweet

dryrack


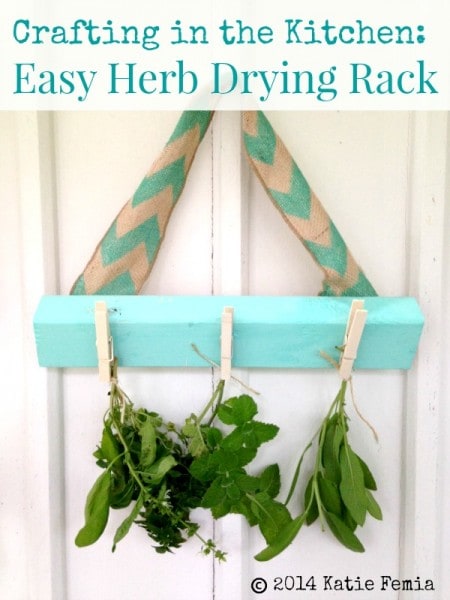
Now that the summer months are winding down, you will want to make sure you dry out as much of your herbs as possible for winter use. Drying herbs is a great way to preserve your herbs even longer, and enjoy them in your favorite soups, salads, and other dishes. You don’t need fancy equipment to dry your herbs, in fact you can make your own easy herb drying rack for just a few dollars. Take a look below at how we crafted our own, perfect for drying our summer herbs with.

How to Make DIY Herb Drying Rack
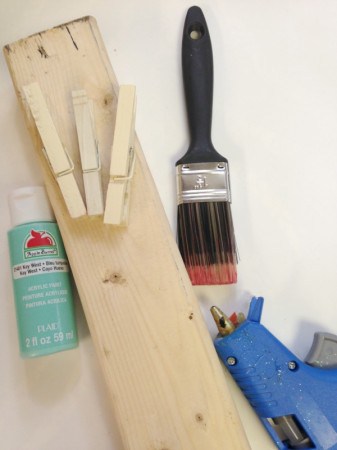
Supplies Needed:

  • Piece of scrap wood
  • Paint in choice of color and finish
  • Paint brush
  • 3-5 clothespins (the number you need depends on how much you will be drying)
  • Hot glue, glue gun
  • Ribbon or twine

Everything we used for this project we already had on hand. As you can see, you only need a little of each material so check your scrap bins for supplies.

Easy DIY Herb Drying Rack

Directions:
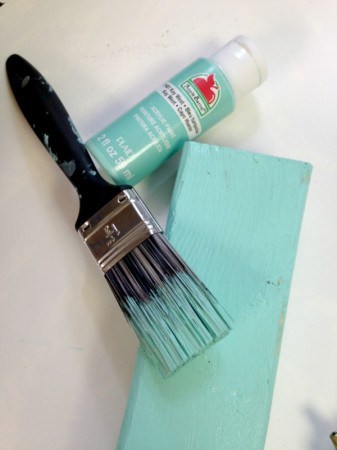
1. Begin by applying two coats of paint to your piece of scrap wood. The paint coverage doesn’t need to be perfect, in fact a less than stellar paint job offers a natural and rustic look.

Easy DIY Herb Drying Rack

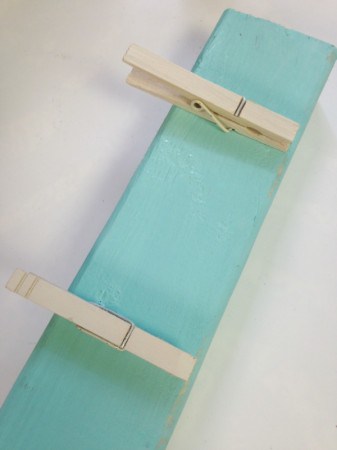
2. Once the paint is dry, you may glue on the clothespins to the wood. Be generous, apply the glue at the back of the pin and pressing it to the scrap wood. If you want, you can measure before you press the pins in place so they are evenly spaced, and all of your herbs have plenty of room to dry.

Easy DIY Herb Drying Rack

3. Turn the piece of scrap wood over and apply some glue generous to each end. Press a length of twine or ribbon to the glue until secure. This is the piece that will be used to hang the herb drying rack.

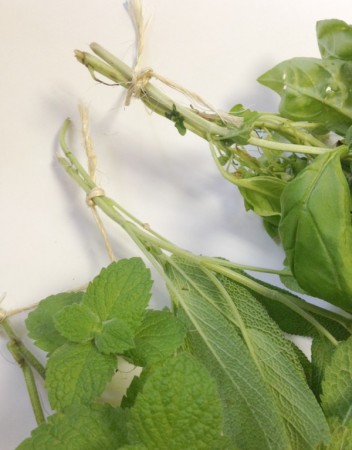
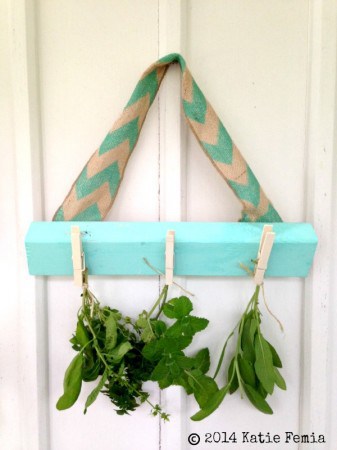
To use your herb drying rack, all you need to do is bundle your herbs with string or twine. Then, use the clips to secure the herb bundle to the drying rack. You want to hang each bundle upside down, and allow it to hang and dry for 5-7 days. Once your herbs are crispy and dry to the touch, simply crush them and place them into an air tight bag. They will last for months!

Easy DIY Herb Drying Rack

See how easy it is to make your own herb drying rack? Give this DIY project a try this weekend, so you can enjoy your herbs you worked so hard to grow all season long.

Easy DIY Herb Drying Rack

Herb Drying Tips

How to Dry Herbs

How to Freeze  Herbs 

How to Dry Herbs in a Paper Bag

How to Substitute Dried Herbs for Fresh Herbs

Would you like to save this article?

We'll email this post to you, so you can come back to it later!

323 shares
  • Share
  • Tweet

Leave a Reply Cancel reply

Your email address will not be published. Required fields are marked *

Recipe Rating


Search

Recent Articles:

Spring Cleaning Checklists Room by Room Cleaning Tips

Spring Cleaning Checklists Room by Room Cleaning Tips

Tips for Organizing Your Home for Spring Cleaning

Tips for Organizing Your Home for Spring Cleaning

Tips for Decluttering Your House for Spring Cleaning

Tips for Decluttering Your House for Spring Cleaning

BROWSE:

  • Blog
  • Cookbooks
  • Recipe Index

ABOUT:

  • About
  • Contact
  • Privacy Policy
  • Disclosure

Welcome. I'm Alea!

On Premeditated Leftovers I share simple recipes made with whole foods, practical shopping tips, time saving techniques, and meal planning strategies. I also share tips for minimizing food waste, so more of the food that is purchased ends up on the table.

While volunteering as a budget counselor, I realized that food is the element of most people’s budgets where they have the greatest control. I set out to develop low-cost recipes from scratch to prove it’s possible to create delicious meals on a limited budget. Eating well while spending less is about more than just creating recipes using inexpensive ingredients; it’s about creatively combining ingredients so you don’t feel deprived and are inspired to stick to your budget.

Copyright ©2026, Premeditated Leftovers™. All Rights Reserved.
Design by Pixel Me Designs

Share anywhere