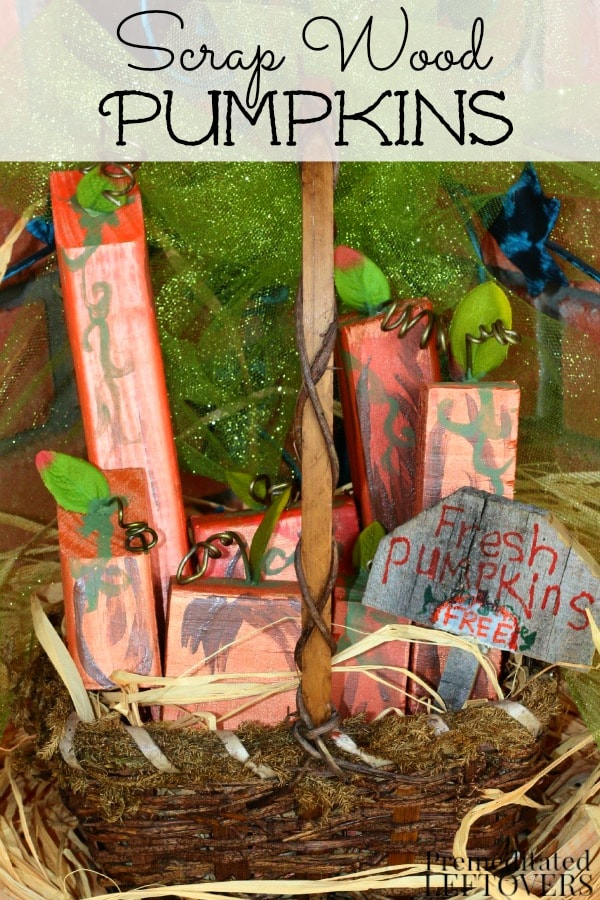
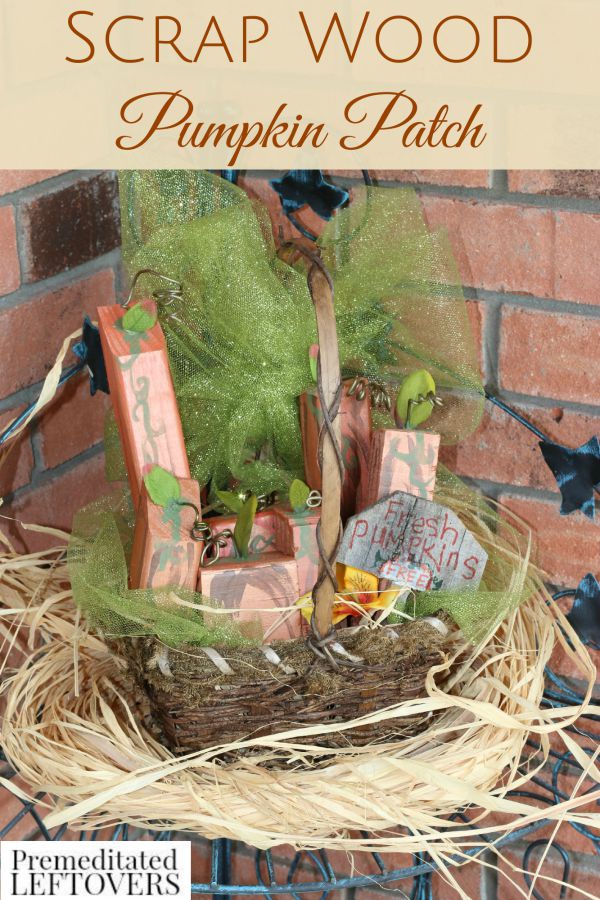
This Scrap Wood Pumpkin Patch Basket is a great way to recycle old pieces of lumber laying around, and create a cute and fun craft just in time for the fall holidays. Pumpkins are great from September through November and can easily be used for Halloween, Fall or Thanksgiving decor. This basket is a great way to add some fun to your front porch, garden or even on your fireplace mantle.
This fun simple fake pumpkin patch made from scrap lumber is a super quick and easy craft project. These scrap wood pieces can be found in your own garage from old projects you may have done in the past. You can also check at a local hardware store and see if they have any small pieces for sale or even for free. (Our local Home Depot sells bags of scrap lumber chunks for around $5).
You can use any old basket you have around the house, or pick up an inexpensive one at your local craft or dollar store. Baskets are always cheap and easy to find. You likely have one from an old gift basket in your junk closet already! With your scrap wood pieces, basket and a bit of paint and some fake stems you will have some unique scrap wood pumpkin pieces in no time at all!
Scrap Wood Pumpkin Patch Basket
Supplies:
- Large Basket
- Scrap lumber
- Floral Wire (or old wire hanger)
- Artificial floral leaves
- Paint brushes
- Orange paint
- Copper or gold paint
- Brown paint
- Electric drill
- Hot Glue or Liquid Nails
Directions:
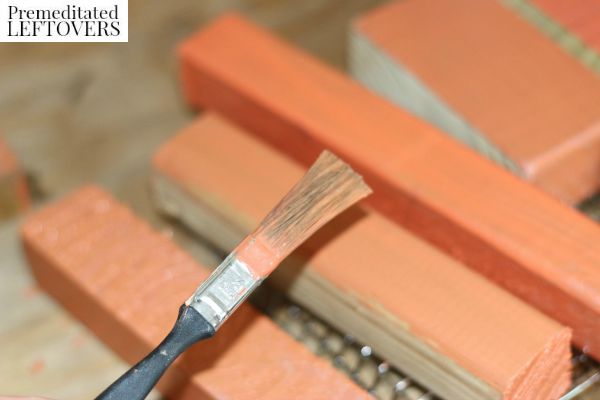
1. Use an electric drill to make holes in the top of each block. These don’t need to be deep, just enough to insert twisted wire into for the vine. Then paint the blocks using spray paint, or an acrylic paint you desire. Spray paint may be easier to do in a well ventilated area for some, but we enjoyed using a paint brush and simple inexpensive acrylic for this project. You’ll want to allow these to dry thoroughly before your next step.
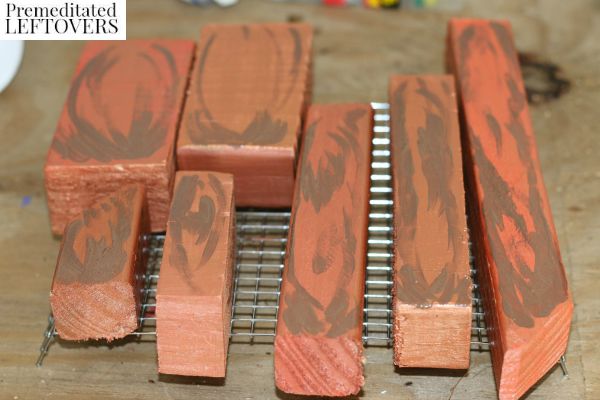
2. Once pumpkins have dried, lightly brush on some copper or gold paint to add a touch of depth to your “pumpkins”. You can also add some brown curves around edges to give a round appearance to the scrap wood pumpkin patch.
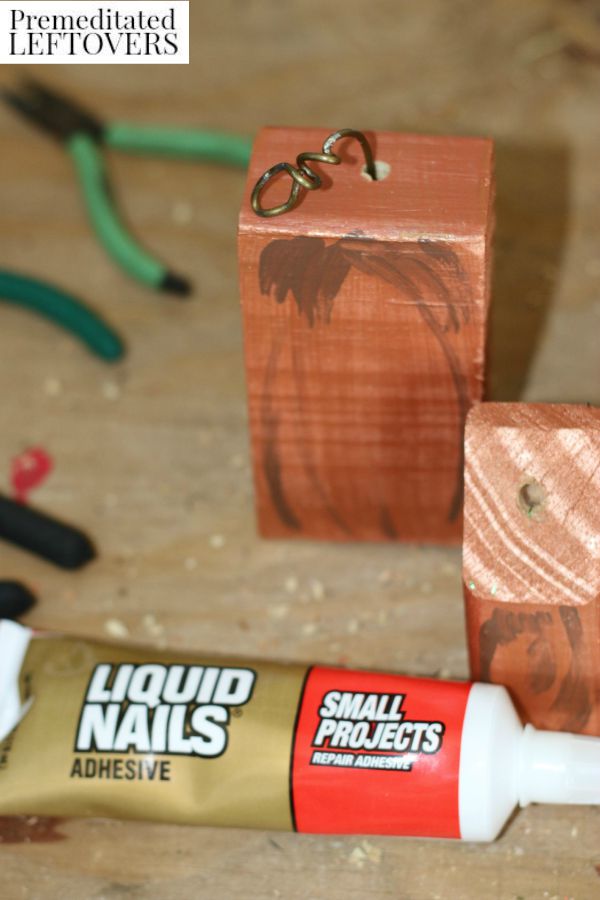
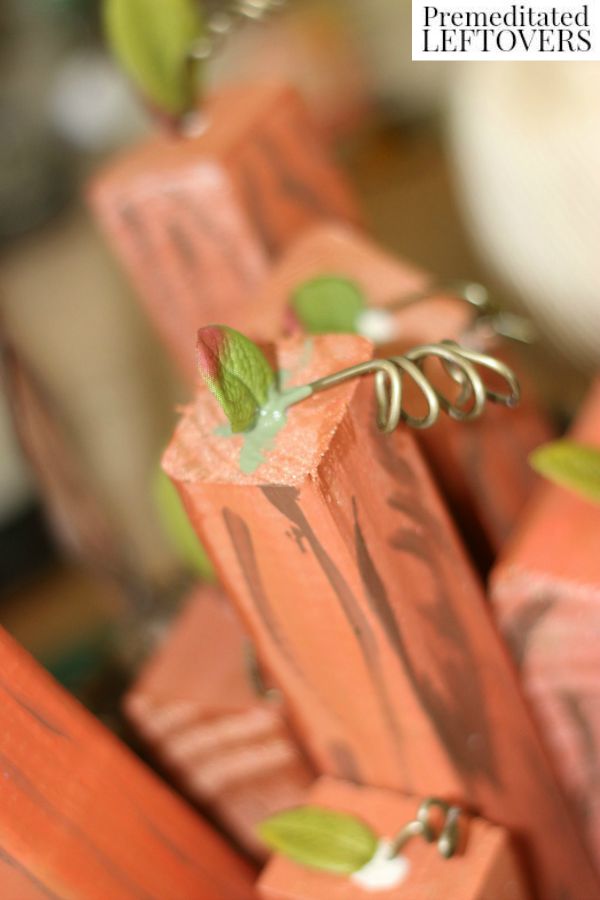
3. Once all paint has dried, you add your vines to the top. Using floral wire, curve around a pencil or by hand to create circles to look like vines. Cut as short or long as you wish.
4. You can then add a bit of hot glue (or wood glue) inside the hole you drilled earlier and slip the vine down into the hole with ease. Add a small artificial floral leaf to the top while glue is still wet and allow to dry. You can paint around over the glue with green or orange paint if you prefer to cover it from view.
5. Your pumpkins will need to dry before you arrange them into the basket of choice. You can add in a simple wooden or chalkboard sign that says, “Free Pumpkins”, or you can simply add in some hay or green tulle to make it look more like a real pumpkin patch.
This scrap wood pumpkin patch is great craft to make for the fall season. Whether you put your pumpkins into a basket as shown, or create a fun display on your mantle, these are super easy, fun and inexpensive ways to decorate for fall.
More Fall Crafts
Hand Painted Pumpkin Pine Cones
How to Make a Chalkboard Pumpkin
Thanks to Beth Moore for sharing this fall DIY project.

Leave a Reply