My little girl loves pink, sparkles, fairies and dirt-lol. So I thought a fun and pretty project for us would be to create a fairy garden to place in our real garden. This master plan really had several purposes- #1 – To create a pretty focal point for our garden, #2- To have a project to do together, and #3 To give her something to keep her busy while I work on other things in the yard.
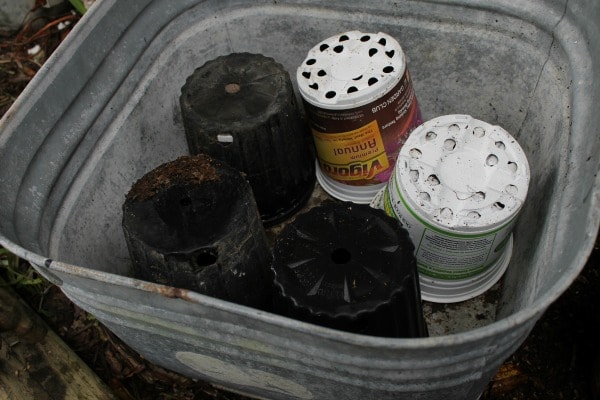
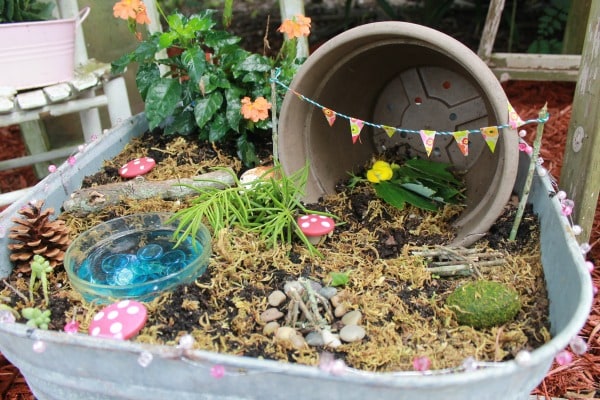
The first thing you will need to do is find a large container of some sort to hold your fairy wonderland. I happened to have this old galvanized tub I was going to put my tomatoes in this year but happily donated it to the cause of childhood. You can purchase a large pot or use one that is lying around, an old claw foot tub would make a wonderful large play area for fairies, or any other container that is large enough to create a small world. Instead of wasting a bunch of soil that the plants intended on putting in didn’t need, I used some containers that my garden plants came in to fill half the tub.
Next fill the tub with soil, I recommend organic since your little one will be playing in it. Fill the tub to 3-4 ” from the top. If you want to add any large plants you can at the back. I used a Firecracker Flower that is a butterfly attracting plant, I plan on switching it out when it grows larger and transplanting it in the garden.
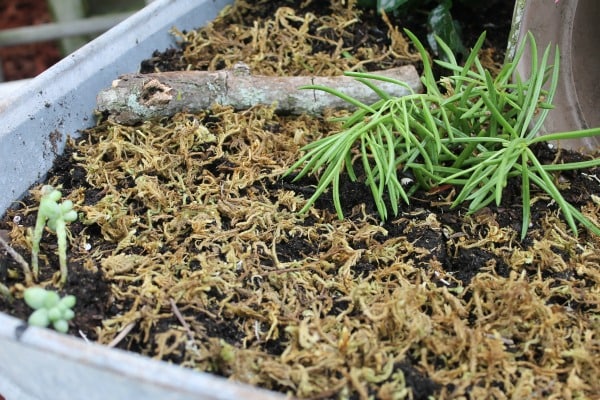
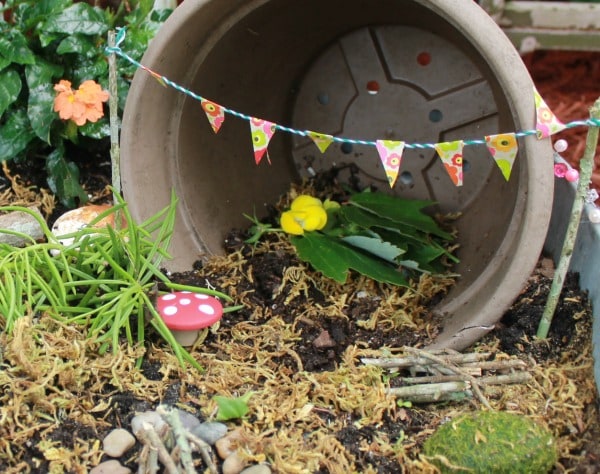
Normally I would plant some moss for soft groundcover but after a trip to 2 different home improvement stores and no live moss I sprinkled dried moss I found at Dollar Tree and planted a couple of small succulents which are slow growers so they are perfect for the fairy garden. I then buried a medium sized pot just a couple inches down to create a fairy shelter, added a few branches from the yard for resting spots, stones, and pinecones to make it feel woodsy.
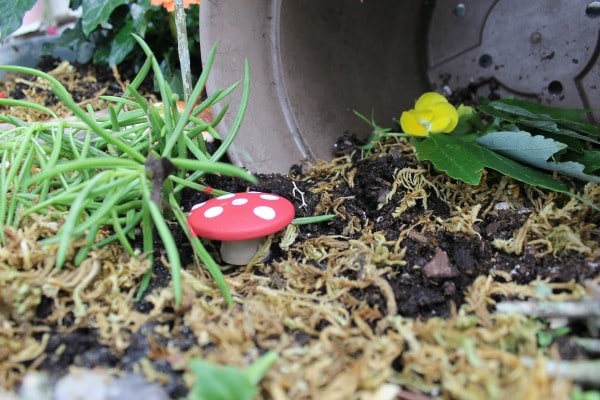
Then the fun really began, I started to work on the details! To create the mushrooms I used unfinished wooden knobs and painted the bottom tan and the top red, when the paint dried I dipped a pencil eraser in white paint for the spots. If you want them to last longer give them a couple coats of a clear coat sealant.
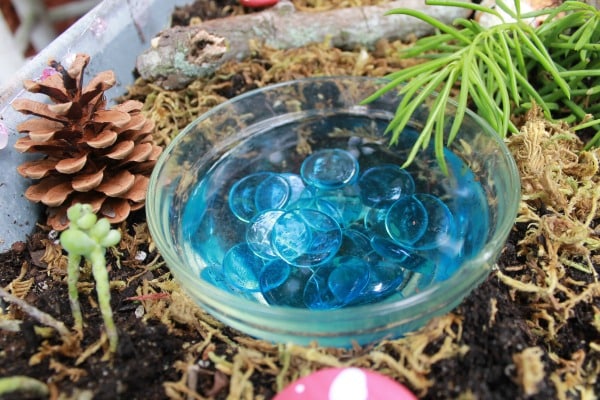
Fairies need water to swim, bathe, and drink from so a small clear bowl stolen from the kitchen created a little pond. I threw in a handful of glass blue pebbles to tint the water (also from Dollar Tree).
I used washi/paper tape on a piece of bakers twine to create a little welcoming bunting banner for the shelter. I tied it between two twigs and cut them into little triangles. This probably wont hold up well but our fairy garden changes and evolves regularly so that’s ok. if you want something more permanent colorful duct tape would be hold up very well in the weather. My little girl created a bed for any fairies that might visit from leaves and a nearby pot of pansies.
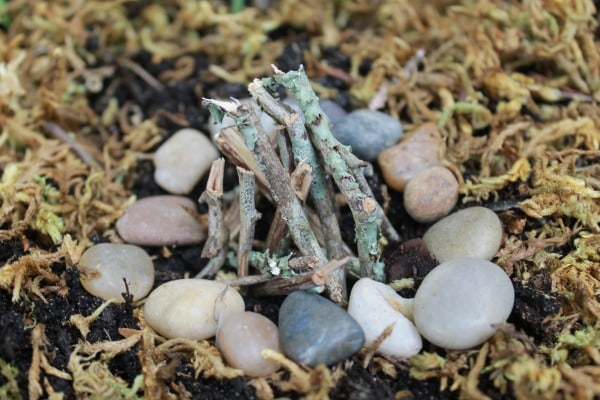
A fire ring for chilly nights was simply made from pebbles ( another great Dollar Tree find I have used many times over) and little broken sticks- this is one of my favorite parts of the fairy garden, it looks like it is ready to be used and enjoyed by a tiny winged nymph.
I wrapped the final product in pink bead garland (Hobby Lobby) because it is a well known fact that fairies, like little girls love sparkle and jewels. I am thinking about running a small string of clear lights around the edge for the evening, I think that would be a pretty way to extend the play into the dusk.
While we wait for real fairies to come we use these fairies for small world play. This has made for endless hours of fun and fascination. It truly cost very little to make and has been a worthwhile project for my little girl.




Leave a Reply