Create a Fall Harvest Fairy Garden for your child to enjoy this autumn!
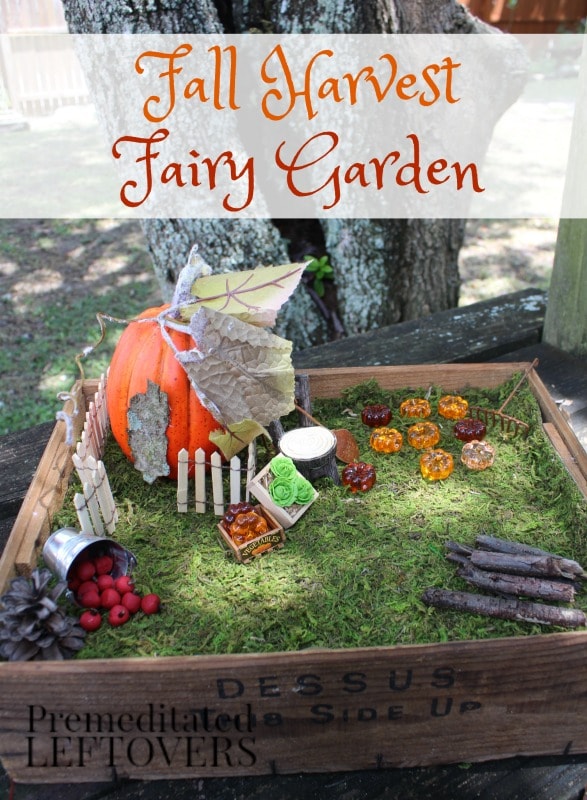
It is nearly fall harvest season! The same goes for those busy industrious fairies, don’t they deserve a pretty patch of land to work for themselves? My little and I set out to create a Fall Harvest Fairy Garden in an old wine crate lid. It’s complete with sheet moss, a small pumpkin house, a pumpkin patch, and plenty of fresh fruits and veggies! You can make your fall fairy garden with what you have on hand and maybe a few new store bought pieces.
We are always puttering with and changing our fairy gardens. It is so fun to create seasonal themes like this Fall Harvest Fairy Garden. You can use natural found items, store bought pieces, and even some homemade items like our little apples. So stick around and I will share how we did it with you!
Fall Harvest Fairy Garden
This fairy garden has small pieces and should not be made for children under the age of 3 or for those who are likely to put small toys in their mouth.
Materials:
- 1 large container
- sheet moss
- small pumpkin (real or plastic)
- assorted fairy garden items- (I used a vegetable crate, miniature garden tools, a wooden chair, and a picket fence.
- fall items such as mini apples, pumpkins, etc
Directions:
If you are going to keep yours fairy garden outdoors or you just want to put live plants in it, you can fill your container (with drainage holes) with potting soil and cover with loose pieces of moss. While we have several with succulents and other small plants, we decided not to make this one a living garden.
- We started by filling our container. You can do this with boxes, stacked cardboard, foam, a blanket, or towel. We used an old beach towel then topped it with cardboard to make it firmer.
- Next, we cut sheet moss to size and laid on top.
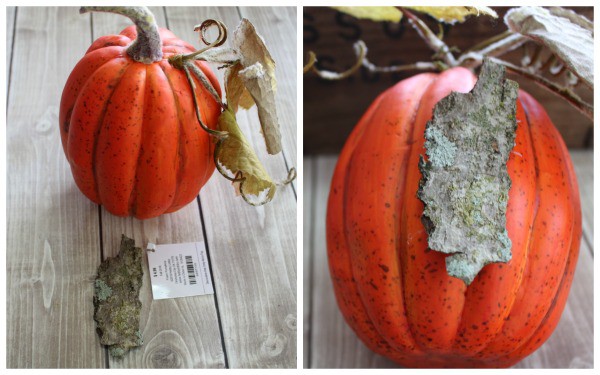
3. I turned this sweet little pumpkin I found at the craft store for about $2.50 into a little fairy fall cottage by simply gluing on a piece of bark for a door. You can do the same thing with a small real pumpkin too if desired.
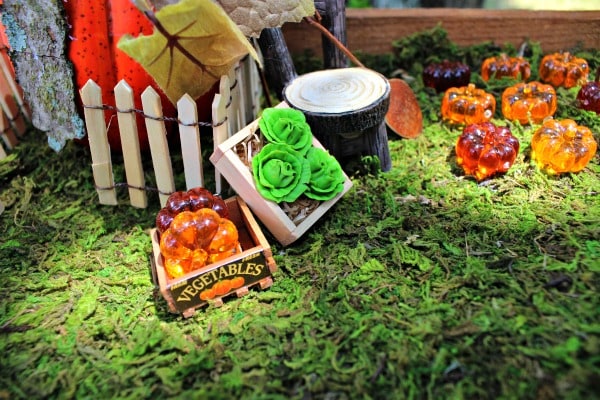
4. Bend a fence or gate around your pumpkin home to define the space. This 18″ picket fence is one of our favorite pieces. It is the perfect size and can be used in a variety of ways!
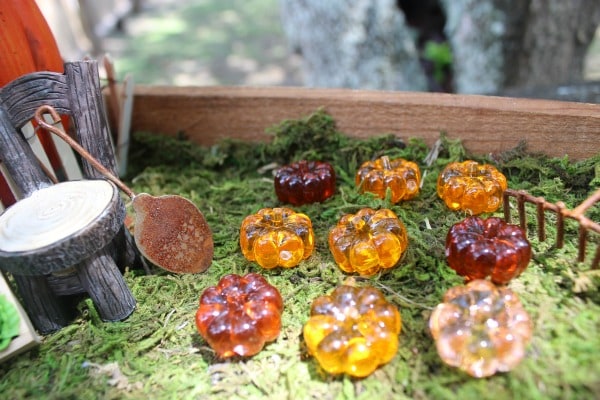
5. I found adorable little glistening mini pumpkins as well for 40% so they were just about $2. They were bagged as table scatter for decor but I just know they are enchanted fairy pumpkins. I could not find mini apples that didn’t cost an unreasonable amount, so we grabbed a pack of clay that you bake to make apples.
If you want to recreate our apples you just need to pinch off a piece of clay, roll into a ball of desired size, press a small piece of broken twig into it for a stem and bake according to your clays package directions. Cool and add to your garden! You can make a bushel of them or use different colors to make all sorts of fruits and veggies.
6. Finally, I added little fairy garden elements that we had on hand and a few I ordered from Amazon. Every time we create a brand new fairy garden I pick up a piece or two. You do not have to build your fairy garden at once and spend $100 on a 1’x1′ fairy garden. Pick up pieces as you go, make your own, and scout the dollar store for dollhouse furniture and other mini items.
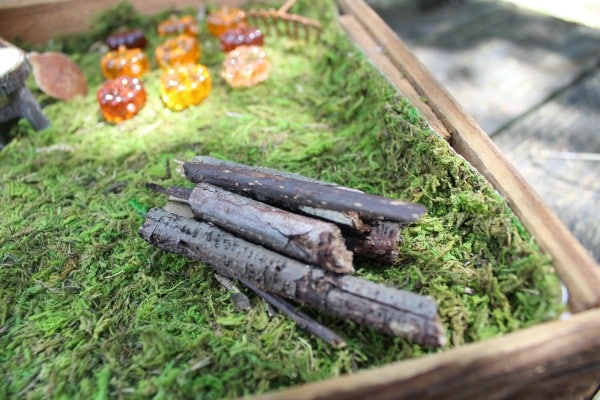
Break up sticks and stack them to create a woodpile, a definite necessity for chilly autumn nights!
Don’t forget to lay out your pumpkin patch!
More Fairy Garden Tutorials:
DIY Bird House Fairy Garden Craft for Kids


Leave a Reply