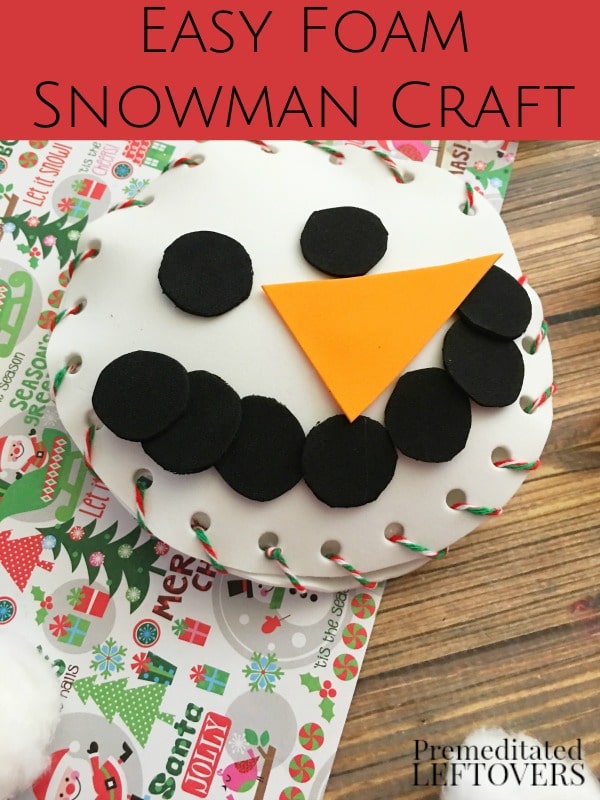
When the weather is just too cold to play outside, kids can enjoy making this cute Foam Snowman Craft. This is an easy tutorial using inexpensive foam craft sheets and a handful of basic craft supplies.
When the temperature turns cold, this Foam Snowman Craft is an easy way to have fun with the kids! Grab just a few supplies you probably already have on hand, and next thing you know you’ll have kids excited to make their own personal foam snowman!
Snowman crafts ideas like this one are so simple to make! I love using foam sheets for crafts since they are flexible and super inexpensive. They come in so many colors and make things like this cute snowman craft easy to manage.
Foam Snowman Craft for Kids Tutorial
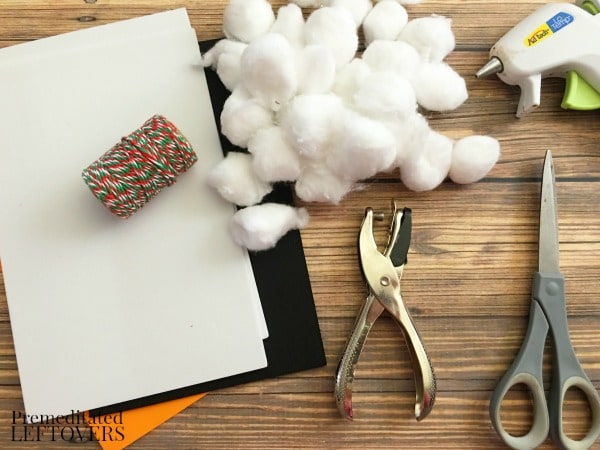
Materials Needed:
- white, orange, and black craft foam sheets
- red, green, white blended twine
- craft foam glue or hot glue
- cotton balls
- hole puncher
- pencil
Directions:
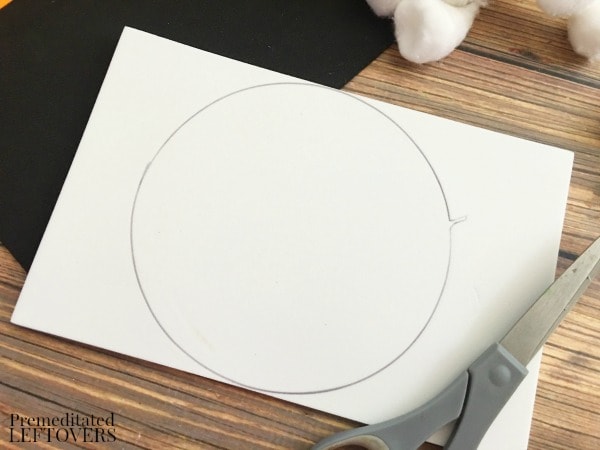
1. Trace a bowl onto two pieces of your white craft foam and cut out with scissors.
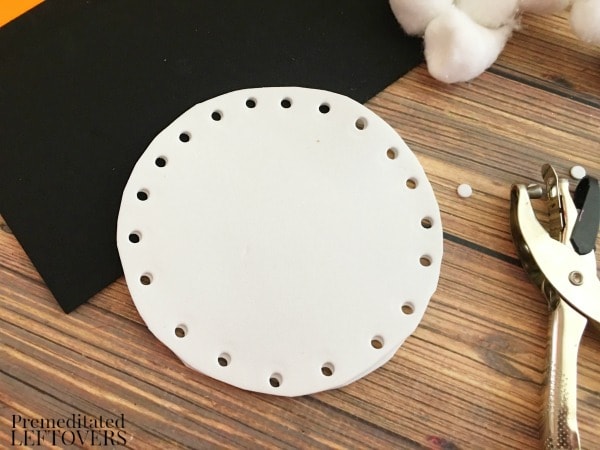
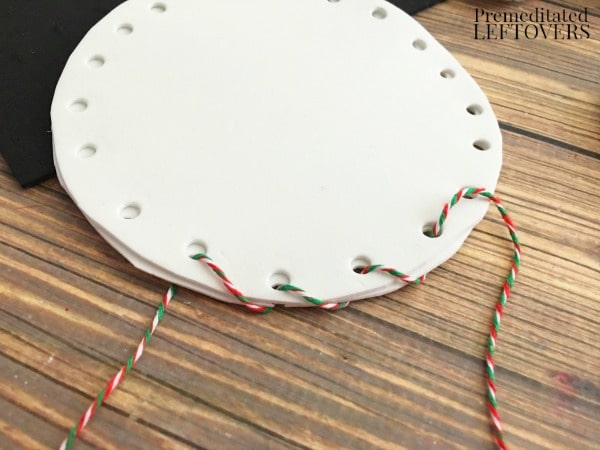
2. Hold your two pieces of foam together and use a whole puncher to punch out holes all the way around the edges.
3. Place a piece of twine through the bottom foam circle and through the top piece of foam and perform a whip stitch (diagonal stitches) almost all the way around the circle.
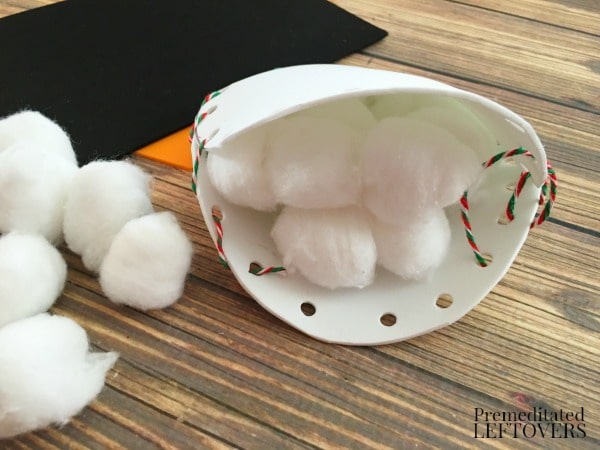
4. Fill your circle up with cotton balls and stitch the rest of the way up and tie into a knot.
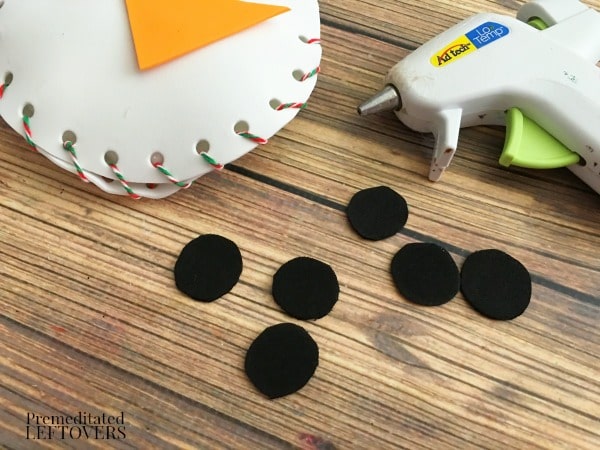
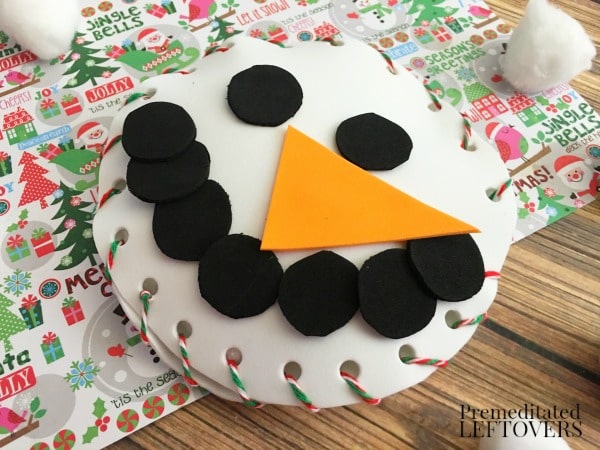
5. A large triangle from your orange foam and glue to the center of your circle for a nose.
6. Then cut out 9 quarter sized circles from your black foam and glue two above the nose for eyes and 7 below the nose for a coal mouth.
I love the idea of using this simple snowman craft idea as a class project for a preschool group, or even a homeschool group meeting. It’s such a fun way to welcome the winter months, and kids will enjoy using markers or pencils to make their snowman totally unique!
More Winter Crafts for Kids:
Snowman Snow Measuring Stick Craft

Leave a Reply