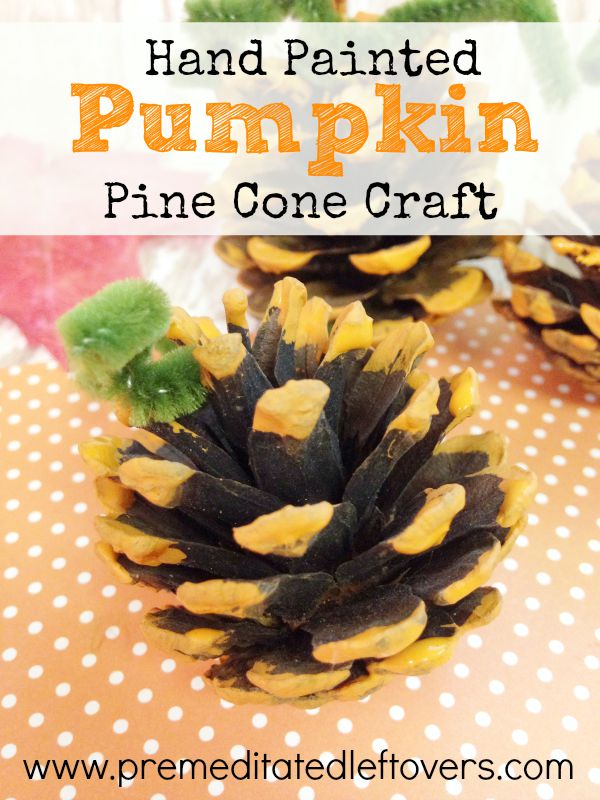
Do you have an abundance of pine cones in your yard? If so, why not turn them into tiny painted pumpkins? Perfect for bowl fillers, these pine cone pumpkins are easy to make and easy to enjoy. Take a look below at how you can get busy crafting your own. As you can see, they are the perfect fall craft for kids!
Hand Painted Pumpkin Pine Cones
Materials:
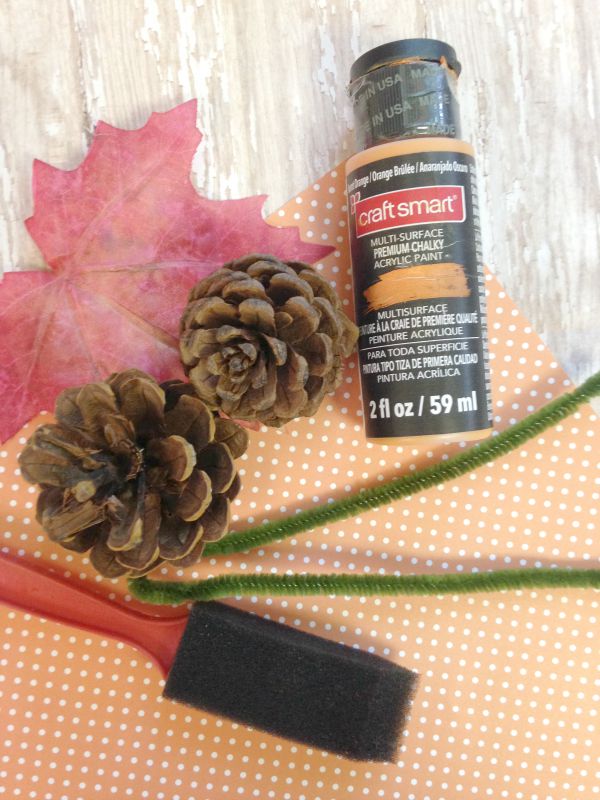
- Assorted pine cones, any size
- Sponge brush
- Orange craft paint
- Craft glue
- Green pipe cleaners
- Scissors
For our pine cone pumpkins we used an orange chalk paint. It gave the pine cones a bit of a rustic look. You can use the same product found at most craft stores. Or, you can use basic orange craft paint. Either will work out well for this project.
Instructions:
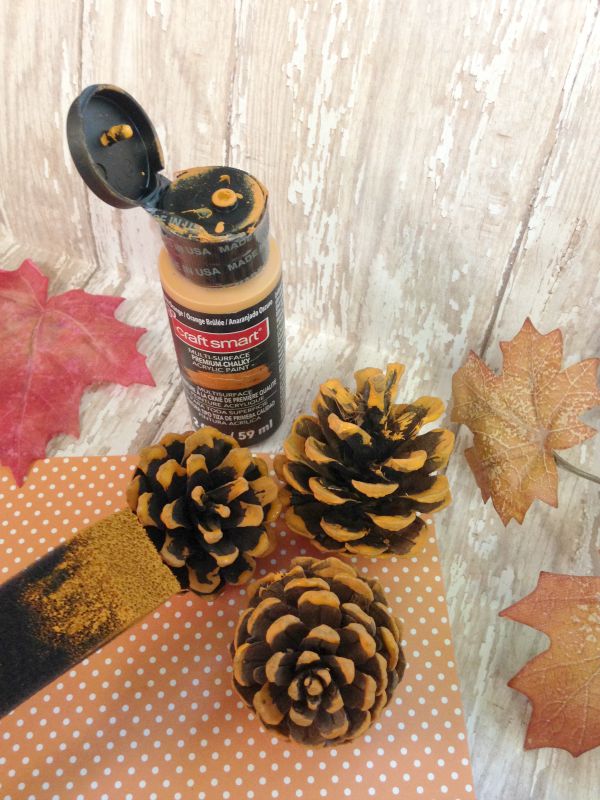
1. Begin by placing your pine cones on some newspaper to collect drips. Apply two coats of paint to the pine cones in a dabbing motion. Getting 100% coverage can be difficult, so just try to cover as much of the pine cone as you can. Once you are happy with the paint coverage, allow the pine cones to dry.
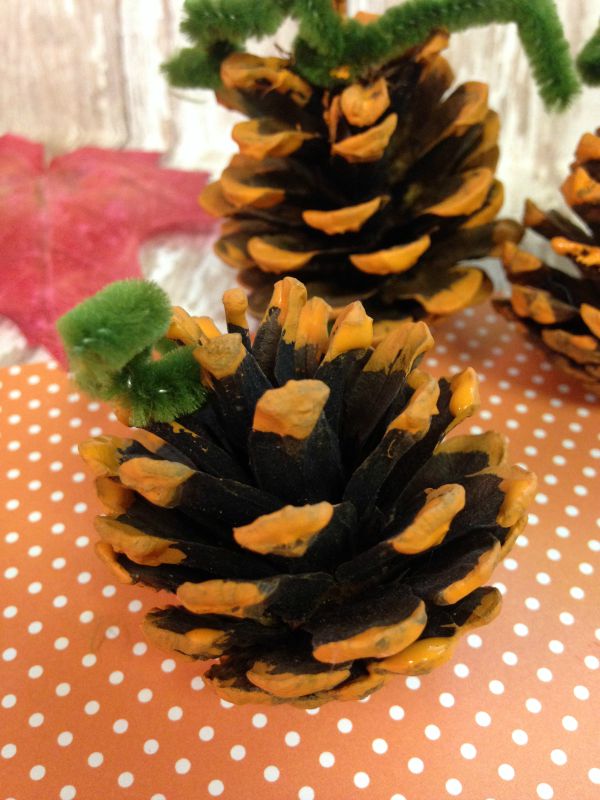
2. In the meantime, you can snip the stems of your pumpkins. Cut segments of green pipe cleaner in various sizes. Twist them around your finger or a pencil to get a spiral effect. Add a dab of glue to the end of the pipe cleaner and press it to the top of each pumpkin. This will now look like your pumpkin has a stem.
3. Once your painted pine cone pumpkins are assembled you can display them in a bowl, on a mantel, or in a tall clear vase. If you want to turn them into jack-o-lanterns, you can do so with googly eyes or glued on felt pieces. Feel free to get as creative as you wish.
Gather those pine cones and turn them into something fun for the fall season when you give these painted pine cone pumpkins a try!
More Fall Crafts for Kids
15 Fall Leaf Crafts for Children
15 Pumpkin Crafts and Activities for Kids


Leave a Reply