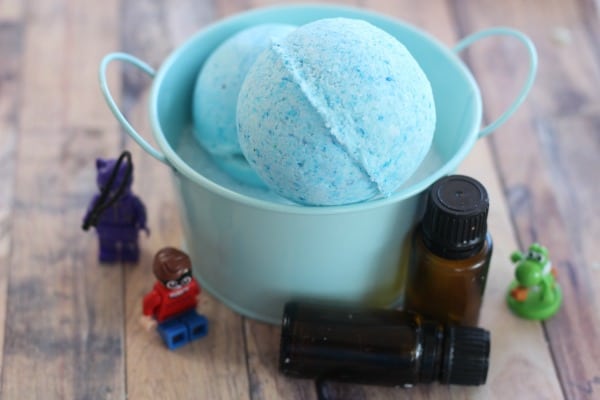
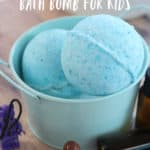
These Soothing Surprise Bath Bombs For Kids are perfect for bedtime and end in fun little surprise that your kids will love.
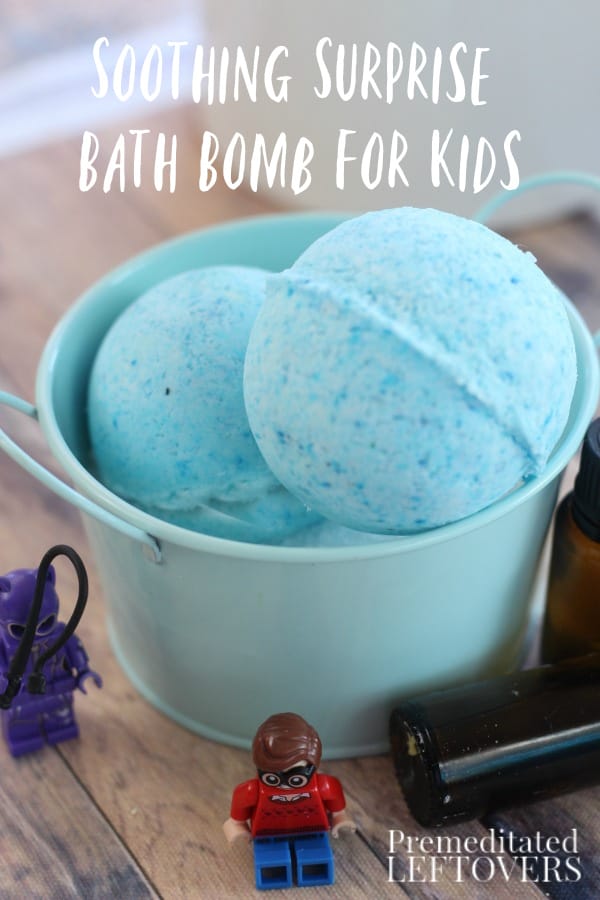
Most kids love taking a bath and I think it’s pretty safe to say that all of them love a good surprise, especially in the form of a toy. These Soothing Surprise Kids Bath Bombs make both a special treat, with essential oils that relax and calm them and a fun toy inside to discover and play with. They are great as part of your child’s pre-bedtime ritual to unwind. Make them with your child or as a surprise, they make a great gift!
Surprise Bath Bombs Recipe
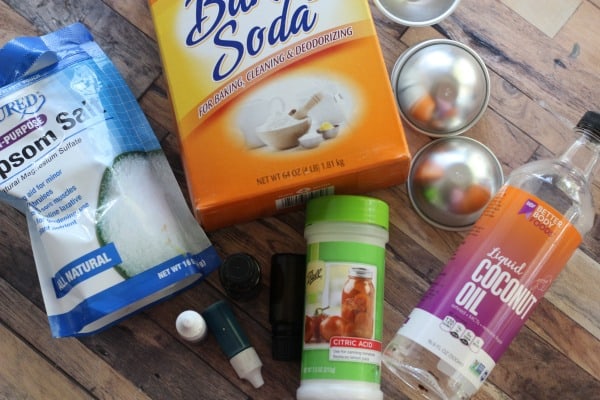
Supplies:
- 1 cup baking soda
- ½ cup Epsom salts
- ½ cup citric acid
- ½ cup cornstarch
- 2 tablespoons coconut oil
- 1 – 2 teaspoons water
- 12 drops lavender essential oil
- 8 drops vetiver essential oil
- Bath Bomb Mold (Here are some DIY Bath Bomb Mold ideas)
- Food coloring (optional)
Directions:
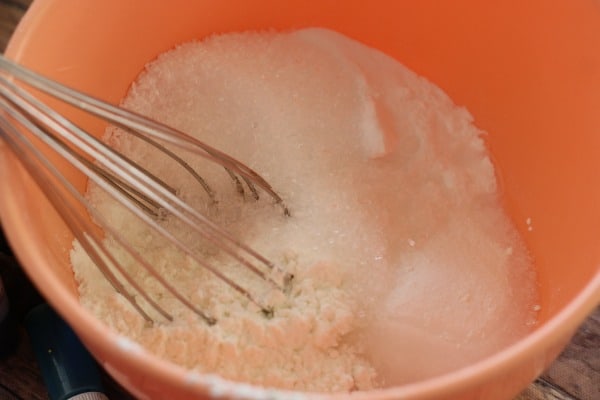
- In a large bowl stir together baking soda, Epsom salts, citric acid, and cornstarch until all ingredients are well combined.

- Add coconut oil and essential oils. Stir well again.
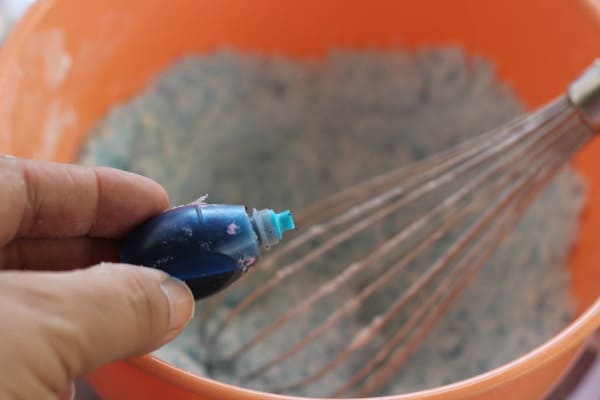
- Mix in your food coloring if you opt to use any until you get your desired shade.
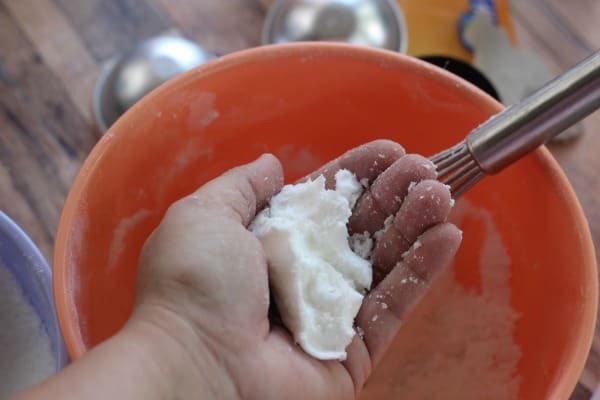
- Now you are going to add the water, just a couple drops at a time and mix it up with your hands so that you can feel it. You want to add water and mix just until the dry ingredients are lightly damp and if you squeeze them they lightly hold the shape.
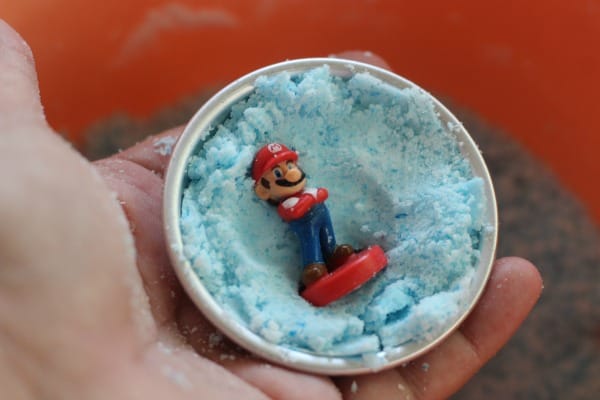
- Press firmly into one side of your mold, press in a small toy. Some items that work great are little mini-figures, bouncy balls, game pieces, and Barbie accessories.
- Fill the other half until it overflows a bit, press the two halves together, you want to make sure that there are no air pockets and that the mixtures squish out the sides a bit when you press them together.
- Allow to dry for 3-4 hours or overnight then carefully remove the molds.

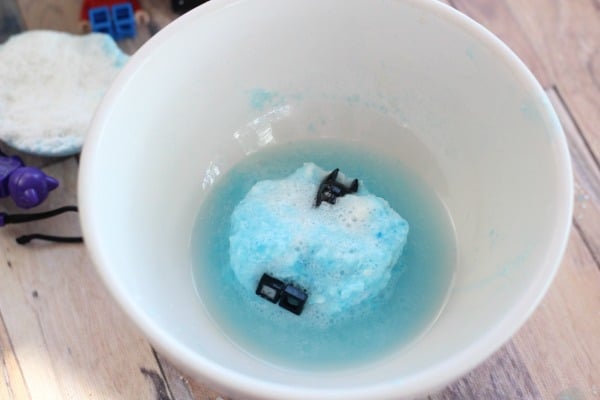
As the bath bomb fizzes away leaving behind some color, softness, and relaxing essential oils a surprise reveals itself!
Printable Recipe for Surprise Bath Bombs
Surprise Bath Bombs for Kids
A fun fizzing bath bomb with a toy surprise inside.
Ingredients
- 1 cup baking soda
- ½ cup Epsom salts
- ½ cup citric acid
- ½ cup cornstarch
- 2 tablespoons coconut oil
- 1 - 2 teaspoons water
- 12 drops lavender essential oil
- 8 drops vetiver essential oil
- Food coloring optional
- Bath Bomb Mold
Instructions
- In a large bowl stir together baking soda, Epsom salts, citric acid, and cornstarch until all ingredients are well combined.
- Add coconut oil and essential oils. Stir well again.
- Mix in your food coloring if you opt to use any until you get your desired shade.
- Now you are going to add the water, just a couple drops at a time and mix it up with your hands so that you can feel it. You want to add water and mix just until the dry ingredients are lightly damp and if you squeeze them they lightly hold the shape.
- Press firmly into one side of your mold, press in a small toy. Some items that work great are little mini-figures, bouncy balls, game pieces, and Barbie accessories.
- Fill the other half until it overflows a bit, press the two halves together, you want to make sure that there are no air pockets and that the mixtures squish out the sides a bit when you press them together.
- Allow to dry for 3-4 hours or overnight then carefully remove the molds.

Leave a Reply