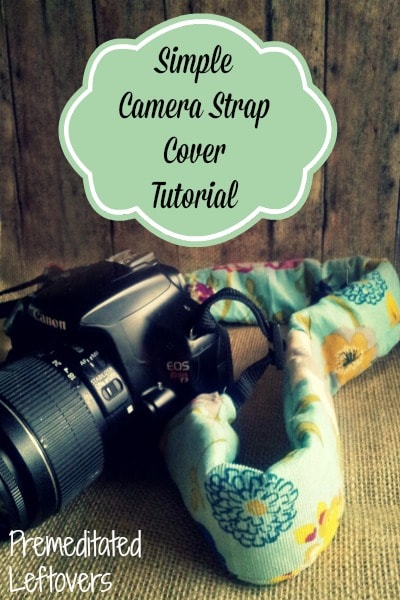
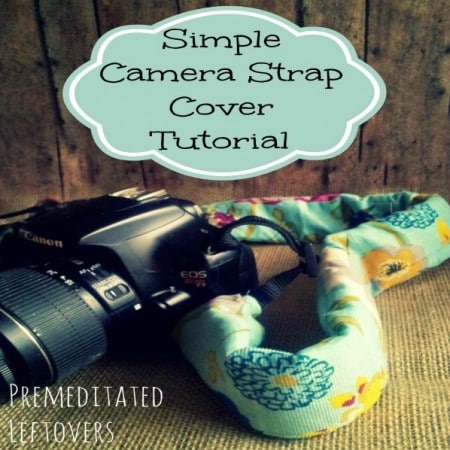
Rarely a day goes by when I don’t put my camera to use – pictures of my children, food photography, tutorials, or family events. It almost seems to be an extension of my body, so why not dress it up a bit and make it an accessory? Looking around at camera strap covers I discovered that they were pretty pricey and you are limited by the fabrics and patterns that someone else chooses. I love walking the fabric aisles at the craft store and have been known to buy a yard or two of fabric with no project in mind because I just loved the pattern or texture and had to bring it home. This light, floral corduroy was one of those fabrics. I was able to make my own camera strap cover for just a few dollars and in less than 30 minutes. It was so inexpensive that I plan on making several to swap out for the seasons. This camera strap cover tutorial makes a cover that fits most standard DSLR cameras like Nikon or Canon.
DIY Camera Strap Cover Tutorial
Supplies:
- Sturdy cotton blend fabric
- Cotton interfacing
- Scissors/rotary cutter
- Sewing machine/thread
Directions:
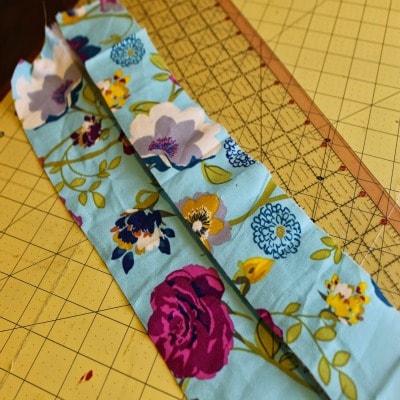
Cut 2 strips of your patterned fabric to 3″ wide x 26″ long. If desired choose two different coordinating fabrics for contrast.
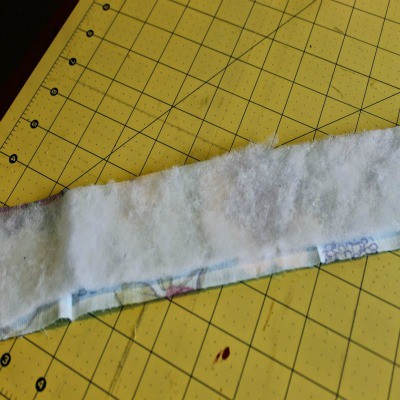
Cut 2 pieces of interfacing to 2 1/2 ” by 25″. This creates a nice padded strap for comfort.
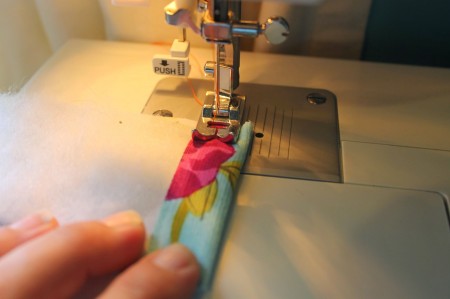
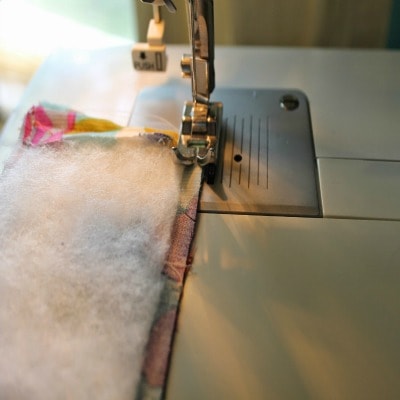
Place one piece of interfacing on the wrong side of each patterned fabric, fold the end of the patterned fabric over 1″ on each short side and sew a seam 1/4 ” from from the edge. Repeat on the remaining 3 ends.
Place fabric and interfacing strips right side to ride side and sew down the two long sides 1/4 ” from the edge.
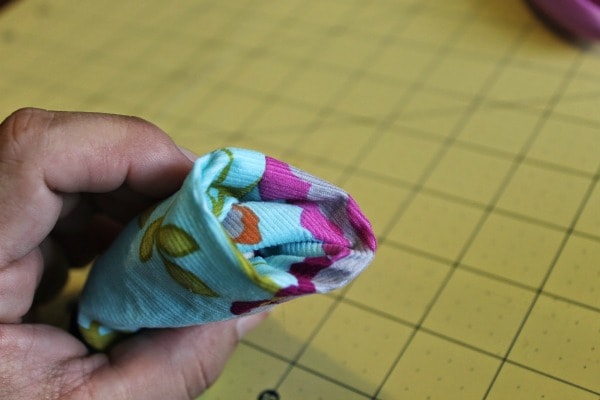
Turn your strap cover “inside right” , unfasten one side of your camera strap from the camera and slide it through cover- to do this, I taped the end to a ruler and pushed it through.
After you have slide the camera strap through the cover, reattach the camera strap to your camera.

Melissa @ Stockpiling Moms says
I love this DIY camera strap tutorial. This would be a great gift idea and so affordable!