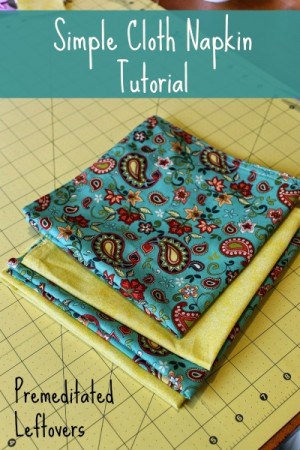
Want to reduce your consumption of paper products? Use this quick and easy DIY cloth napkin tutorial to make your own napkins.

We live in a world where everything is disposable, which means we don’t need to take care of things because there is another one ready to take its place. I am striving not only to be greener and kinder to the planet but to make more handmade, reusable items just because they make me smile. When I pull open a drawer and grab one of the cloth napkins that I sewed myself it gives me a feeling of satisfaction, and to think some of them may be handed down to my children to use in their own homes someday, that just doesn’t happen like it used to.
Cloth Napkins are truly simple to make and only require the most basic sewing skills- even a slightly crooked line will not be noticed. Pick out fabric that matches your decor or use old sheets and scraps of fabric already laying around. I have several casual sets for every day, a couple nicer sets, and several for the Holidays- all various sizes.
First decide what size napkins you would like to make , here are the general “proper” sizes for napkins
Lunch napkins – between 18″x 18″ and 20″ x 20″
Dinner Napkins – between 22″ x 22″ and 24″ x 24″
I made these everyday ones a little small because I sometimes tuck them in the kids’ lunches for a little touch of home, and they are often in little hands here throughout the day. My final measurement was 16″ x 16″.
DIY Cloth Napkin Tutorial
Supplies Needed:
- cotton or linen fabric
- ironing machine/board
- sewing machine/thread
- Optional:
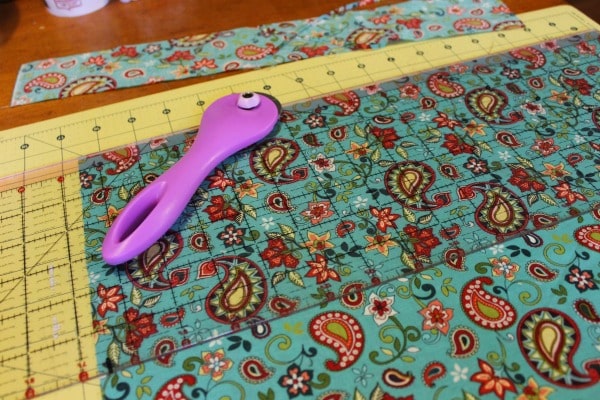
- rotary cutter
- self-healing mat
- see-through ruler
- seam ruler
While the last 4 items are optional if you are new to sewing I recommend you buy these items. They will make the measurements and cutting so much easier, which will make it more rewarding- not to mention those super straight cuts! This rotarty cutting set is a great starter option.
Directions:
1. Cut your fabric to desired size square plus 1″, for example My final measurement was 16″ so I cut a 17″ square.
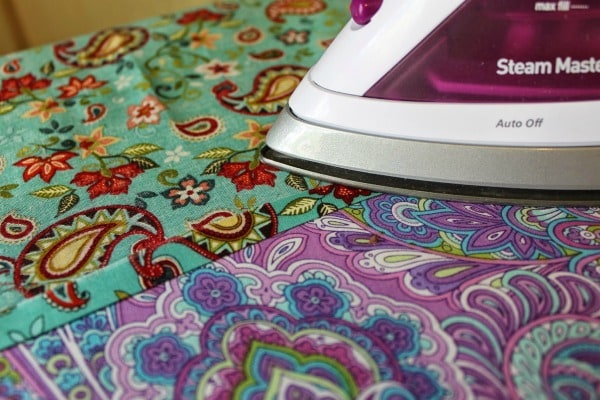
2. Use your iron to press 1/4″ seam all the way around your square on the “wrong” side of the fabric.
3. Fold that seam over again 1/4″ and press again, crease well, this well help sewing a straighter seam.
4. Open corners and cut out the very tips of the corners in a square, using the lines you pressed in as a guide. Tuck corner back down, press with iron.
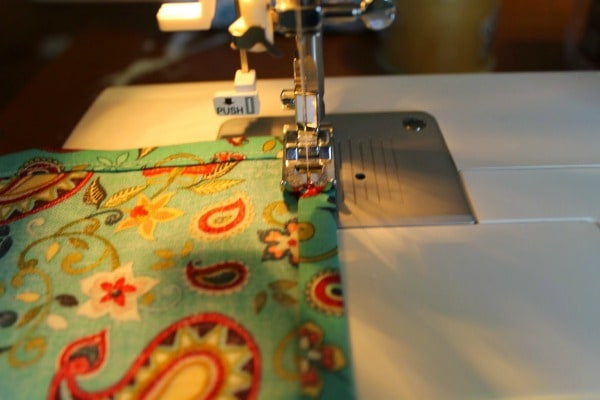
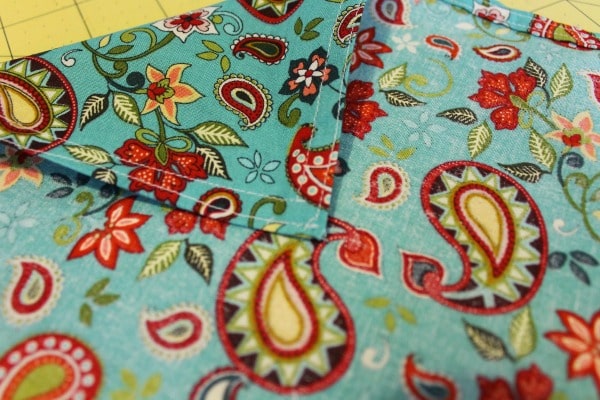
5. Sew as close as you can all around the edge closest to the center of the napkin. Sew again as close as possible to the outer edge of your napkin. You can get away with just one seam but the double seam not only looks better, but it creates a much smoother edge and makes your napkin sturdier. For the few minutes of extra time, it takes the final result is worth it.
6. Trim off all loose threads, and press napkin all over. Repeat for each napkin.
Here is the final edge of your napkin:
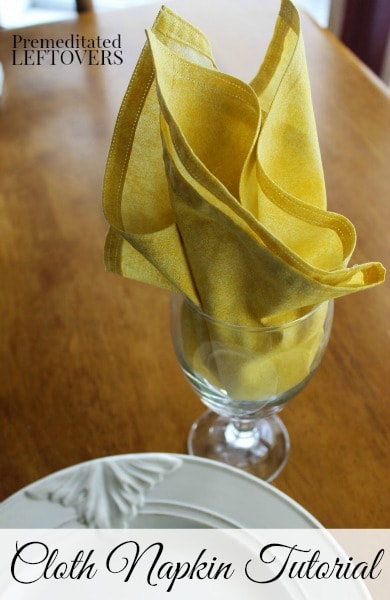
This is one of my simple everyday napkins but how nice does it dress up even an inexpensive goblet when tucked inside?
More DIY Projects Using Scrap Fabric
- DIY Kindle or Tablet Cover
- DIY Reusable Snack Bags
- DIY Reusable Sandwich Bag
- DIY Pencil Case Tutorial
- Fabric Scrap Magnets
- Easy Catnip Cat Toy
- How to Make a Fabric Strip Valence
- DIY Fabric Lamp Shade made with Fabric Scraps

Leave a Reply