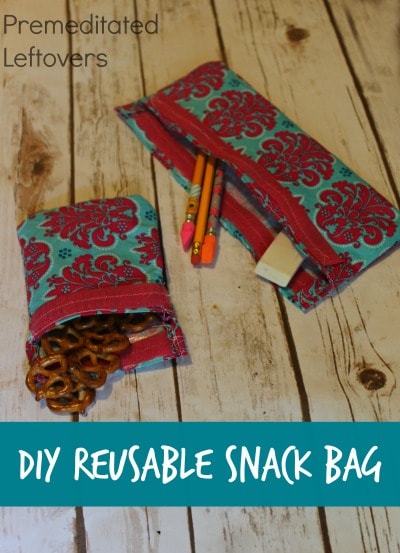
If you have ever seen the DIY Reusable Snack Bags online or in stores and are curious about making some for yourself or your child to pack in their lunchbox this tutorial can help you create several in no time.
They are a great way to be green and save the environment from countless layers of plastic baggies as well as a great way to make a statement in the lunch box. Pick your favorite pattern and fabric type ( cotton, flannel, or even a thicker Duck cloth work fine) at your local hobby or fabric store- a quarter yard of a standard fabric will make a sandwich and several sized snack bags. Pick up some low pile velcro and a pack of iron on vinyl (don’t forget your 40% off coupon!) These would be fabulous in a sports theme, floral, or your child’s Disney character pattern.
DIY Reusable Snack Bags
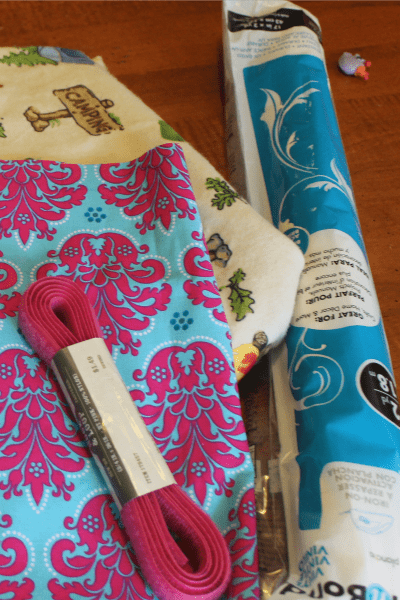
Supplies:
- Fabric cut to 15 ” x 8″
- Iron on vinyl cut to 13 1/2 ” to 7 1/2″
- low pile 1 ” width hook and loop tape (velcro)
- Sewing Machine
- Iron
Directions:
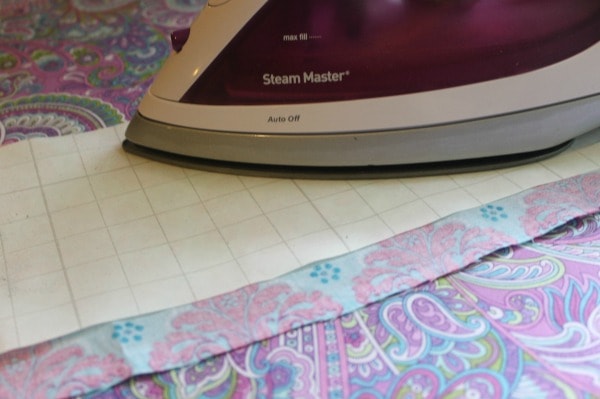
After cutting fabric and iron on vinyl, heat up iron and iron on according to your package directions. My package had me peel backing off of vinyl, press sticky side of vinyl onto the wrong side of fabric, and recover with backing before heat setting with iron, and finally flipping to write side to run iron over very quickly- cutting vinyl slightly smaller than fabric keeps it from melting to your iron, and will make the seams a bit easier to sew.
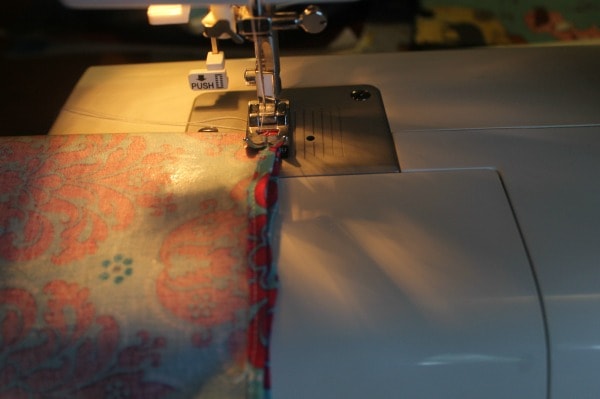
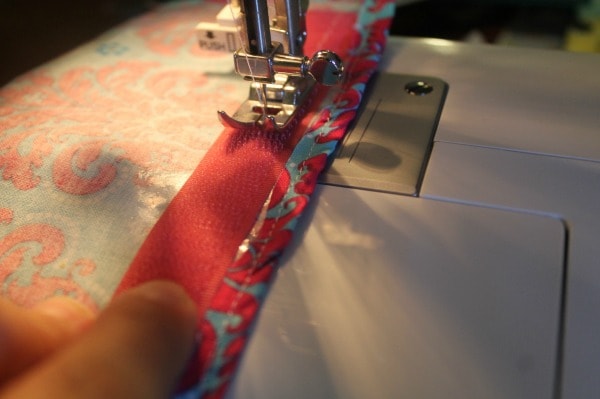
Sew a 1/4 ” seam all the way around fabric.
Cut off 3″ length of velcro, using both sides. Place one side centered 1/4″ below seam on the shortest length (right side of fabric) and sew across. Repeat on the other end except sew velcro on wrong side of fabric.
Fold fabric nearly in half right side to right side, leaving one half 1 1/2″ longer than the other, sew up sides. Turn bag inside right and it is ready to use.

To clean, shake crumbs out of bag, turn inside out and spray or wipe with a cleaner, let air dry. For heavy soil you can wash in machine, and air dry- vinyl will melt in a hot dryer.
Frugal Back To School Tips
How to Save Money on School Supplies
9 Ways to Save on Back to School Supplies
9 Ways to Save on Back to School Clothing
How to Get Back to School Clothes Cheap or Free
15 Gluten-Free Lunch Ideas for Back to School

Leave a Reply