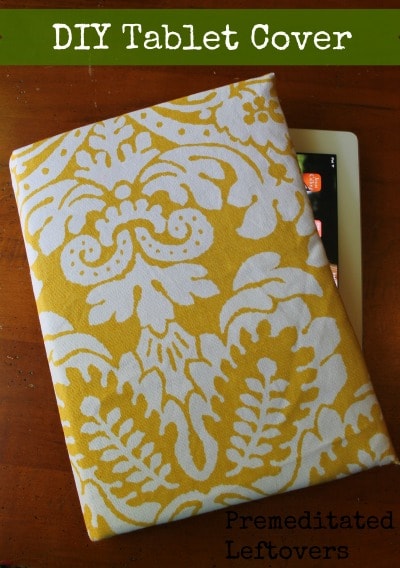
Turn an old hard cover book into a beautiful case for your kindle, iPad or other tablet. A little decorative fabric, cotton batting, and your trusty glue gun and you can create a pretty, custom cover for your tablet. If you have fabric on hand already this can be a really frugal project. I created mine for my iPad, but I left the measurements vague so you can customize it to your own tablet and book size. Old hardcover books can be picked up for next to nothing at yard sales or thrift stores.
DIY Kindle or Tablet Cover Tutorial
Supplies Needed:
- Old hard cover book
- Fabric
- cotton batting
- iron on seam
- straight edged blade
- glue gun/stick spray adhesive iron

Directions:
When finding a book make sure it its at least 1″ wider all the way around than your tablet. Also measure the pages making sure they are as thick as your tablet with a little extra. Open book and cut pages from binding with a straight blade. 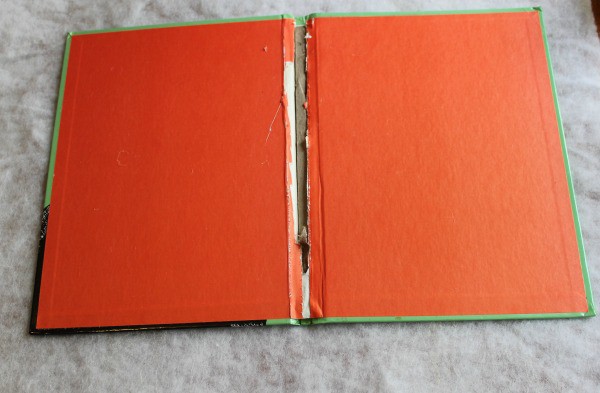
Cut cotton batting to the same width as your book, and twice the height, spray well with adhesive. Lay book , outside cover down, in the center of batting and press all the way around to secure well. Fold top and bottom of batting in to center of book, press down, add more adhesive if necessary. Cut fabric to the size of open book plus at least 2″ all around. Spray “wrong” side of fabric well with adhesive. Press onto batting covered book, smoothing any wrinkles as you go. Fold and wrap edges onto inside of book, cut of corners to reduce bulk.

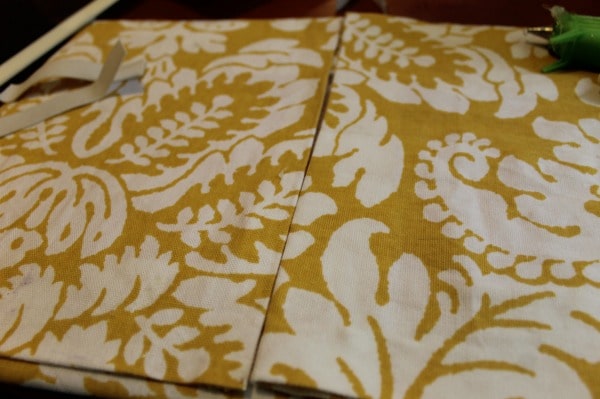
Now you don’t want to leave the inside of your book looking like this so we are going to make a couple fabric panels to cover the inside and finish it off. Measure the inside of one cover from the edge to center of book binding. Cut a piece of fabric to the same size with an extra 1″ length and width. Place iron on seam tape at the edge all the way around, and fold 1/2″ seam on each side, use a hot iron to fuse the hem tape to fabric according to package directions. Repeat for the other side. 
Run a bead of hot glue a few inches at a time all the way around on the left side (the back of front cover) Secure your seamed fabric panel to the book. Repeat on the other side except for across the bottom and 2″ up the sides.
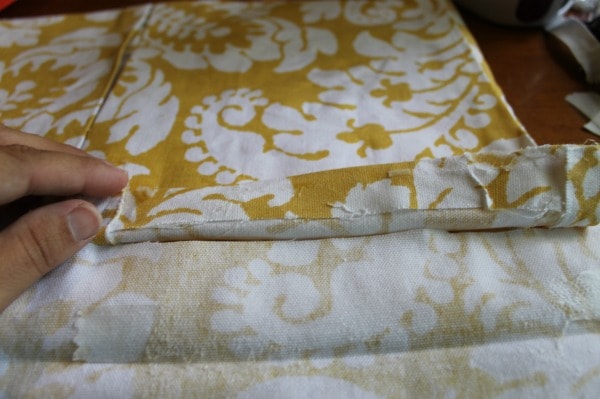
Now we are going to create a small pocket to slide the bottom of your tablet into securely- Cut a 4″ strip of fabric \ the length of one side of book and 1″ extra. Place seam tape along entire edge of one side and heat with iron. Place unfinished edge under fabric panel that you left unglued, leaving 1 1/2″ out- Hot glue to board, and then glue down all remaining edges of fabric panel.
Fold pocket upwards and glue sides down securely. Starting to shape up?
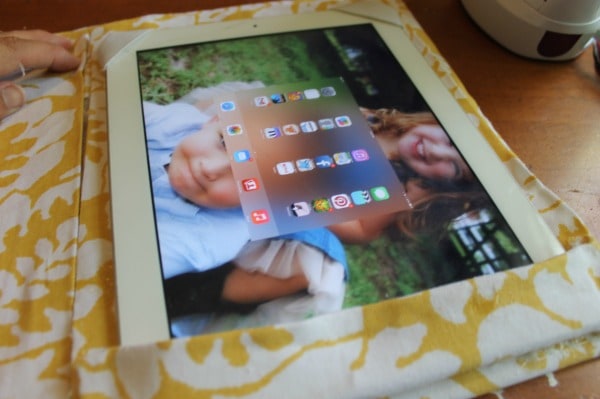
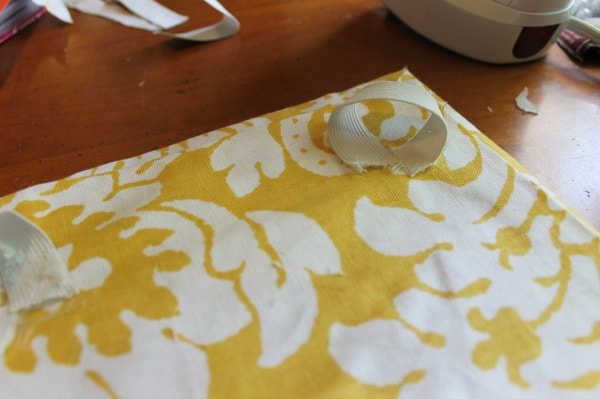
Now slip your tablet into the bottom pocket. Cut 2-3″ lengths of elastic and wrap around top two corners, mark the spot. Remove tablet and hot glue elastic into place at top of cover.
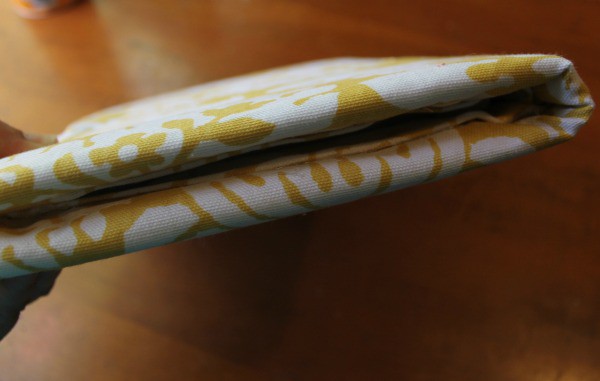
Here is how your finished cover will look from the side.
And on the outside cover.. 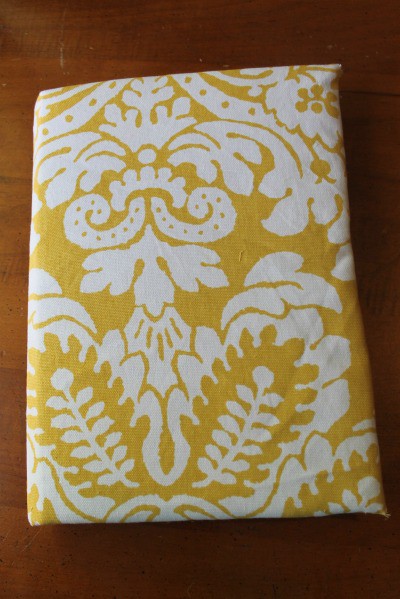
More DIY Projects Using Scrap Fabric
How to Make a Fabric Strip Valence
DIY Fabric Lamp Shade made with Fabric Scraps

Leave a Reply