Are you pretty handy and enjoy DIY projects that allow you to use your tools and build something?
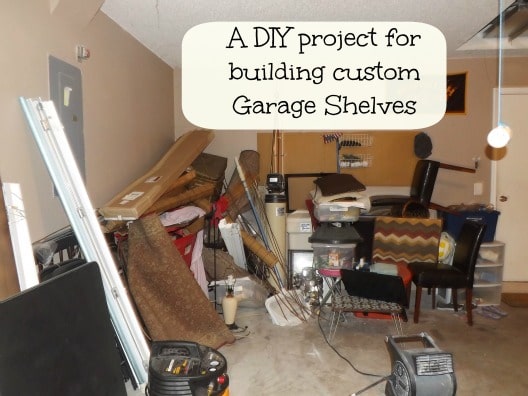
Are you tired of your garage looking like the dump and would like to actually park your car in the garage?
Here is a DIY project for custom garage shelving that will add space and help keep things more organized.

Pre-made garage shelves are great, but they can be very costly. Here’s an inexpensive DIY project for making an 8 foot by 8 foot garage shelving unit.
This DIY project’s average Cost is $80 and will take about 2 1/2 hours to assemble.
Tools Required:
- Saw
- Tape measure
- Hammer
- Safety glasses
(Note: A power miter saw, speed square, and pneumatic nail gun will speed your construction time)
Materials Required:
- 24 each – 1 x 4 x 8 pine board
- 6 each – 1 x 2 x 8 pine board
- 6 each – 2 x 2 x 8 pine board
- 1 ½ inch nails
- 2 ½ inch nails
- Wood glue
Steps:
- Cut each 1 x 2 x 8 piece of wood to lengths of 2 feet for a total of 24 cut pieces (this will be the depth of the shelving unit ).


- Assemble the support frames next.
Lay the 2 x 2 x 8 vertical supports on the ground and mark off the desired height of each shelf level where you will nail the 24 pieces of 1 x 2 wood that you cut earlier.
- place a small dab of wood glue on the 2 x 2 x 8
- Nail two pieces at each height (on each side of the 2 x 2 x 8)
When you are finished, you will have three support frames.

Note: You can use a speed square to ensure you are attaching all of the pieces at a true 90 degree angle.
- Attach the 1 x 4 x 8 shelf boards .
These will be the actual shelves for each level. It will help to have someone hold the adjacent support frame until you have attached two or three boards. Place the center frame evenly between the two outer frames.
Each shelf level will have six 1 x 4 x 8 boards.

Note: Once you secure the bottom two levels of each unit, it may be easier to lay the entire piece flat on the ground to attach the top two levels of shelf boards.
- Once both shelving units are complete, secure each one to the wall.
You can use metal straps with concrete screws, secured into the wall if you have cinderblock or concrete; or you can drill holes through the vertical supports and insert long screws through them and into the wall studs if you have walls made of drywall.
Note: The shelves should not tip over if you load heavier items near the bottom, but if you have children who may climb on the shelves, it’s best to make sure they are secure to the wall.
Once you have secured the shelving unit to the wall, you can begin organizing and storing your belongings. This is a large enough unit that you should have plenty of storage space. However if your garage is large enough, you may want to make 2 complete shelving units.
Now that you are able to park your car in your garage, pack up your belongings, and get organized, you should be feeling pretty satisfied. DIY projects are not only inexpensive, but they allow you to have a feeling of accomplishment when completed.

alex says
Hey the photos aren’t loading up for me – is this only me who can’t view them?
Alea Milham says
I am trying to get it fixed.
Liz says
It worries me that the gentleman in the photograph is building shelves over the electrical box. 😉
http://www.reddit.com/ says
This really is a great way to remain formed. I know my garage
and basement are really a mess. I in the morning surely planning upon which makes an activity similar to this.