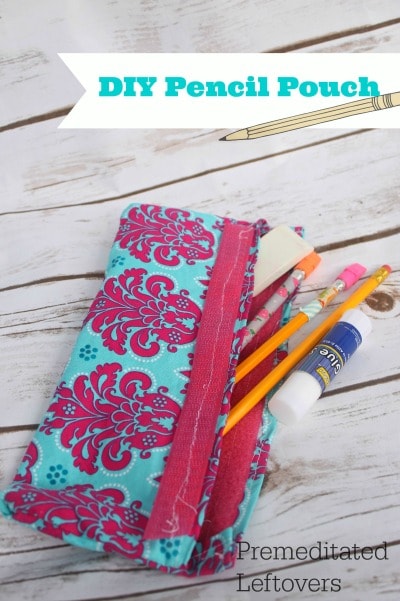
If you liked the DIY Reusable Sanwich Bag and Reusable Snack Bags tutorials, I have another easy DIY back to school project that can be made in a coordinating fabric of your choice to further customize your child’s school gear. This pencil pouch will outlast your childs current character obsession and can be reused for much longer than the plastic store bought versions. I used iron vinyl to make it easy to clean up a leaky ink pen or glue bottle, this also makes your bag sturdier as well. If you can sew a moderately straight line you can quickly sew up this pencil pouch project.
DIY Pencil Pouch Tutorial
Supplies Needed:
- 11 ” x 9″ piece of fabric
- 10 1/2″ x 7 1/2 ” piece of iron on vinyl
- 8″ piece of low pile velcro
- scissors
- sewing machine
- iron
Directions:
Follow package directions to iron vinyl onto the “wrong” side of fabric. Generally you remove the backing, lay vinyl on fabric sticky side down, recover with backing, and press lightly with an iron to adhere it.
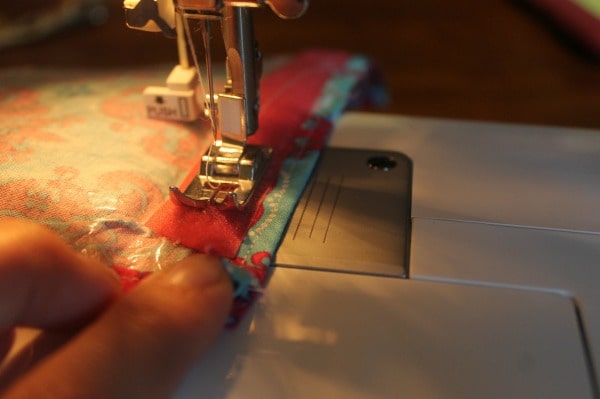
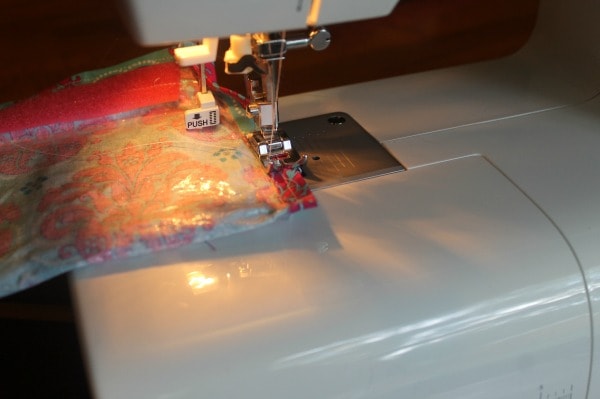
Sew a 1/4 ” seam around the entire perimeter of your fabric.
Sew one side of velcro piece to the wrong side of fabric at the top of the longer side, 1/4″ down from seam. Sew the other piece on the right side of the fabric at the other end, also 1/4″ down from seam.
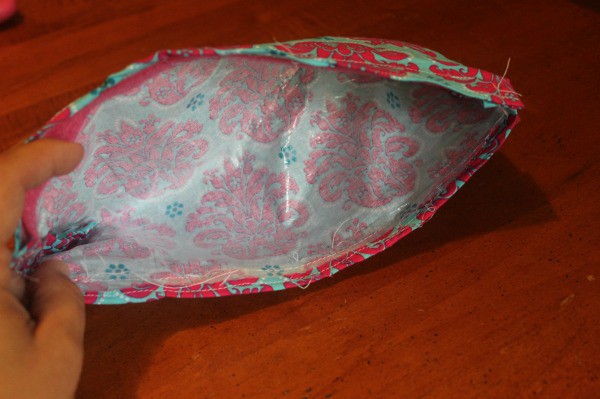
Fold fabric longways, right sides together, leaving one side 2″ longer. Sew edge from top to bottom, right over your previous seam. Repeat on the other side.
Turn pouch “inside right” . Fold flap over and secure velcro pieces together. Its ready to fill with fun pencils and other back to school supplies.
Here is your final result, how cute would this be in Ninja Turtle Fabric, a pretty plaid, or a school themed
More DIY Back To School Projects
Don’t have time for DIY projects? Here are More Ways to Save Money on School Supplies.


Leave a Reply