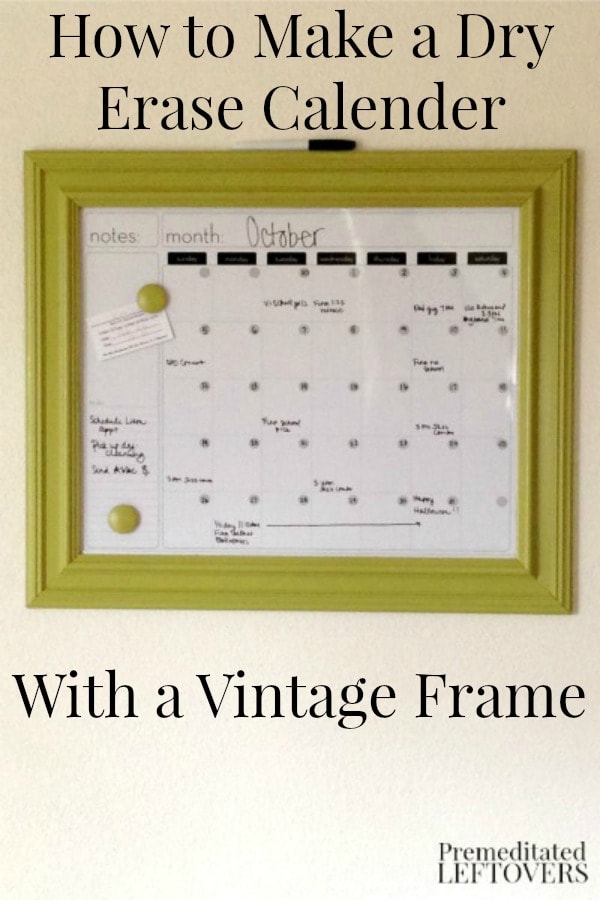
We’re only a few months into the school year and I already feel like I can’t keep my family’s schedules straight. Parent meetings, doctors appointments, school pictures, nights my husband will be working late, the list goes on. I had a small calendar on the refrigerator with a few notable events scribbled in, but it just wasn’t doing the job. After the day I almost missed my daughter’s show-and-tell, I knew I needed something more organized. I needed something that would allow me to keep track of important dates and memos. I needed it to be bigger than that small calendar tacked up on the fridge lost under art projects and baby announcements.
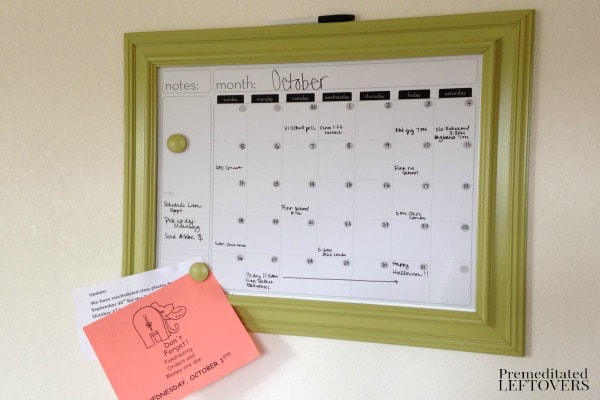
On a recent thrift store visit I found the perfect solution: an aluminum framed dry-erase calendar measuring 16 inches tall by 20 inches wide. It wasn’t quite what I had in mind but I came up with a decorative solution that was inexpensive and easy. By using a few coats of paint and a vintage picture frame I was able to transform the plain aluminum framed calendar into a command center for my family that is as cute as it is practical.
DIY Vintage Frame Dry Erase Calendar
To create your own Vintage Frame Dry Erase Calendar, here is what you will need:
- 1 dry erase calendar with aluminum frame or no frame
- 1 vintage picture frame matching the size of your calendar (For example, my 16×20 calendar fit perfectly into a 16×20 picture frame.)
- 1 can of spray paint
- E6000 Permanent Craft Adhesive
- Optional: Fine grit sand paper
Directions:
- Prepare you picture frame. If there is still glass and backing in your frame, remove it carefully and discard. Use sand paper to smooth out any nicks in the frame if needed. Wipe the frame with a dry rag after sanding. Apply an even layer of spray paint as directed on the can.
- Allow the paint to dry completely before moving on to Step 3. If your dry erase board has magnets, go ahead and paint those too.
- Lay the frame face down and apply E6000 glue to inside lip of the picture frame. This is where the picture and glass previously sat. Avoid using too much glue, as it will seep onto the surface of the calendar.
- Lay the calendar face down into the frame. Be sure the top end of the calendar and the end of the frame with the hanging hardware line up. Allow to dry overnight.
Once the glue has dried you can begin to fill your calendar in and hang it on your wall. If you’d like to add a shabby look to your frame, use sand paper over random spots after the paint has dried.


Amy B says
If your calendar has an aluminum frame would you try to remove the frame or just glue the aluminum frame directly to the vintage frame?
Emily says
Amy, you can go ahead and just leave the aluminum. I found that it helped the board fit nicely into the new wood frame. If you look closely on the photo, you can see it peaks out a little bit from the bottom.