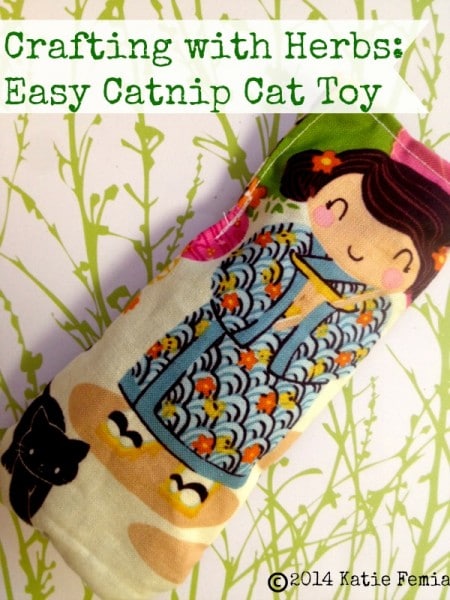
Now that your herb garden is in full bloom, you may be wondering how to use all of those wonderful herbs! Take a look at this easy DIY catnip cat toy that you can make using just a little scrap fabric and some catnip right from your own garden. A simple toy such as this will give your cat the catnip she loves, while giving you a great way to use up those herbs and some scrap fabric at the same time. Take a look at how to get started!
Supplies Needed:
- Scrap fabric
- Dried catnip
- Scissors
- Needle and thread OR sewing machine
A little bit about supplies: We used a sewing machine but you can use a needle and thread just as easily. Even if you don’t sew, this is an easy stitch that anyone can do. For the catnip, you can find fresh catnip plants at your local greenhouse for around $1 each, or, you can plant some from seed. It is an easy to grow plant that needs partial sun and well drained soil. Once you plant it, regular watering is all you need to do to take care of it. When the plant is nice and full you can begin harvesting it simply by cutting stems as you need them. You can dry your catnip using these tips for drying herbs.
Directions:
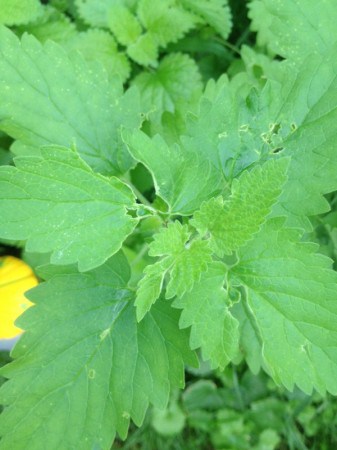
1. First, you will need to prepare your fresh catnip. Here is what a fresh catnip plant looks like:
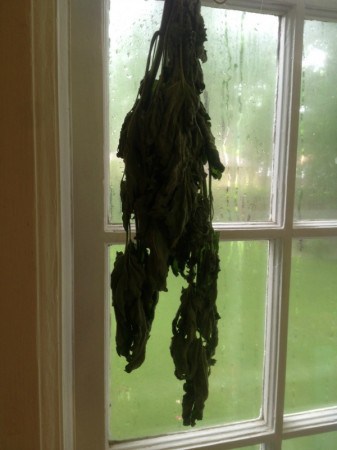
We snipped a few stems and tied them together with string. We then hung the catnip upside down in our kitchen until it was dry. This took about a week.
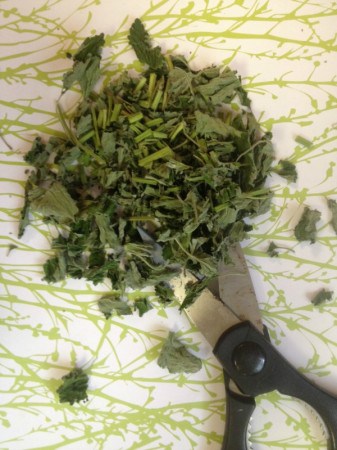
2. Once your catnip is nice and dry, you can then take it down and cut it into smaller pieces.
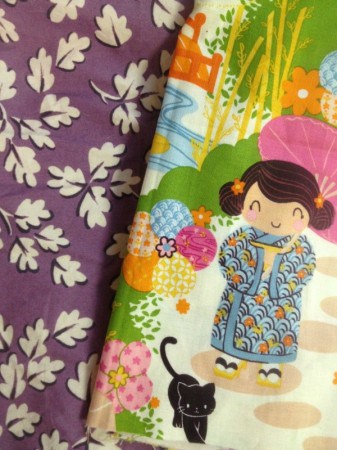
3. Once your catnip is snipped, you can prepare your toy. Begin by cutting two pieces of scrap fabric to matching size.
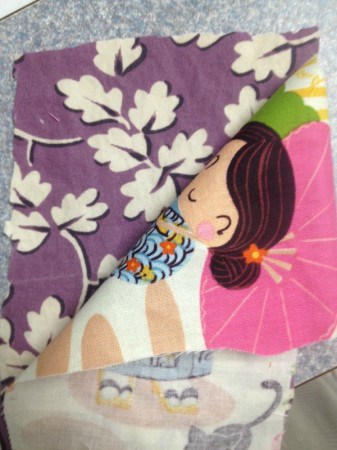
4. Now, place the fabric pieces on top of each other so the designs are facing each other. You want them to face inward.
5. You are now ready to stitch your pieces of fabric together. Start by taking your needle and thread or sewing machine and creating a straight stitch all around the perimeter. Be sure to leave a space open (1 inch is good) to insert your catnip in.
6. Turn your fabric right side out and fill it with catnip. The design should now be on the outside and the catnip will now be tucked on the inside, creating a small pillow.
7. You now need to stitch up the rest of the toy so the catnip stays in. Hand or machine stitch the last inch closed.
8. Be sure it is nice and secure! You don’t want any catnip leaking out and making a mess later on.
9. Now, just fluff the toy so the catnip is nice and even and the toy looks full. When you fluff the piece, this will also help release the catnip scent and really get your kitty excited.
You are now ready to give kitty her new catnip toy. The fresh catnip is sure to send her senses on a spin!
You can make your own easy and inexpensive catnip cat toy when you give this simple tutorial a spin. It is a great way to use those fresh herbs and crafting scraps all at the same time.
So gather your supplies and give this easy catnip cat toy craft a try. Your cat is sure to love it!


Rebecca | LettersFromSunnybrook says
That fabric is so adorable!! Recently we moved and I found boxes with old fabric from 30 years ago. They were to “cutesy” for my taste now, but perfect for cat toys. The cats don’t even care if there are imperfections. They are so excited watching the process, and then possessive over their toys. 🙂
Katie says
Rebecca, you can find that fabric at Hobby Lobby right now. Isn’t it so sweet? 🙂