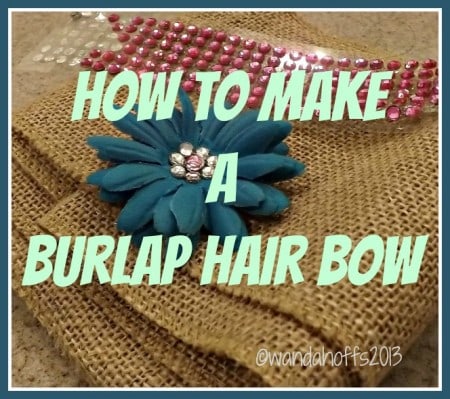
Are you like me and always fussing about your daughter’s straggly hair? If so, then you are always looking for hair bows that will keep the hair out of her face. Cute hair bows at that! My daughters have always liked big, pretty bows with sparkles. If this sounds like you daughter, I think you will love this burlap hair bow.
You know how burlap is the latest trend? We are seeing it used in home decor, weddings, and crafts, so why not create something that will make our daughters look trendy too. Every girl needs to be a trendsetter, right!
This is a very easy craft and takes less than 10 minutes to make. Which is the perfect amount of time for busy moms who love to craft, but have limited time. I even made mine while cooking dinner.
How to Make a Burlap Hair Bow
Supplies needed:
- leftover burlap
- plastic cup
- scissors
- alligator clip
- sticky gems for added bling
- small fabric flower
- hot glue gun
Directions:
1. Using a solo cup, trace 2 large circles (top of the cup) and 2 smaller circles (bottom of cup)
*The small circles are used to lift the fabric flower off the large circle. You may add more to make it higher.
2. Cut the circles out.
3. Stack the circles together and hot glue them together.
4. Hot glue the fabric flower in the center of the top small circle.
5. Hot glue all of the sticky gems around the larger burlap. You can add as many as you want!
6. Hot glue the back of the burlap hair bow to an alligator clip.
7. Clip the hair bow in your daughter’s hair.
* I used a color coordinating fabric hair band for clipping the burlap hair bow to. Not only does it look cute, but my daughter’s hair is very thin and the clipped bow will grip better onto the fabric headband, keeping it from falling out.
How cute is this?
Try using an assortment of colors to coordinate with your daughter’s favorite outfits or holidays. You can also find sticky gems in all shapes and sizes. Try embellishing your bow with buttons too. There are so many ways to decorate a burlap hair bow that will make your daughter look oh so cute and trendy.


Ashley says
That is the cutest thing I have ever seen!! I am so doing this for friend’s daughter!
D@TheShadyPorch says
Very cute. I love all the sparkly stuff to embellish the burlap. Thanks for sharing at the Party On the Porch. Blessings, D@TheShadyPorch
Jen Anderson says
New Fan! http://jenstangledthreads.blogspot.com
Mel {MamaBuzz} says
Such a cute hair bow and love how easy it is to make. Thanks so much for sharing on Inspire Me Wednesday. Featuring you in next week’s issue.
Jennifer Johnson says
So cute I will have to make one for my daughter
Emily @ Simple Life Of A Fire Wife says
This is so cute! Thanks for sharing at Share Your Stuff Tuesdays!
Monica says
Very cute and looks fun to make!
Randa @ The Everyday Domestic says
What an adorable craft to do together! Thanks for sharing 🙂
Darrica Jackson says
How creative! I definitely have to try this.
Anthea says
I’m going to share this! My dance group is currently under orders (from me lol) to make new costume headbands, and they will all include LARGE flowers on the side! So this may inspire some creativity. Plus dancers always like DIY projects so this is great!