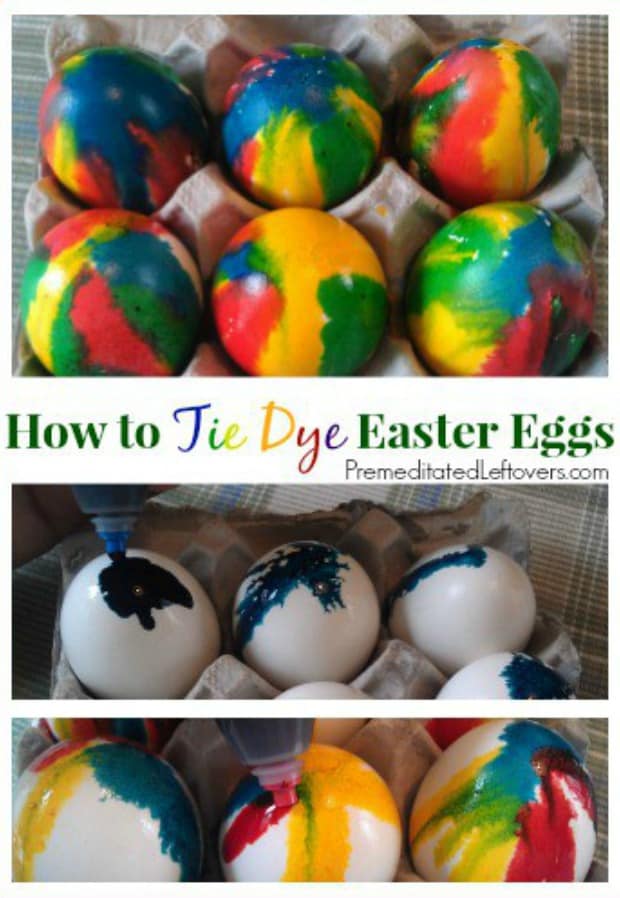
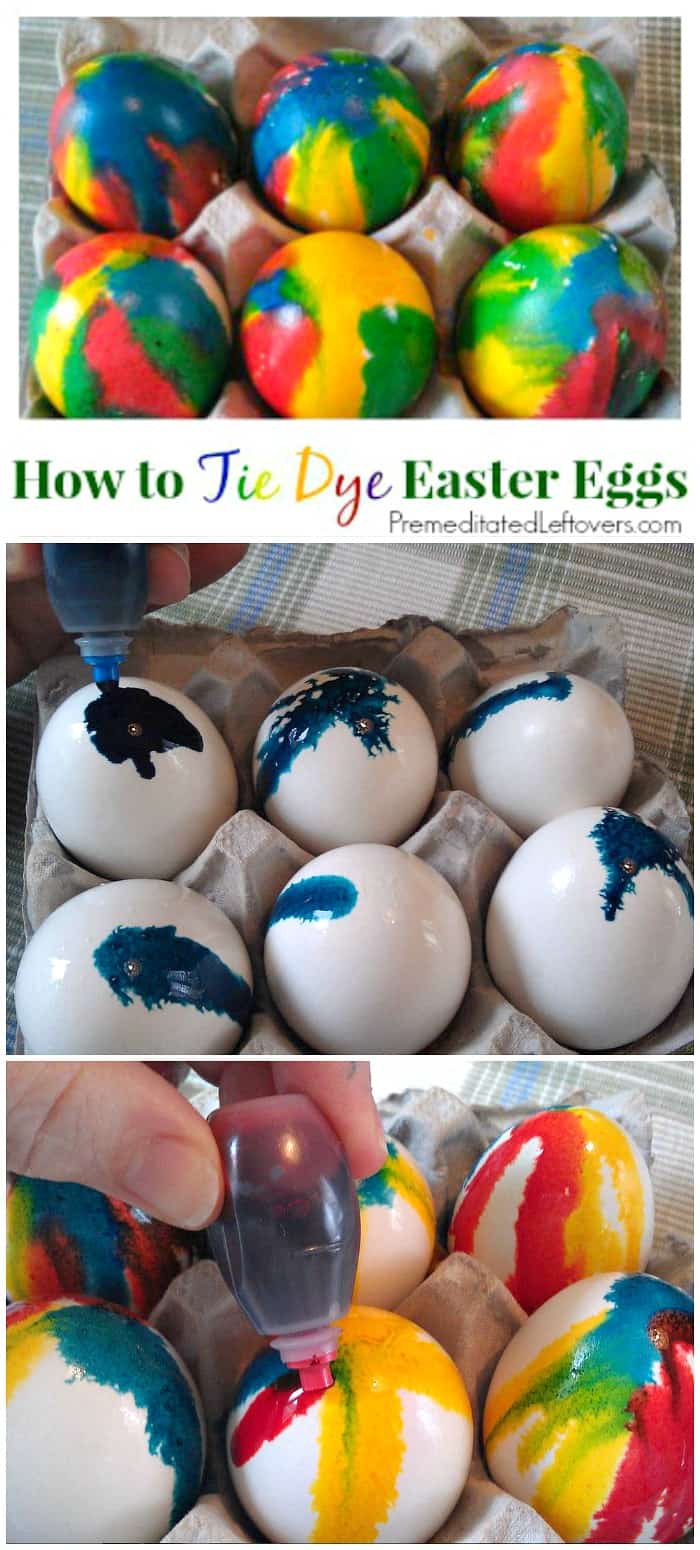
Last week we showed you how to naturally dye Easter eggs. This week Maggie is showing us how to make Tie Dye Easter eggs.

Making Tie Dyed Easter eggs is a fun alternative to traditionally dyed Easter eggs. You don’t need a special kit or supplies. In fact, you probably have everything you need in your pantry. It isn’t difficult to tie-dye Easter eggs, but you do have to work in small batches, so you can complete the process before they dry.
We used the basic liquid food coloring set: red, blue, yellow and green. However, you can get wild and use whatever colors of food dye that you have on hand.
How to Make Tie Dye Easter Eggs
Ingredients:
- Vinegar
- Liquid Food Coloring
- Hard Boiled Eggs
Directions:
1. Hard boil your eggs. Allow eggs to cool in cold tap water, or chill in ice water for faster results.
2. In a cup or bowl pour enough white vinegar liquid so that when you place an egg into the vinegar it will be completely submerged.
3. Place wet, vinegar covered egg in a paper or cardboard style egg carton (not a Styrofoam carton or plastic carton) or in a sink strainer over your sink.
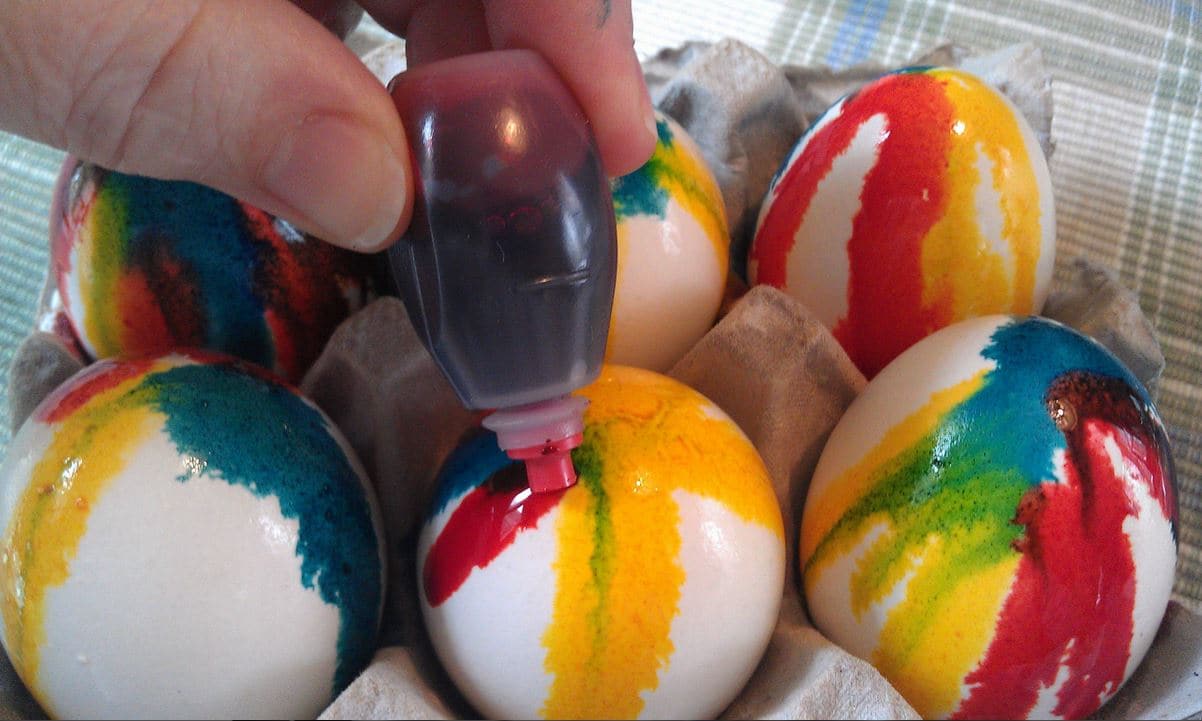
4. Take your food color and begin to drip one color over the vinegar wet eggs.
6. Then repeat with the other colors of food dye that you wish to use.
Be sure to work fast enough to drip all of the colors desired on to your egg before it becomes dry. When the eggs are covered with the desired colors, allow all of the egg colors to completely dry before moving the egg.
NOTE: Work with 1 to a maximum of 6 eggs at a time. If your eggs become dry you will not get the tie-dye egg effect when dripping the food coloring onto the egg. If you decide to drip the food color onto your eggs in a sink strainer you can gently shake the strainer as to roll the eggs around in the color to get a swirl effect.
More DIY Easter Ideas
15 DIY Easter Decorating Ideas
How to Naturally Dye Easter Eggs
Maggie is a stay at home mom. She runs Family Frugal Fun with her best friend Beth. She’s addicted to savings, s’mores and ice cream!


Leave a Reply