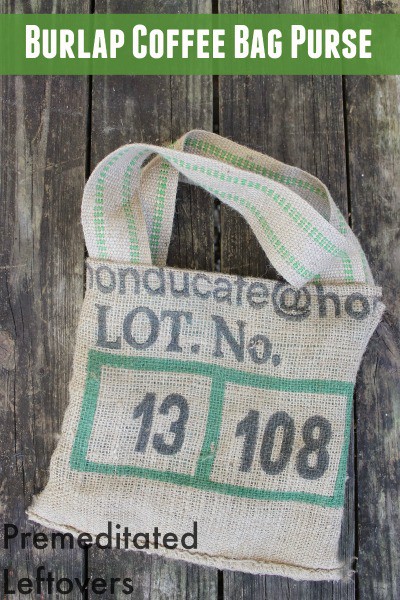
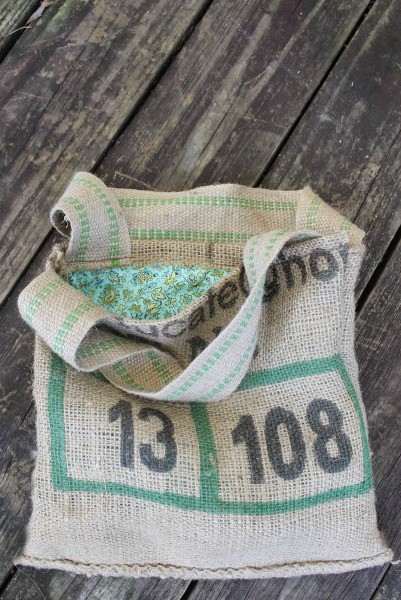
I have a fierce obsession lately with burlap: ribbon, by the yard, and especially burlap coffee sacks. I have been using it in home decor like covering chairs, runners, place mats, and I feel a roman shade project in the works. Now I have moved onto accessories like this fun burlap purse. I really enjoyed picking out the jute webbing for a handle to coordinate with my fabric inside. I think this bag would be great to make for yourself but is also a great homemade Christmas gift for anyone who loves coffee, rustic fabrics, or bags!
Burlap Coffee Bag Purse
Supplies Needed:
- Burlap coffee sack
- Cotton fabric
- Burlap jute webbing
- Sewing machine
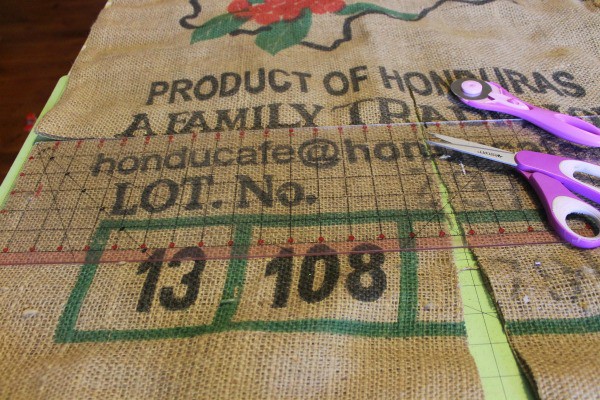
You can cut your fabric from anywhere on your coffee sack if you are trying to get a particular section of the print. Since the bottom seam was already done and sturdy, I wanted to use it. You can call it me being lazy or as I like to call it ” Genius”. Cut your burlap sack to any size you desire, for a purse size a good measurement is 16″ wide x 13″ tall – this is what I cut mine to.
Cut your cotton fabric to the same width and double the length minus one inch. For example for a 16″ x 13″ bag cut cotton fabric to 16″x 25.”
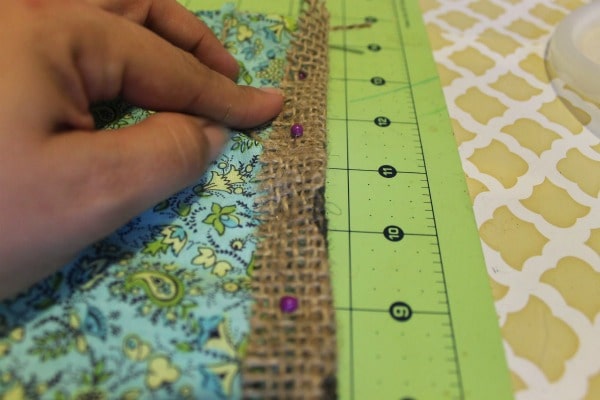
Open your burlap and lay fabric right side out on it. Fold over 1/2″ of burlap on one end, pin, and sew a 1/8″ seam across. Repeat on the opposite side. Be sure your fabric is smooth and in place .
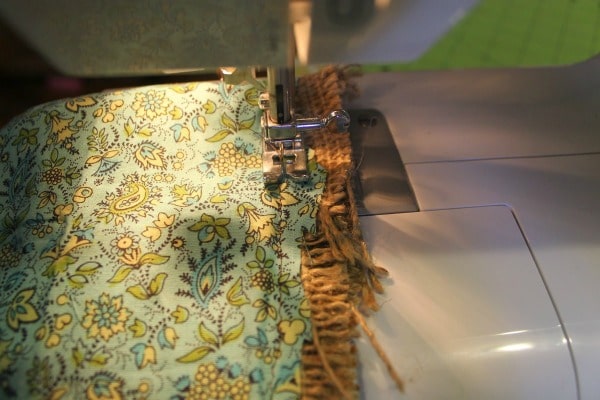
Pin fabric to burlap down the sides and sew a 1/4″ seam edge to edge.
Cut excess fabric and burlap from side seams to cut down on bulk. Cut close to your stitches but be careful to not cut them.
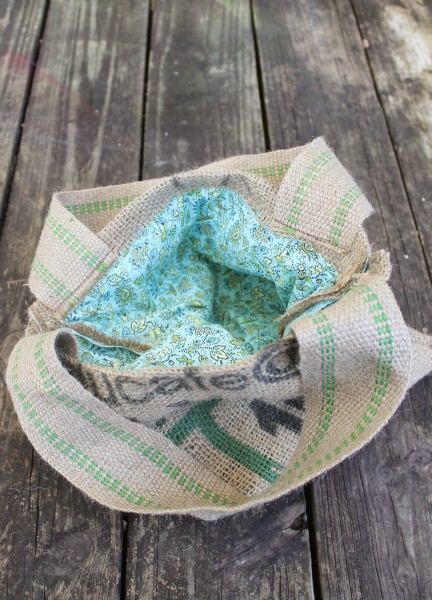
For my bag I used one yard of jute webbing cut in half for the handles. Place on end of jute 1″ from edge of what will be the top of your bag, lined the end of it up with the edge of your burlap folded over seam. Sew a 1/8″ from the edge, I went over it twice just to be sure they were sturdy.
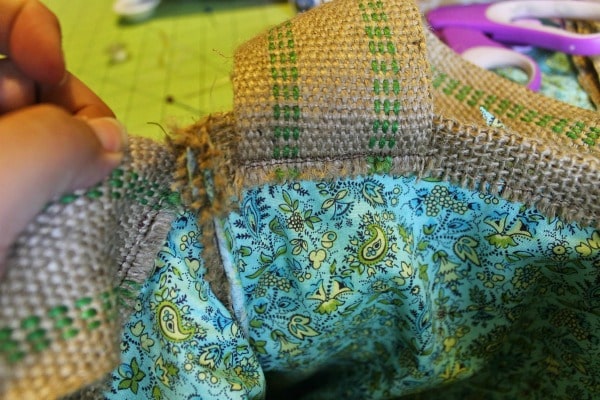
Fold your bag closed so that the print is now on the inside, and sew up the sides of your bags. Try to sew right over the previous seams you made when sewing fabric to burlap. Now the seam on the bottom of the bag is too thick to run through your machine, so you will need to add a few hand stitches to each side to finish it off at the bottom corners. Turn your bag “inside right”, trim off all excess threads and your bag is ready to use!
A burlap coffee sack would make 4 average size bags but you can make yours any size you like and use them in a variety of ways – as a purse, for toting library books, housing tablets, or as a large tote. The inside fabric can be as plain or as elaborate as you wish, but I would go with a thin cotton or your bag will be too bulky.
More DIY Burlap Projects
DIY Burlap and Fabric Wall Organizer

Leave a Reply