• Home
  • About
    • Privacy Policy
  • Blog
  • Prep-Ahead Meals Cookbooks
  • Recipes
  • Lifestyle
  • Gardening
  • Kid’s Activities
  • Gluten-Free Recipes
  • Budgeting Tips
↑

Premeditated Leftovers™

Prep-Ahead Meals, Cooking Tips, and Frugal Living

  • Cookbooks
    • Prep-Ahead Breakfasts and Lunches
    • Prep-Ahead Meals From Scratch
  • Recipe Index
  • Members Area
    • Member Login
    • Join Us
  • Home
  • Blog
  • Recipes
  • Gluten-Free Recipes
  • Lifestyle
  • Garden
  • DIY
  • Kids
  • Budget

You are here: Home / Naturally Frugal Living / DIY Burlap and Fabric Wall Organizer

DIY Burlap and Fabric Wall Organizer

October 4, 2014 by Jody 1 Comment

This post may contain affiliate links. Read our disclosure policy here.
60 shares
  • Share
  • Tweet

DIY Burlap and Fabric Wall Organizer Tutorial


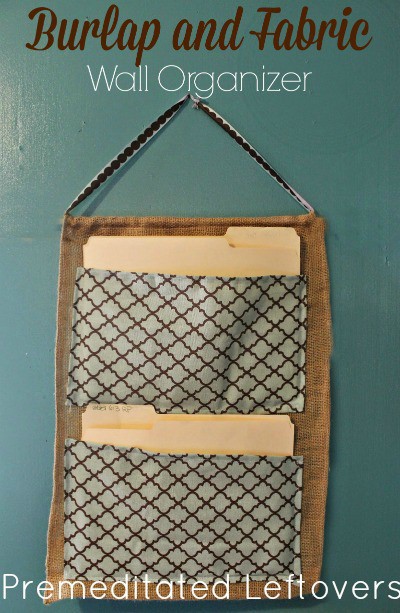
Going vertical is a great way to clear clutter off your desk or  counters.  If you have a little bit of wall space this burlap and fabric wall organizer is a great way to tidy up bills, kids school forms, or your business papers.  It is a rather simple and straight forward sewing project-you only need to be able to sew a straight line to put this together. Burlap is a pretty textured fabric that goes well with just about any home decor or design, simply choose a duck cloth fabric that coordinates with your home to make this piece that is functional as well as decorative, a great addition to your home office or in the kitchen to hold recipes.

Burlap and Fabric Wall Organizer

Supplies:

  • Burlap by the yard
  • duck cloth
  • 2- 15″ dowel rods
  • 1 yard of 1″ ribbon
  • scissors
  • sewing machine/thread

Directions:

Cut a rectangle from your burlap cloth to 26″ x 16″

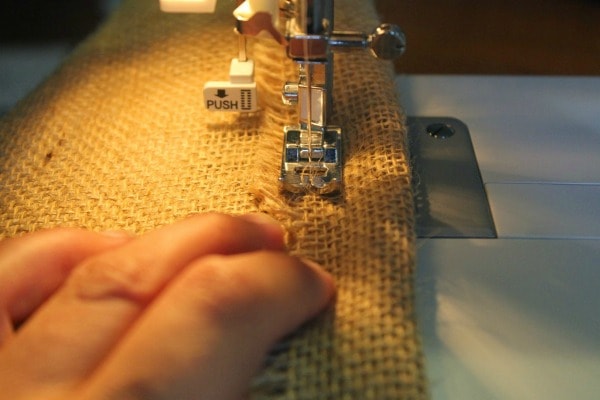
Sew a 1/4 ” seam down each side, sewing as close to the edge of fold over as you can.

DIY Burlap and Fabric Wall Organizer Tutorial - sewing the burlap

On the top and bottom of burlap  sew a 1″ seam, leaving room for the dowel rods to be inserted.

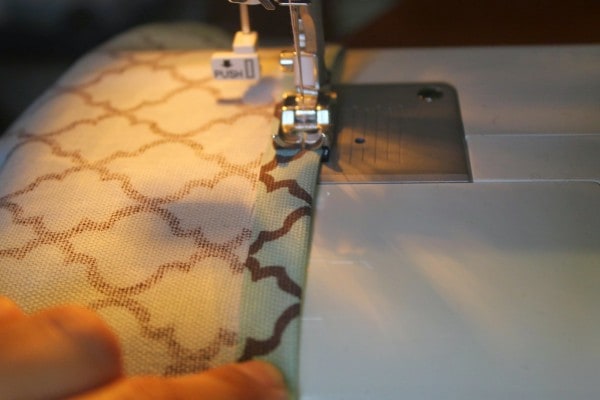
Cut 2- 14″x 9″ pieces of duck cloth, flip each one wrong side up and sew a 1/4″ seam on all 4 sides.

DIY Burlap and Fabric Wall Organizer Tutorial - sewing the fabric

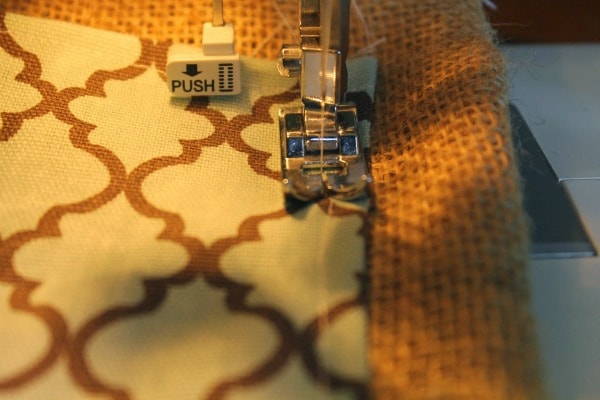
Center your seamed duck cloth so that the bottom is 1″ from the bottom of burlap- and sew around sides, and bottom-forming a pocket. Repeat with the second piece, sewing it 1″ from top edge of burlap.

DIY Burlap and Fabric Wall Organizer Tutorial attaching fabric to burlap

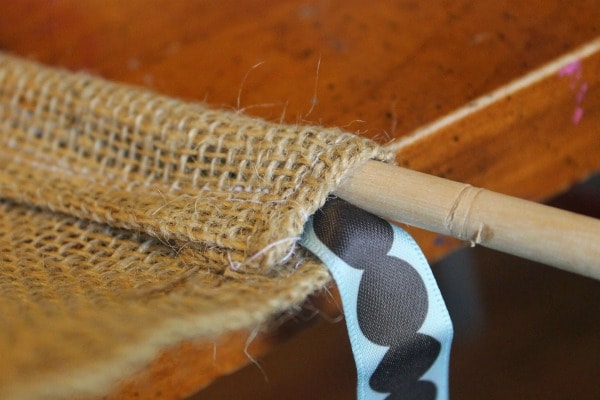
Slide dowel rod into the bottom seam, sew up ends to keep it in place.  Tape ribbon to the end of second dowel rod and slide it all the way through and out the other side.  Remove tape, center ribbon and tie into a knot. Slide dowel rod back into center of seam.

DIY Burlap and Fabric Wall Organizer Tutorial - how to hang it on the wall

Your organizer is ready to hang and holds standard file folders perfectly, making it a functioning piece of handmade wall decor.

More DIY Projects Using Scrap Fabric

  • DIY Kindle or Tablet Cover
  • DIY Reusable Snack Bags
  • DIY Reusable Sandwich Bag
  • DIY Pencil Case Tutorial
  • Fabric Scrap Magnets
  • Easy Catnip Cat Toy
  • How to Make a Fabric Strip Valence
  • DIY Fabric Lamp Shade made with Fabric Scraps
60 shares
  • Share
  • Tweet

Comments

  1. Glenda says

    February 17, 2015 at 6:29 am

    Lovely and useful!

    Reply

Leave a Reply Cancel reply

Your email address will not be published. Required fields are marked *

Recipe Rating


Prep-Ahead Breakfasts and Lunches by Alea Milham

Search

Prep-Ahead Meals from Scratch Where to Buy

Recent Articles:

How to Make Homemade Air Freshener Spray

How to Make Homemade Air Freshener Spray

Tips for cleaning lunch boxes, snack gear, and back packs

End of School Year Cleaning Checklist

Easy Summer Cleaning Tips

Easy Summer Cleaning Tips

BROWSE:

  • Blog
  • Cookbooks
  • Recipe Index
  • Members Area

ABOUT:

  • About
  • Contact
  • Privacy Policy
  • Disclosure

Welcome. I'm Alea!

On Premeditated Leftovers I share simple recipes made with whole foods, practical shopping tips, time saving techniques, and meal planning strategies. I also share tips for minimizing food waste, so more of the food that is purchased ends up on the table.

While volunteering as a budget counselor, I realized that food is the element of most people’s budgets where they have the greatest control. I set out to develop low-cost recipes from scratch to prove it’s possible to create delicious meals on a limited budget. Eating well while spending less is about more than just creating recipes using inexpensive ingredients; it’s about creatively combining ingredients so you don’t feel deprived and are inspired to stick to your budget.

Copyright ©2022, Premeditated Leftovers™. All Rights Reserved.
Design by Pixel Me Designs
60 shares