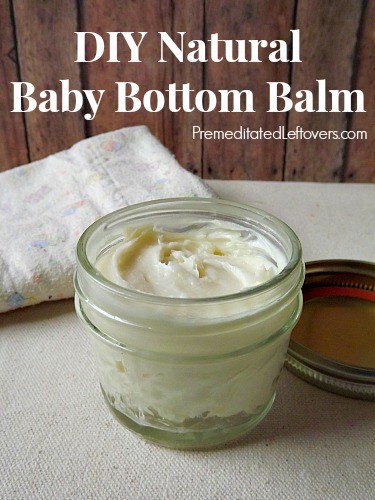
If you happen to have a child in diapers there’s a good chance you are also familiar with the numerous diaper creams on the market. Maybe there’s just one or two you stick with because they work well, or you’re comfortable with the ingredients (or lack thereof). You’re lucky if you get by without needing to reach for a diaper cream that often, but sometimes irritation on your little one’s bottom is just unavoidable. Whether it be heat, a tummy virus, or teething they are bound to get irritation on their delicate skin. Apply this homemade balm as a preventative measure or when redness and irritation occur. There are no ingredients you can’t pronounce, no goopy mess that spills out of a tube. If you happen to cloth diaper, you can rest assured this balm is cloth diaper friendly as well.
DIY Natural Baby Bottom Balm
Here’s what you will need:
- 1 4 oz. glass jar with secure lid
- 1 small saucepan
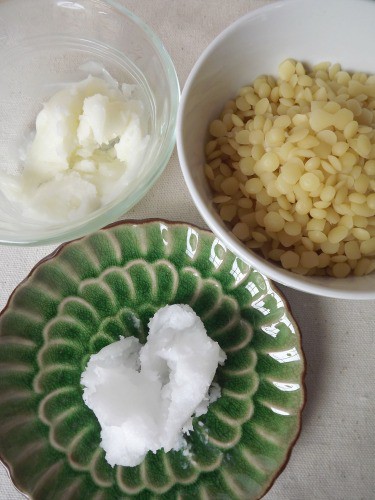
- 2 tablespoons of beeswax (If you can find pellets, they will melt much quicker.)
- 3 tablespoons of 100% shea butter
- 3 tablespoons of extra virgin coconut oil
Optional:
- Lavender essential oil
- Tea Tree essential oil
- Hand mixer
- Medium bowl
- Small spatula
Each ingredient in this recipe holds a specific function. The beeswax will provide a protective barrier, while helping to maintain the skin’s own moisture. Vitamins A and E in the shea butter help to further repair and soothe irritated skin, while the coconut oil provides valuable antifungal and antiviral properties. The initial process will result in a balm very similar in consistency to a lip balm with a very mild scent of shea and coconut oils. All of these products can be purchased from your local natural food markets or from online retailers. Now, if you have your supplies ready, let’s begin!
Directions:
Step 1: Add the beeswax to a small saucepan on low heat and melt completely.
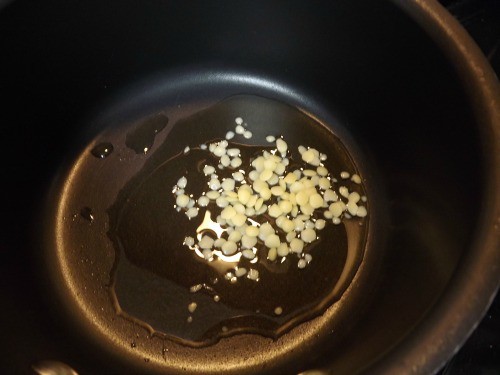
Step 2: Melt the shea butter and coconut oil into the beeswax. Stir occasionally.
Step 3: Pour the mixture into a clean 4 oz. jar. *To ensure my jar has been well cleaned, I like to sterilize it by submerging the jar in a pot of boiling water for 10 minutes. After the 10 minutes, simply remove the jar from the water, and place on a cooling rack to dry.
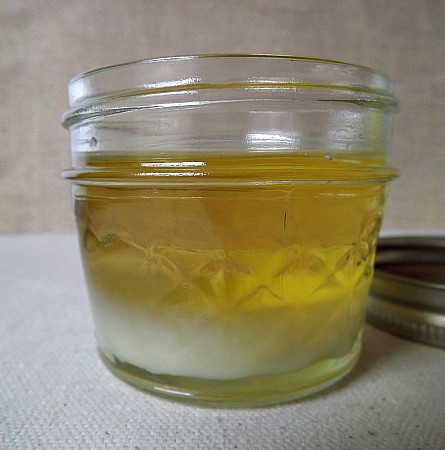
Step 4: You will see the balm begin to solidify from the bottom as it begins to cool. Attach a clean lid and allow to completely cool before using.

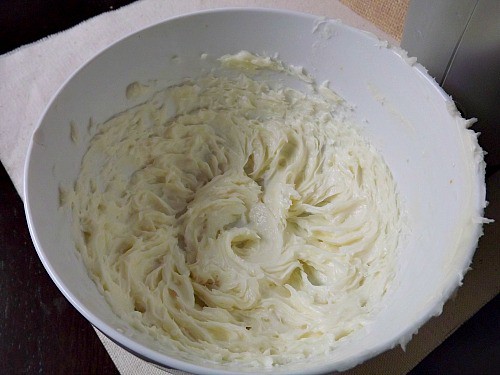
Whip it up!
With just a few extra steps you can whip the mixture to make it lighter and creamier in texture. Once the mixture cools, you can also add a few drops of essential oils to aid in the healing benefits of the balm. My go-to choices in this recipe are Lavender oil or Tea Tree oil. Tea Tree oil is used commonly in natural cosmetics and skin products because of it antiseptic properties. Lavender oil also has antiseptic properties and may help soothe and calm the skin.
Skip Step 3 and instead pour the mixture in a medium bowl and allow to cool just until it is no longer translucent. Add 5 drops of your selected essential oil and whip the balm with a single whisk attachment. Use a small spatula to transfer the whipped balm to your clean jar and attach the lid. Your balm is ready to use once it has completely cooled.
Please note: When using any new products on your child it is important to test them first on a small area. Do not apply this balm to any open sores or wounds. Any negative reaction may be the result of a skin allergy and it is important to contact your physician.
More Natural Baby Articles:
How to Make Reusable Cloth Baby Wipes
How to Save Money Using Cloth Diapers
Cloth Diapering: What You Need to Know to Get Started

Jenna says
We use this all the time.! Just finished making another batch now.
Sophie says
Hi, I thought it wasn’t recomended tu use EO on babys… ???
I made the balm today by the way and I can’t wait to see the effect.
Thanks for the recipe.
Sophie.
Alea Milham says
The EOs are listed as optional as some people like to use them and others avoid them.
Victoria Bastidas, RPh says
Do not use Tea Tree Oil on broken skin- it is toxic when ingested.
Typhanie says
There is a list of EOs that are safe to use in a diluted form on infants. Most people wait until at least one year of age before using more than lavender. I would recommend the book Gentle Babies by Debra Rayburn. Its all about using essential oils on pregnant women infants and children.
J says
Thank you so much for this! We are on baby #3. He is seven months old and has never had a bad diaper rash up to this point. I thought it was simply because he has better skin than his siblings, which may be part of it. Then, we went on vacation. I used the same commercial, extra strength diaper cream on him that I used on his siblings, since taking my glass mason jar of this balm wasn’t an option. Within 3 days, he had a rash. Within five, it was bleeding. I tried all the commercial options available, but it wouldn’t heal. Within two days of being home and using my homemade balm, it began to heal. Now, I’m beginning to think that this recipe has a lot to do with his never having had a bad diaper rash up until now. I wish I had this with the first two! I would recommend anyone give this a shot, and I have to all my mommy friends. I didn’t add any EOs, just the basic ingredients, and it works fantastically!
Meghan says
What is the shelf life
Lindsey says
Could you add some zinc oxide to this to make it more of a medicated rash cream?
Nina says
Yes, you can add zinc oxide (15-20%) and it gives a great diaper rash cream helping for a quick and safe heal.
Veronica Velasquez says
Can I mix the essential oils without whipping it? Like after step 2?
Mary says
Hi,
Could you tell me the measurements of the beeswax and shea butter in ounces instead of Tbs? I have a beeswax block and I know it’s important to get the amounts accurate.
Thanks for your help, and the recipe.
Carra says
2tbsp = 1oz
Samantha says
I made this it turned out great only question is when it is applied to baby’s bottom it turns back into oil.. Is that normal?
Calla says
It melts because of your body temperature.
Calla says
It’s normal.
Lea says
I noticed there has been no response to the question about expiration date. 1) beeswax does not expire; 2) shea butter does not expire; 3) coconut oil probably has an expiration date of 1+ years. The only thing that really needs to be of concern is the essential oil (EO) used. And, that being said, the properties of the EO will likely last 1+ years but the scent may decrease in a few months. I make lotion bars with a similar recipe and they last a very long time, however, when I use lavender or other lightly scented EO, the scent does not seem to last for more than 5-6 months.
Karri-Ann McLean says
Yes, I am also wondering what the expiration date would approx be? or how you can tell if its gone bad?
Robyn says
Is this something that has an expiration date? I would like to make as a baby shower gift but I am afraid it will not be any good by the time her baby is due.
Tori says
Since there is no water in this, the shelf life is a year if your ingredients are fresh.
Carol says
I am a true believer in coconut oil. I use it for everything. I definitely have to try this balm. It looks real easy to make and it isn’t very expensive. Thank you for sharing this DIY balm.