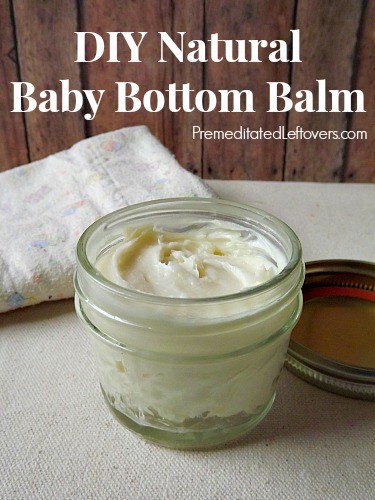
If you happen to have a child in diapers there’s a good chance you are also familiar with the numerous diaper creams on the market. Maybe there’s just one or two you stick with because they work well, or you’re comfortable with the ingredients (or lack thereof). You’re lucky if you get by without needing to reach for a diaper cream that often, but sometimes irritation on your little one’s bottom is just unavoidable. Whether it be heat, a tummy virus, or teething they are bound to get irritation on their delicate skin. Apply this homemade balm as a preventative measure or when redness and irritation occur. There are no ingredients you can’t pronounce, no goopy mess that spills out of a tube. If you happen to cloth diaper, you can rest assured this balm is cloth diaper friendly as well.
DIY Natural Baby Bottom Balm
Here’s what you will need:
- 1 4 oz. glass jar with secure lid
- 1 small saucepan
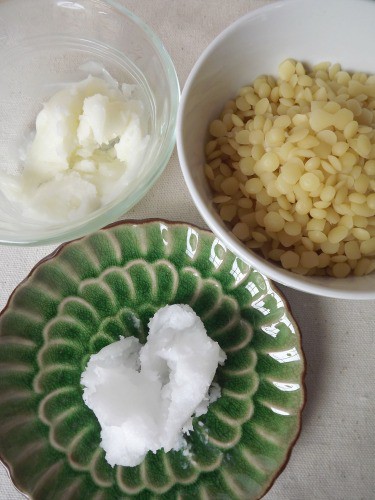
- 2 tablespoons of beeswax (If you can find pellets, they will melt much quicker.)
- 3 tablespoons of 100% shea butter
- 3 tablespoons of extra virgin coconut oil
Optional:
- Lavender essential oil
- Tea Tree essential oil
- Hand mixer
- Medium bowl
- Small spatula
Each ingredient in this recipe holds a specific function. The beeswax will provide a protective barrier, while helping to maintain the skin’s own moisture. Vitamins A and E in the shea butter help to further repair and soothe irritated skin, while the coconut oil provides valuable antifungal and antiviral properties. The initial process will result in a balm very similar in consistency to a lip balm with a very mild scent of shea and coconut oils. All of these products can be purchased from your local natural food markets or from online retailers. Now, if you have your supplies ready, let’s begin!
Directions:
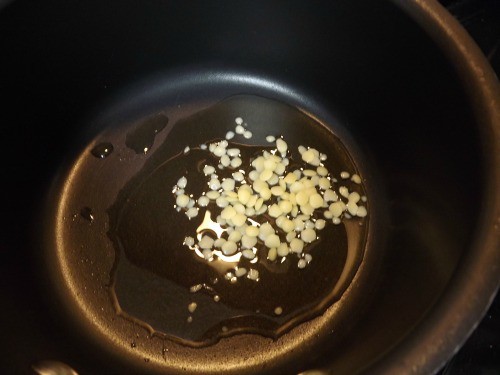
Step 1: Add the beeswax to a small saucepan on low heat and melt completely.
Step 2: Melt the shea butter and coconut oil into the beeswax. Stir occasionally.
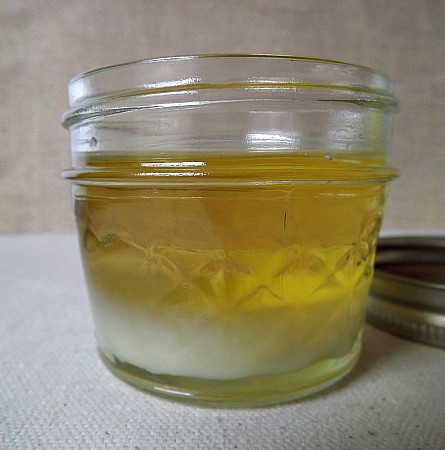
Step 3: Pour the mixture into a clean 4 oz. jar. *To ensure my jar has been well cleaned, I like to sterilize it by submerging the jar in a pot of boiling water for 10 minutes. After the 10 minutes, simply remove the jar from the water, and place on a cooling rack to dry.
Step 4: You will see the balm begin to solidify from the bottom as it begins to cool. Attach a clean lid and allow to completely cool before using.
Whip it up!
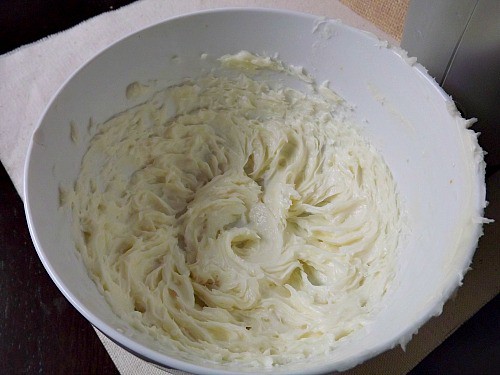
With just a few extra steps you can whip the mixture to make it lighter and creamier in texture. Once the mixture cools, you can also add a few drops of essential oils to aid in the healing benefits of the balm. My go-to choices in this recipe are Lavender oil or Tea Tree oil. Tea Tree oil is used commonly in natural cosmetics and skin products because of it antiseptic properties. Lavender oil also has antiseptic properties and may help soothe and calm the skin.
Skip Step 3 and instead pour the mixture in a medium bowl and allow to cool just until it is no longer translucent. Add 5 drops of your selected essential oil and whip the balm with a single whisk attachment. Use a small spatula to transfer the whipped balm to your clean jar and attach the lid. Your balm is ready to use once it has completely cooled.
Please note: When using any new products on your child it is important to test them first on a small area. Do not apply this balm to any open sores or wounds. Any negative reaction may be the result of a skin allergy and it is important to contact your physician.
More Natural Baby Articles:
How to Make Reusable Cloth Baby Wipes


Jenna says
We use this all the time.! Just finished making another batch now.