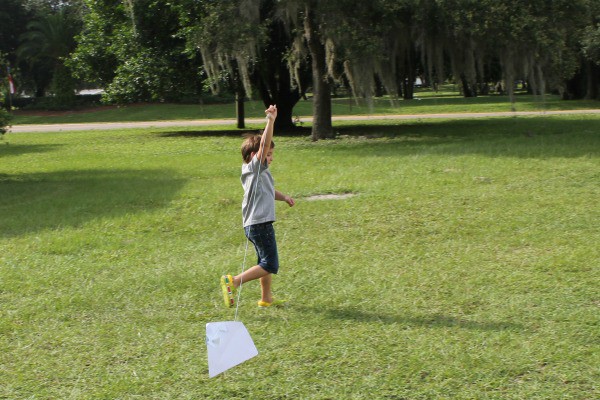
A perfect summer activity-kite making brings to mind those afternoons from your own childhood spent taping sticks to paper bags cut into diamond shapes for flying. This mini kite doesn’t soar as high as a fancy store bought kite but is ideal for a backyard run. Not only do your children get the simple thrill of trying to get their kite off the ground for flight but making it is just as much fun as flying it! If you are a crafter these basic items are likely already on hand, if not you can pick them up at any craft store or Walmart.
How To Make a Kite
Supplies Needed:
- Scrapbook paper
- twine
- wooden skewers or small dowels
- tape
- scissors
- craft stick
- optional-crayons or markers for decorating
Directions:
Cut your cut into a basic diamond-ish shape. I folded my 12 x12 square of scrapbook paper in half and cut the corners off at an angle on top and bottom. It does not need to be a perfect diamond, just a general shape.
Cut the pointed tip off your skewer, then cut them to the height and width of your kite. Bind them together using your twine into a cross shape. Tape them down securely on all four corners.
Cut 2-3 yards of twine off your roll and attach one end of it tightly to the cross section of your kite. Tape the other end to a craft stick and wrap it around, this will be your handle.
Cut bow shapes from a coordinating paper and attach to a 2′ length of twine. Tie to the bottom of your kite’s stick to serve as a tail. You are ready to go.
This kite needs just a gentle breeze, and a running kid to get going. My favorite part of this kite, aside from watching the kids laugh in delight and run while trying to fly their kite was the fact that the exercise wore them out!
More Craft Ideas for Kids
You can find more ideas for frugal summer fun for kids here as we share a new frugal summer activity for kids each day for 100 days!


Leave a Reply