
I am sure I don’t need to tell you but, Upcycled pallet furniture is all the rage right now. The rustic simplicity and the frugal factor ( you can get pallets for free or very cheap) makes them a perfect DIY project. We had a small pile beginning to build up so I decided it was finally time to turn them into something with a little bit of help from my hubby.
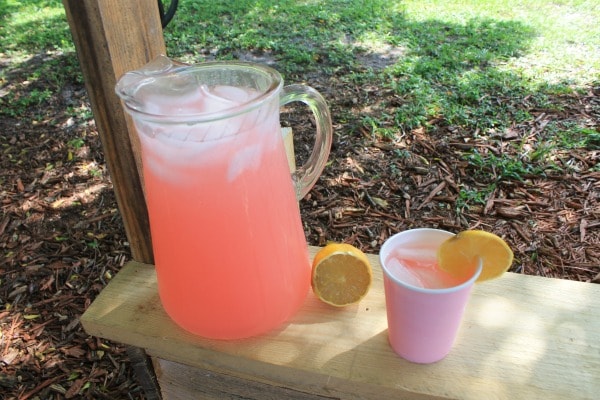
The kids have been begging to have a lemonade stand so we made that our first pallet project. Very little measuring and cutting is involved, making this a great starter DIY project. A standard pallet is 4’x4′, if you use this size your stand will be 4′ across by 2′ in depth. Any size will work as the simple instructions only require you to cut a few boards in half whatever their length, this can even be done with boards purchased new at the home improvement store. Add a pitcher of lemonade, some cups, a money jar, a cute kid or two and they are on their way to their first fortune.
But this setup can be used for more than just a lemonade stand, this basic frame can be used as a puppet theater by hanging café curtains on a tension rod across the window opening, or in dramatic play as a grocery store, produce stand, sweet shop, or whatever else you and your child can imagine. I chose to leave the board blank for this reason, you can make different signs to hang on the cross board and change them as you like.
How to Make an Upcycled Pallet Lemonade Stand
Supplies Needed:
- Wood pallet
- saw
- screwdriver/screws, or nailgun/nails, or hammer/nails
Directions:
Remove all horizontal boards on the back of your pallet.
Remove the center vertical board.
Stand pallet up, have your child stand behind it to determine counter height. Mark the board at your desired height.
Remove all boards above this one, except for top horizontal board to create the “window”.
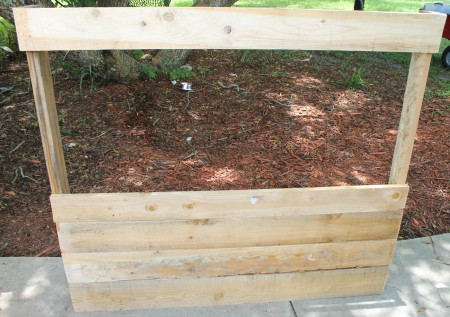
Here is a side view of how your stand should look so far.
To create a base support for your stand cut 4 boards in half, Use nails or screws to fasten 3 of these boards to the main beams on the side, Use your remaining board halves to attach vertically to the end of the the side “walls”
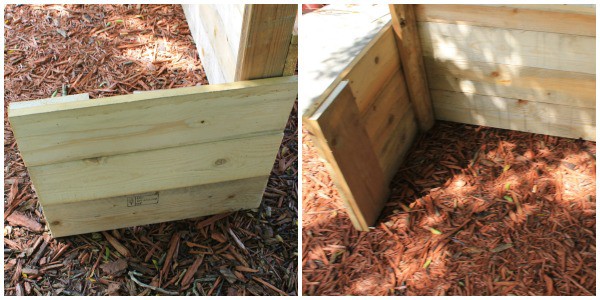
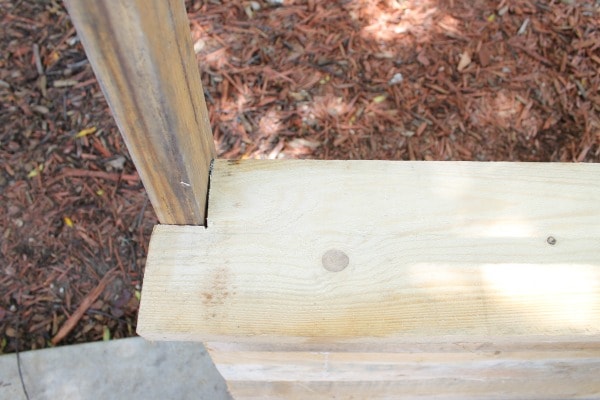
For the counter take another full size board, measure the main vertical post of your stand (generally these are 2×4) Mark and cut these measurements out of the back of your new counter board and nail or screw down.
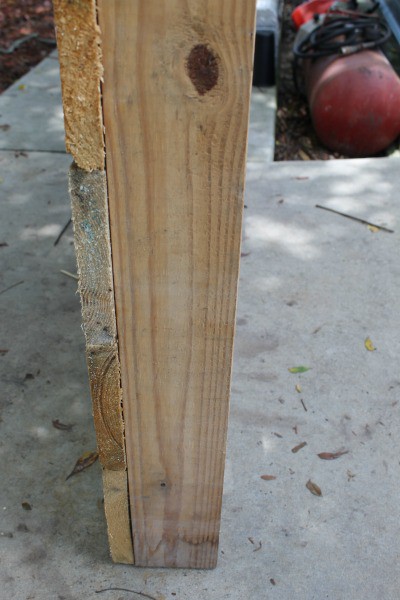
If your boards are too rough you can go over them with a palm sander to smooth them out a bit, I would definitely recommend sanding at least the counter top where little hands will be often. You can spray the top board that acts as the sign with chalkboard spray paint if desired to create your own signs. If you are pretty handy with a saw and nail gun (or you let your hubby help you with that) this can be made in 30-45 minutes start to finish.
Homemade Lemonade Recipes

You can find more ideas for frugal summer fun for kids here. Join us as we share a new frugal summer activity for kids each day for 100 days!

Claire C. says
Brilliant share Jody ! This is a neat lemonade stand that I can actually make for my son ! Thank you !