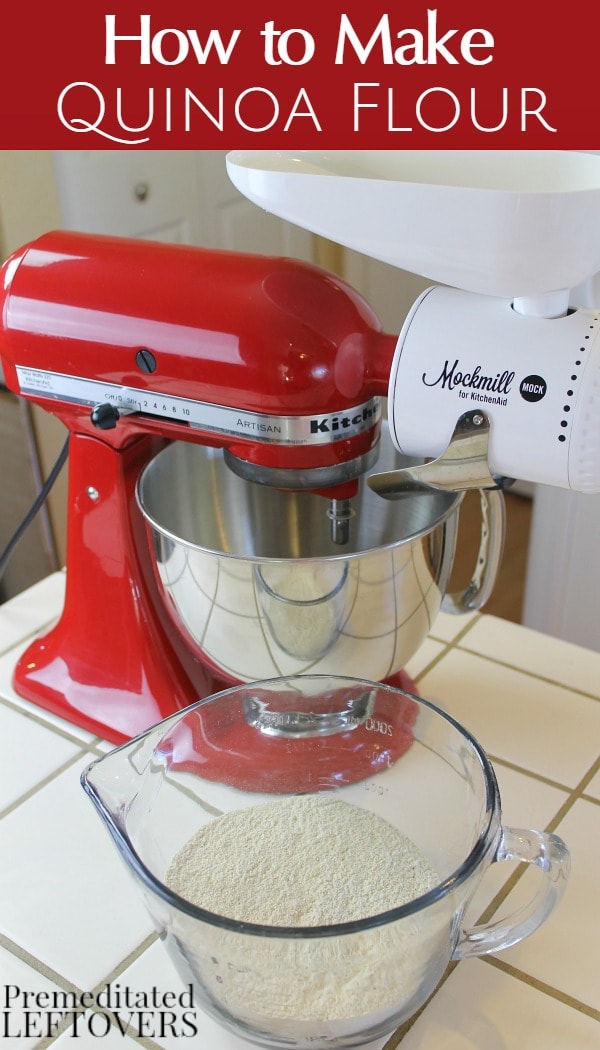
Mockmill sent me a grain mill attachment for my KitchenAid mixer to review. While reviewing the grain mill, I created this tutorial for how to make quinoa flour. The opinions and tutorial are mine.
I love cooking with quinoa and I enjoy the flavor of quinoa pasta, so it was only natural that I would want to try using quinoa flour in some of my recipes. However, when I saw the price of quinoa flour I was taken back. I have long put off buying a grain mill, but I realized that with some of the expensive gluten-free flours that I like to use in recipes, a grain mill would quickly pay for itself!
When we think of a grain mill we typically think of using it to grind wheat. And it can be used to grind wheat, but a grain mill can grind so many other items: corn, rice, dry legumes, oats, and quinoa.
I have used a food processor to grind soft grains such as oats. However, I don’t like to use my food processor to grind hard grains and legumes because I have to take frequent breaks so that the motor on the food processor doesn’t overheat.
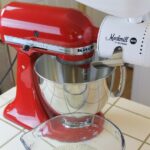
If you have a KitchenAid Mixer, you can use a Mockmill Grain Mill to grind your own flour. You attach it to your KitchenAid and the flour dumps into the mixing bowl as soon as it is ground.
Mockmill has provided me with a discount code that you can use through August 31 to save $80 off their Home Milling Starter Kits. Use code premeditatedleftovers when you checkout to receive your discount.
How to Make Quinoa Flour Using a Grain Mill
I used white quinoa instead of red or black because I wanted the flour to blend with the other flours I use in my recipes.
Ingredients:
2 cups of raw quinoa
Directions:
- Place 2 cups of quinoa into a fine-meshed sieve and rinse the quinoa thoroughly under cold water. Remove any debris.
2. Spread the rinsed quinoa over a large baking sheet in a thin layer. Allow the quinoa to sit until it is completely dry.
3. (Toasting the quinoa is optional. However, it enhances the flavor and produces a nutty flavored flour). Once the quinoa is completely dry, place the quinoa in a large skillet and toast them over medium heat for approximately 5 minutes. Stir frequently to prevent the quinoa from burning. The quinoa will begin to pop when it is nearly done toasting. Remove the quinoa from the stove and allow the quinoa to cool completely.
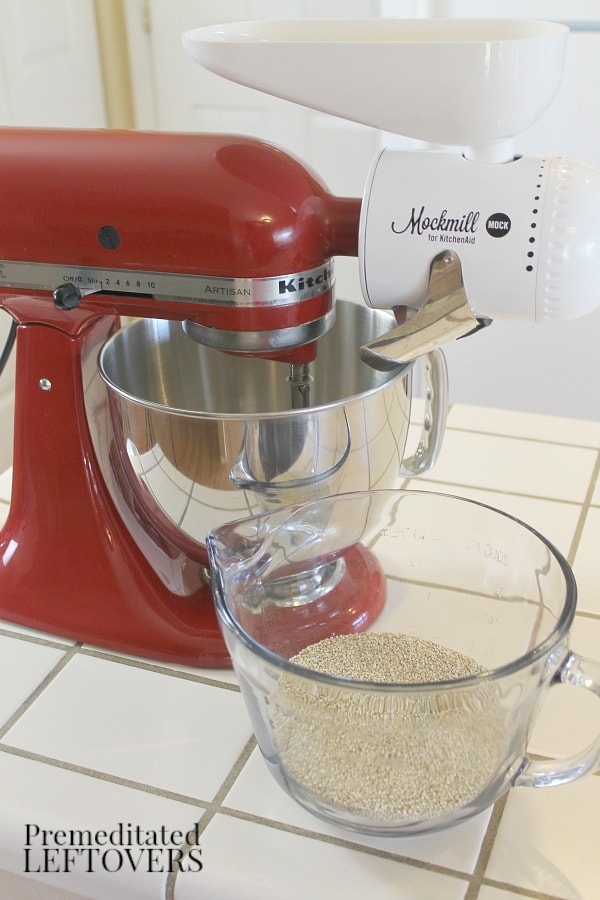
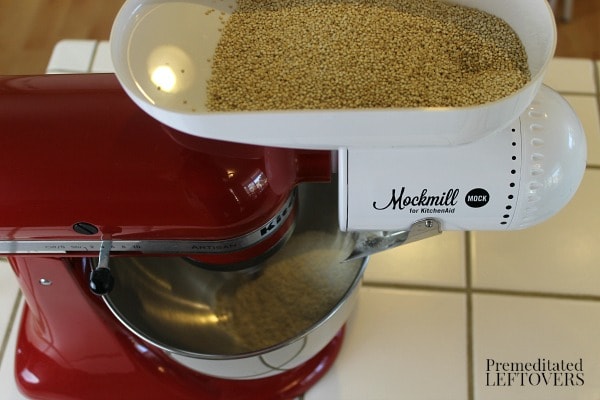
4. Attach the Mockmill Grain Mill to your KitchenAid mixer, then place the hopper on the mill. Set it to the finest setting. Place your toasted quinoa in the hopper. Turn on the mixer and grind the quinoa.
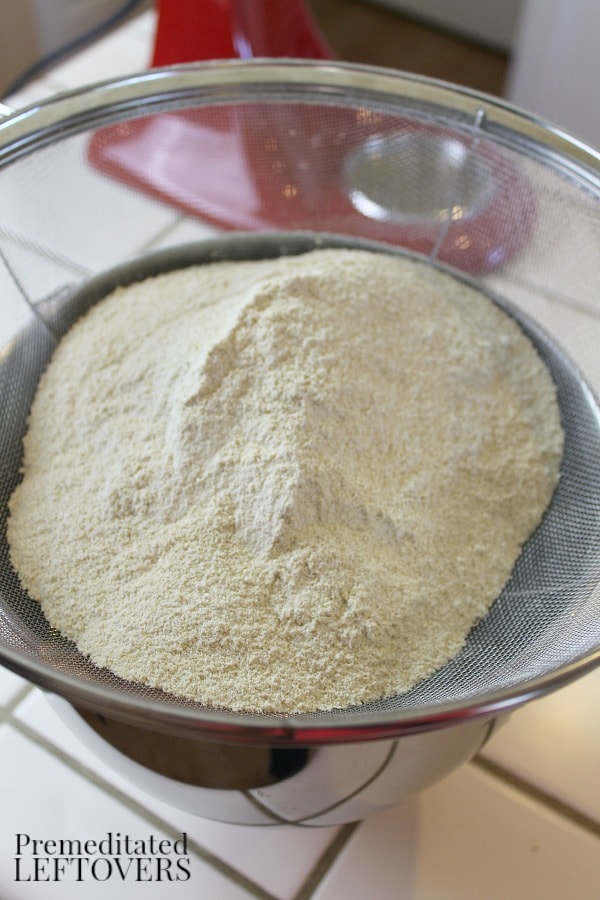
5. Sift the quinoa flour through a fine sieve into a bowl or container. You can send any pieces of quinoa that are too large to pass through the sieve back through the grinder.
6. Store the quinoa flour in a sealed container.
Don’t forget to use discount code premeditatedleftovers when you checkout to receive your $80 discount on the Mockmill Grain Mill Attachment and Starter Kit.
How to Use Quinoa Flour
You can use quinoa flour to replace up to half of the wheat flour called for in a recipe, though I usually only replace one-third of the wheat flour with quinoa flour.
Quinoa flour can sometimes absorb a bit more liquid than other flours. You may need to add up to 1 tablespoon of liquid per 1/2 cup of quinoa flour used in a recipe. Add the liquid 1 teaspoon at a time until your batter or dough reaches the desired consistency
Quinoa flour has a slight nutty flavor that you will want to take into account before adding it to recipes. Quinoa’s nutty flavor works well in a number of dessert and bread recipes.
How to Make Quinoa Flour
Ingredients
- 2 cups raw quinoa
Instructions
- Place 2 cups of quinoa into a fine-meshed sieve and rinse the quinoa thoroughly under cold water. Remove any debris.
- Spread the rinsed quinoa over a large baking sheet in a thin layer. Allow the quinoa to sit until it is completely dry.
- (Toasting the quinoa is optional. However, it enhances the flavor and produces a nutty flavored flour). Once the quinoa is completely dry, place the quinoa in a large skillet and toast them over medium heat for approximately 5 minutes. Stir frequently to prevent the quinoa from burning. The quinoa will begin to pop when it is nearly done toasting. Remove the quinoa from the stove and allow the quinoa to cool completely.
- Preparing to grind quinoa to make quinoa flour
- Attach the Mockmill Grain Mill to your KitchenAid mixer, then place the hopper on the mill. Set it to the finest setting. Place your toasted quinoa in the hopper. Turn on the mixer and grind the quinoa.
- How to Make Quinoa Flour Using a Grain Mill
- Sift the quinoa flour through a fine sieve into a bowl or container. You can send any pieces of quinoa that are too large to pass through the sieve back through the grinder.
- Sifting Homemade Quinoa Flour through a Sieve
- Store the quinoa flour in a sealed container.
Do you like making your own flour? Here’s a tutorial showing you how to make lentil flour.
Don’t forget to use discount code premeditatedleftovers when you checkout to receive your $80 discount on the Mockmill Grain Mill Attachment and Starter Kit.


Ginny Sterling says
How much flour does 2 c. quinoa make?