If you have watched any of the flea market finds shows lately, you may have seen how frugalistas are turning curb finds into fashionable furniture pieces. If you have wanted to try doing this yourself with your own curb or flea market find, you will want to use the tips that pros know when fixing up your find. Not sure where to being? Take a look below at 5 tips for perfectly painted furniture so you too can enjoy a spruced up new piece for less!
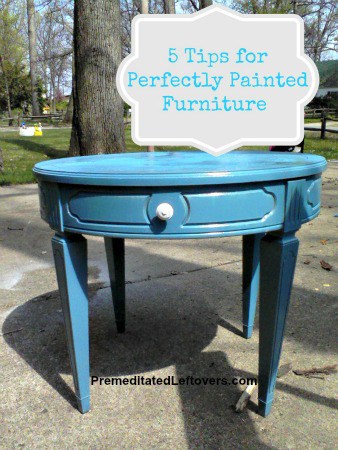
5 Tips for Perfectly Painted Furniture:
First, think of your furniture piece as an artist’s canvas. You will want it nice and clean before you try to paint it. Take your time and do these steps right so you can be sure you will get a perfect paint job that is sure to last.
1. Give your furniture a good scrub.
First, mix a bucket of warm water and a good household cleaner. Work up a good lather. Take a soft cloth or rag and using your mixture, wash down your piece well. Work away any dust and debris and rinse with some clean water when done. Dry the piece well with another soft cloth.
2. Remove old wear.
Take a piece of scouring pad or sand paper and remove any old peeling paint pieces, rust marks on hardware, or excessive build up. This will give you a smoother canvas to paint on! You may wish to wear a mask when you do this part so that you don’t inhale any harmful particles. Safety first!
3. Remove the hardware.
Take a screwdriver and remove all of the hardware pieces including knobs, drawer pulls, and handles. You can either set these aside to apply a coat of spray paint to later, or you can remove them all together and replace with new knobs and pulls from your local craft or hardware store. It really is all up to you and your preferences.
4. Prime your furniture.
Find a quality primer such as Kilz Primer and apply one coat. You may need to apply two coats or even three if the surface you are covering is especially dark. Allow plenty of drying time in between coats for best results.
5. Start painting!
You will now want to decide if you are going to spray paint or roll on your paint. Should you wish to spray or roll, you will want to use a low gloss finish. Something like a matte finish, eggshell finish, or satin finish is best as it will keep any flaws on the furniture from showing through. If you spray your paint on, hold your can 6-7 inches away from the piece and apply two coats, allowing plenty of drying time in between. If you are rolling on your paint, apply two coats carefully, also allowing plenty of dry time in between.
Once you are finished and your paint is dry, you can put your hardware pieces on. You can also distress and antique the piece if you wish by taking a low grade sandpaper and gently sanding down the edges. Or, apply a coat of polyurethane for a durable finish.
The next time you see a piece of furniture tossed out on the curb or at a local flea market or garage sale, scoop it up. Give these tips a try and turn that trash into treasure!
More Decorating on a Budget Articles:
How to Convert Recessed Lighting to Pendant Lighting

Leave a Reply