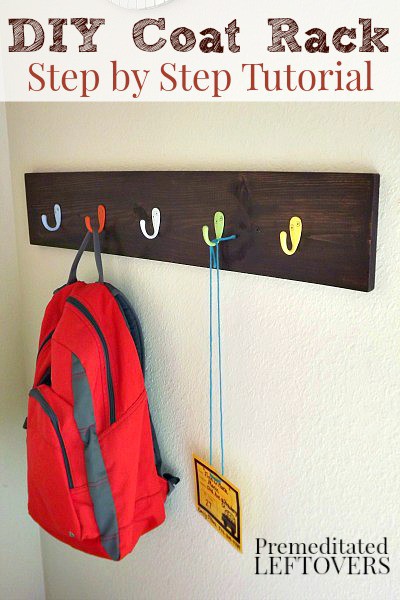
This DIY Coat Rack is easy to make and will help declutter your entryway.

One thing I seem to notice about my home is that a cluttered entryway is hard to avoid. My little ones unload anything and everything the minute their feet step inside the house. To help keep my entryway clear I decided to construct a simple coat rack and hang it on the wall well within their reach. It creates the perfect go-to place for their belongings, thus keeping jackets and book bags off the floor.
DIY Coat Rack Tutorial
This rack is very easy to construct and customize with just a few inexpensive materials that can be found at any home improvement store.
Items Needed:
- 1 piece of whitewood lumber
- 1 foam paint brush
- wood stain
- Hooks
- Spray paint
- 2 wood screws
- 2 wall anchors
- measuring tape
- level
- pencil
- hand drill
- 1/16 inch drill bit
*I purchased a .75 in x 5.5 in x 6 ft piece of lumber and had the store cut it down to my desired length, which was 31 inches long. I wanted a dark stain so I chose Rust-Oleum Ultimate Wood Stain in Kona. Robe hooks worked out well for this project because of their simple design and low cost. You can leave them as is or add a few coats of spray paint to give your coat rack a pop of color.
Instructions:
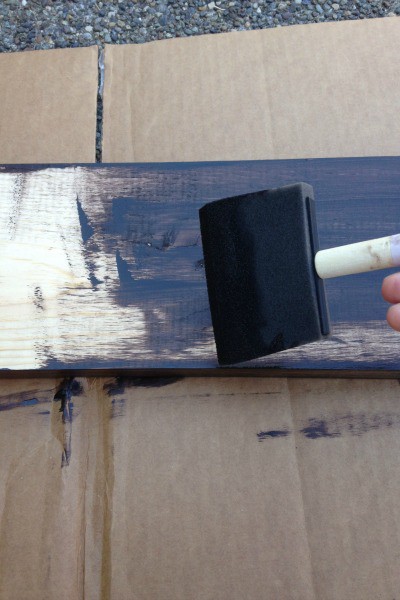
Make sure your whiteboard is free of dust and debris and lay it out on a clean surface. Apply a layer of stain by following the manufacturer’s directions on the can. Be sure to move in the same direction as the grain on the wood. Apply one side at a time and allow to dry.
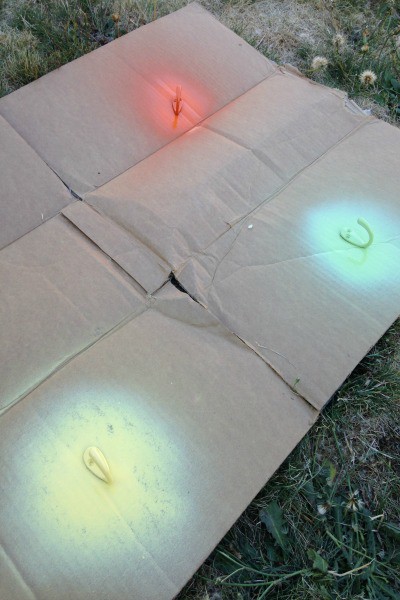
Prop your hooks upright and spray paint them one thin coat at a time. Paint the hook screws as well. I found it useful to puncture the screws into a piece of cardboard before painting to keep them from sticking to the painting surface. Allow all hardware to dry overnight.
Use a measuring tape and level to plan out where you would like your hooks to sit. Make a small mark on the wood to mark each spot.
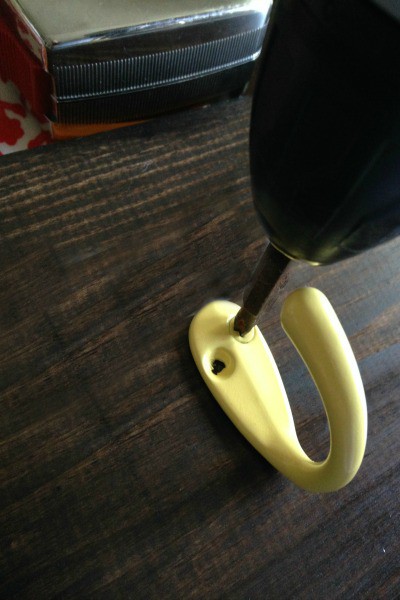
Carefully drill in each hook.
Select two equal spots on each end of the rack for the wood screws and mark them with a pencil.
Using a level, hold the rack up to the wall at your desired location. With a 1/16-inch drill bit, drill through the pencil marks into the wall.
Remove your rack from the wall and install your drywall anchors.
Drill the screws into the holes in the rack and into the wall through the anchors.
More Frugal DIY Projects
Upcycled Yardstick Mitten Holder
Tips for Painting Walls Like a Pro
5 Tips for Perfectly Painted Furniture


Leave a Reply