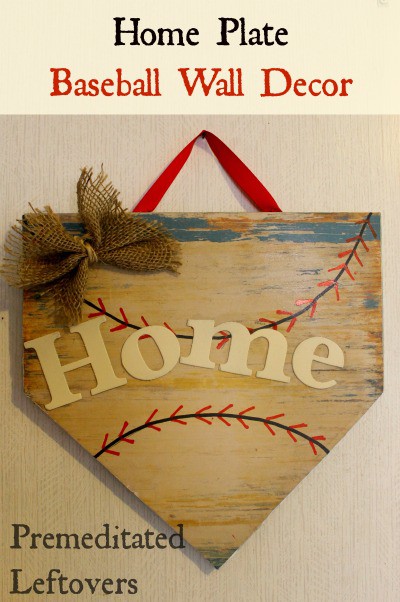
Whether you are a big fan of pro baseball teams, or you have your own minor league cutie in t-ball, baseball, or softball and you want to show your support and welcome home this cute “Home” plate sign is a great addition to your home decor. Easy to coordinate to your home colors, or your home team’s colors this wall hanging would look great in any room or even on the front door (with a couple coats of clear to protect it from the elements). I made one of these to usher in baseball season and quickly got a few compliments and order’s to make them for friends. If you are a team mom this would be a great end of season surprise for the other parent’s, or even a team craft after pizza one Saturday afternoon perhaps? Either way this fun sign is a must in any ball player or fan home!
DIY Home Plate Wall Hanging
Supplies Needed:
- 12×12 chipboard square
- 12×12 scrapbook paper
- burlap ribbon
- 1/2″ grosgrain ribbon
- 2″ chipboard letters
- red and black paint pen
- spray adhesive
- razor/box cutter
- ruler
- pencil
Directions:
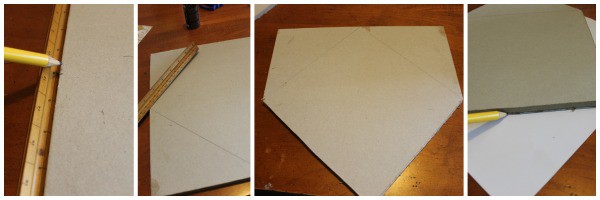
Measure and mark off 6″ on edge of 3 sides of your chipboard square.
Using your ruler draw a line from your mark on the side to the bottom center on both sides to form a point.
Use your straight edge razor to cut along line, cut repeatedly until you have gone through all layers of the chipboard. I suggest putting a self healing mat or thick cardboard underneath while cutting to protect your surface.
Lay your chipboard down on your scrapbook paper and trace bottom point, then cut scrapbook paper to fit.
Paint HOME chipboard letters and set aside to dry .
Spray backside of scrapbook paper and front of chipboard liberally with adhesive spray, position paper over board and press firmly, smoothing to remove all air bubbles
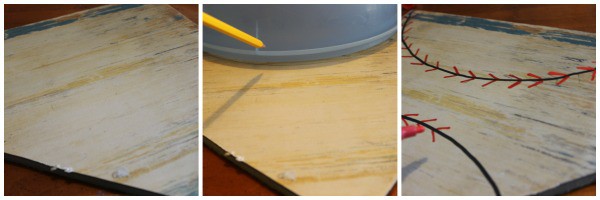
To create baseball stitches- lay a large bowl or cake pan over top and bottom of diamond, trace the outline lightly with a pencil. Remove bowl and trace over pencil outline with a black paint pen. Repeat on bottom lines. Once dry make your red stitches all along the black seam, making them point in opposite directions for top and bottom.
Affix home onto your sign with hot glue.
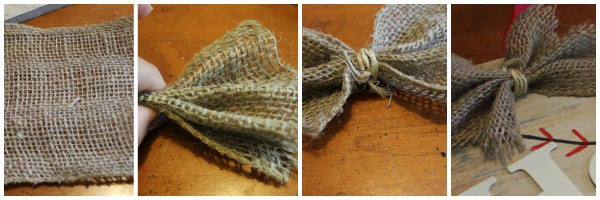
To create the burlap bow I cut wide burlap ribbon in half, removing the seam on both sides to create a more rustic feel. Cut burlap into a small rectangle about 4″x 6″ and wrap center with twine or string, secure to board with hot glue.
Hot glue a piece of ribbon the back of your home plate to act as a hanger, it is ready to go!

More Frugal DIY Home Decor Ideas
- How to Make Chalk Paint
- Tips for Painting Walls Like a Pro
- 5 Tips for Perfectly Painted Furniture
- How to Decorate Furniture with Decals
- How to Make a Fabric Strip Valence
- How to Convert Recessed Lighting to Pendant Lighting

Cindy says
This adorable. Thank you for sharing how to make this!
Zoey Raff says
Hi!
I was just wondering if there is anywhere that I can buy this? I am NOT crafty at all!! Please let me know,
Thanks so much
Zoey Raff
Erin says
Is there anyway to buy this?